Search...
Overview

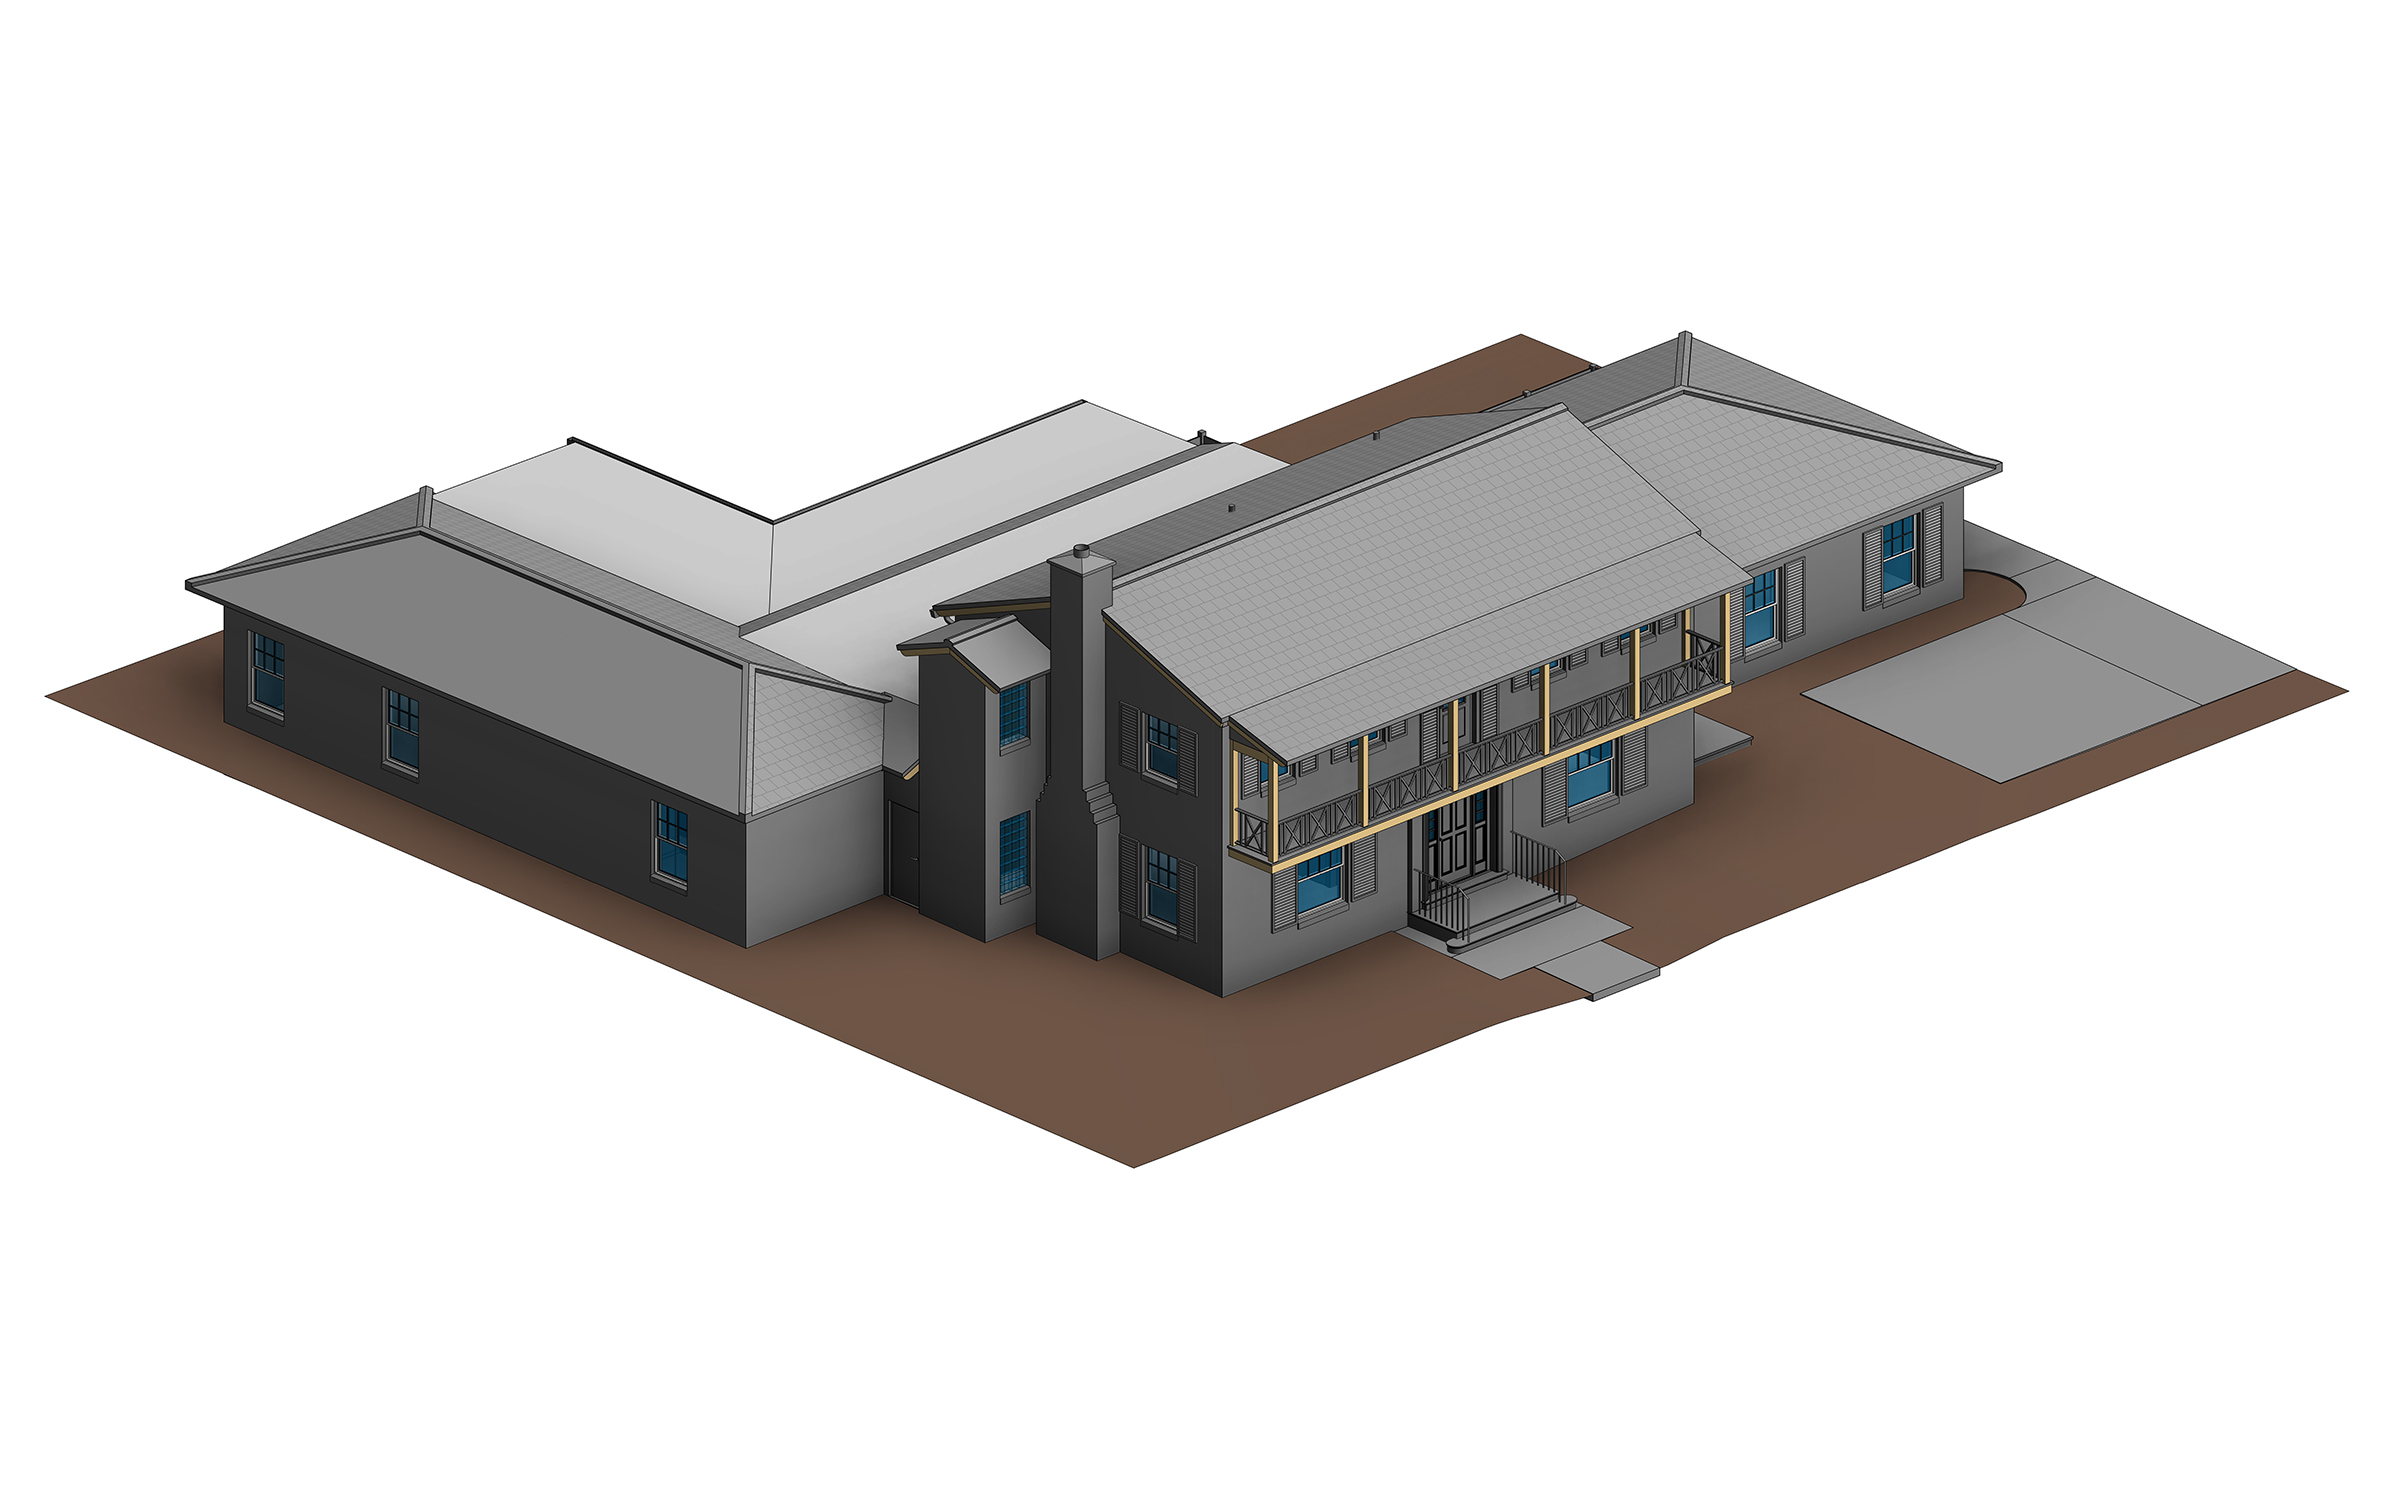
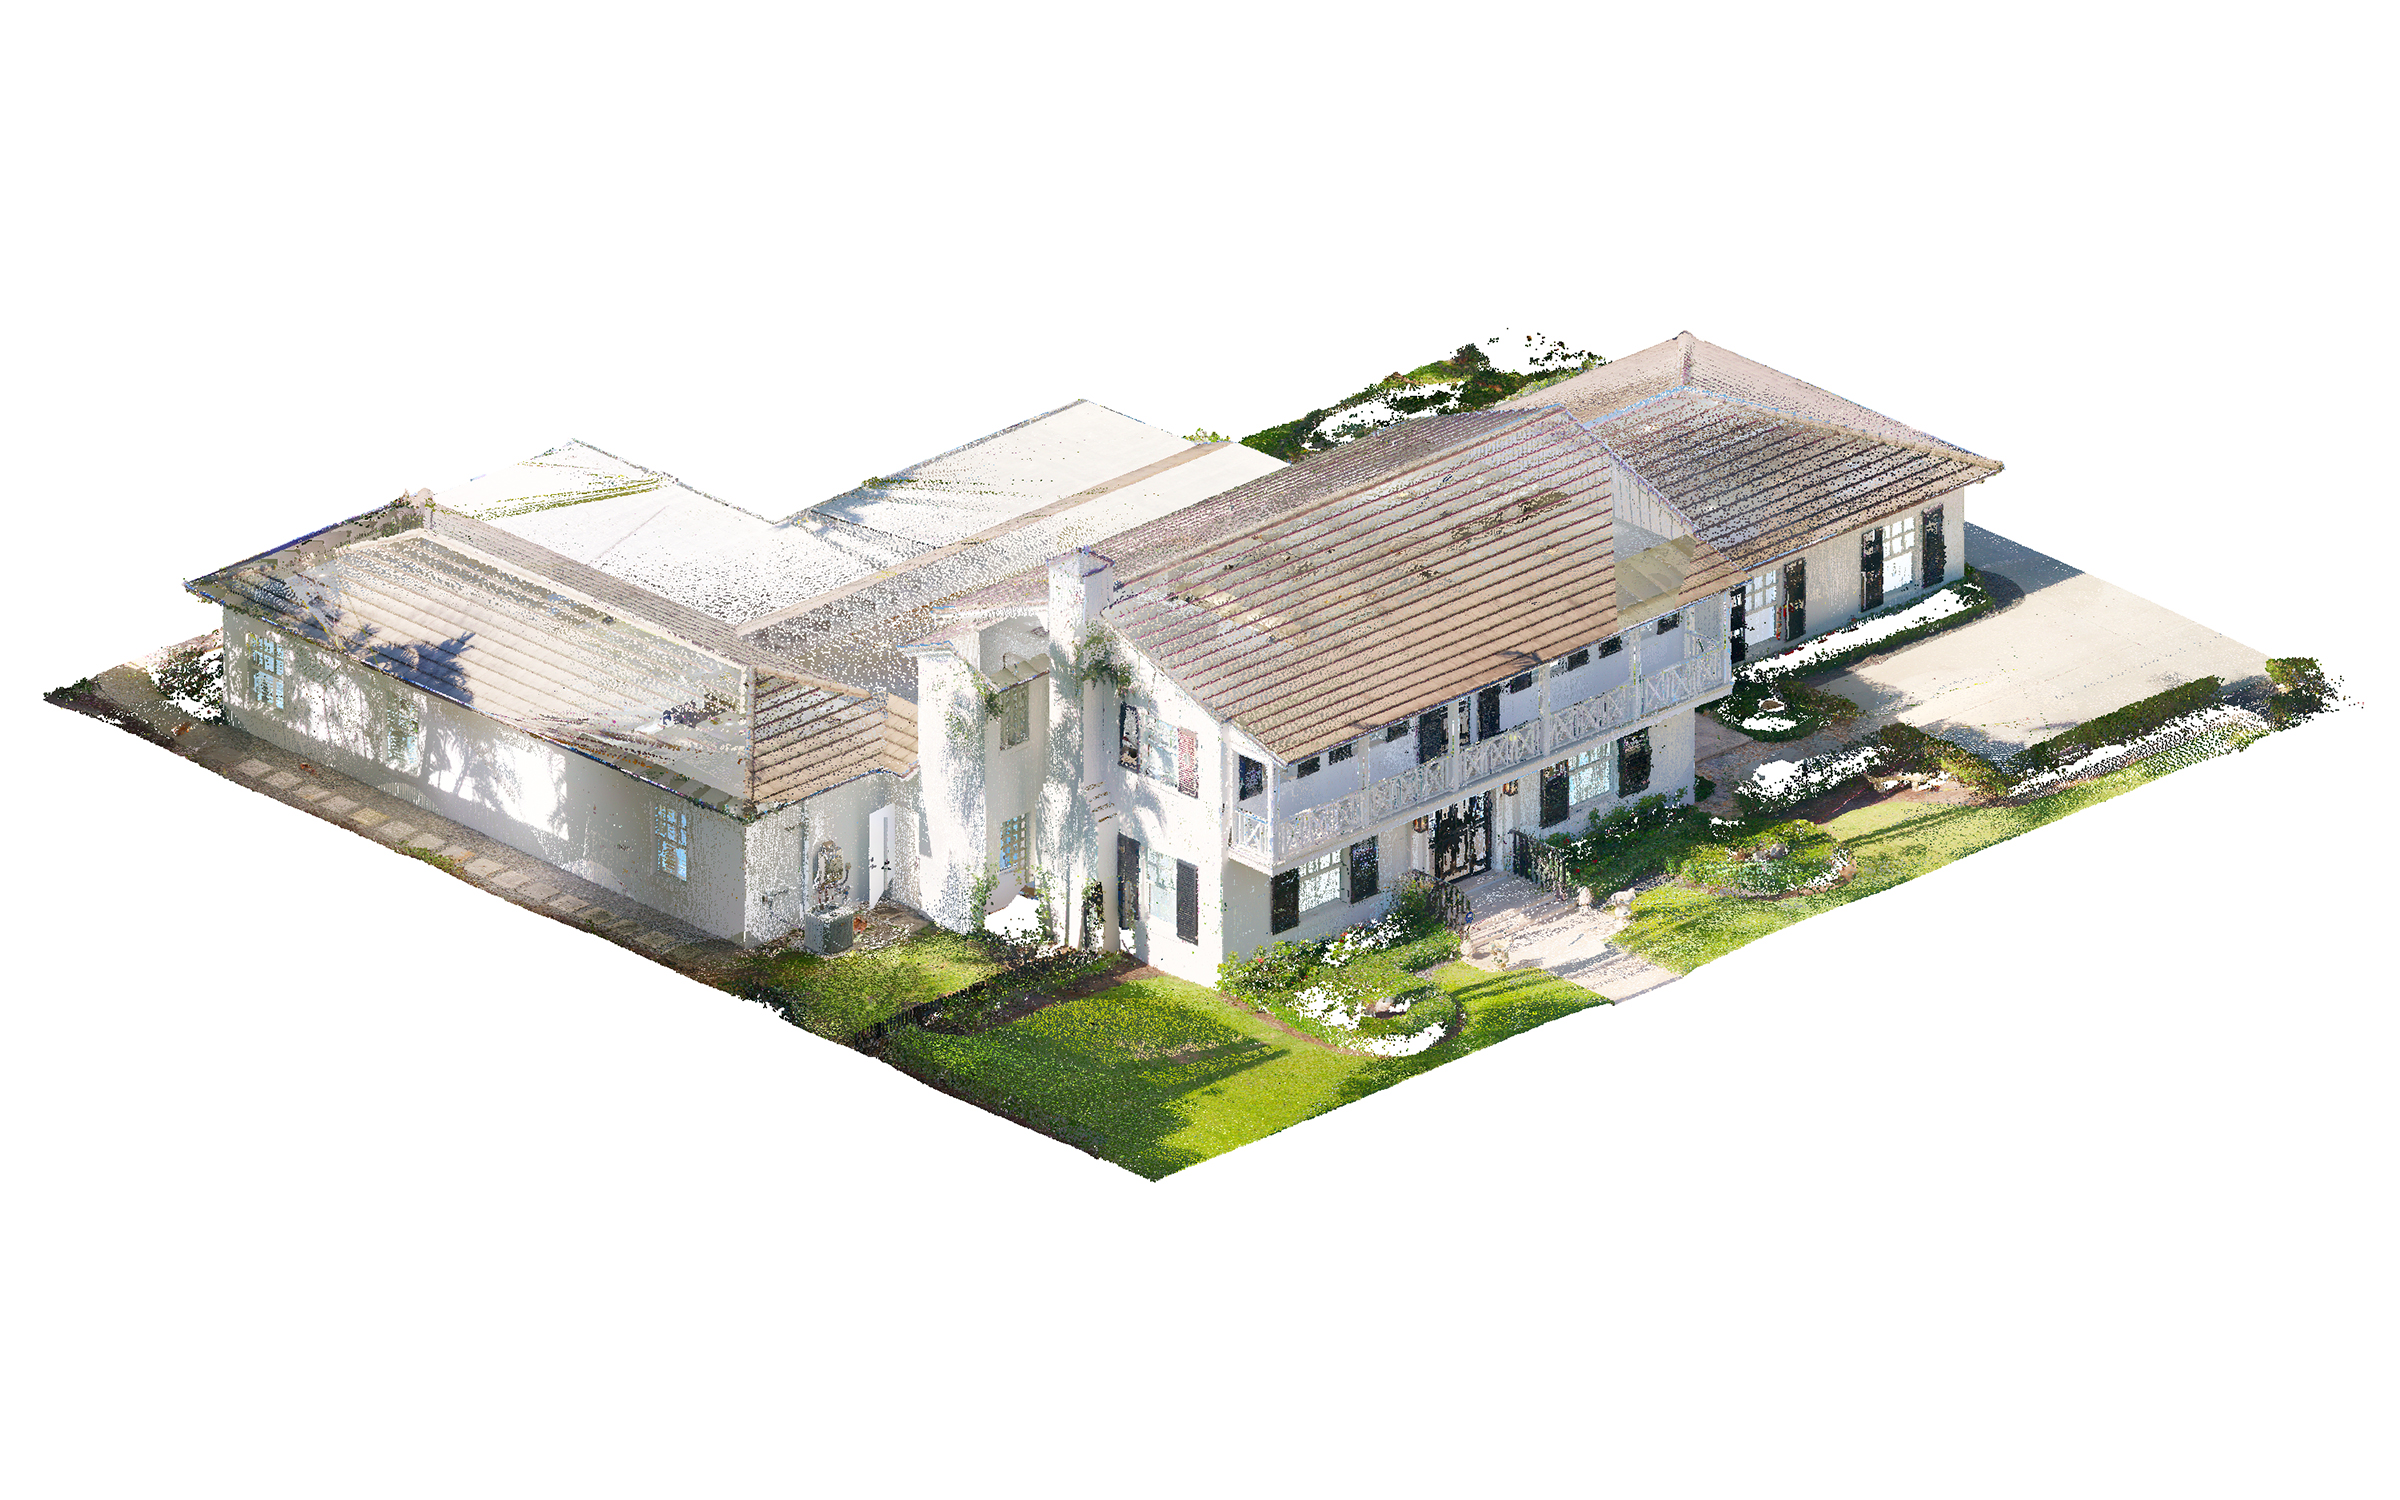
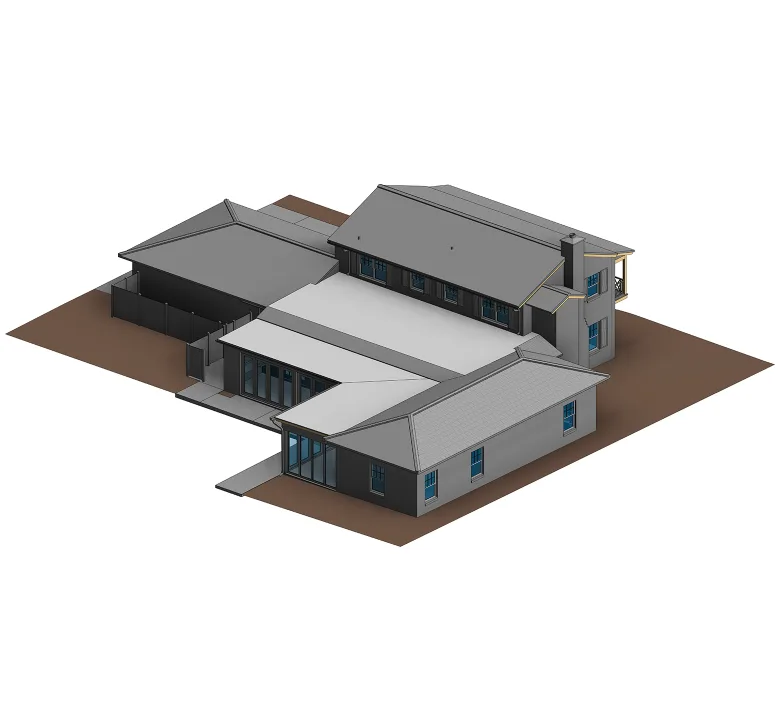
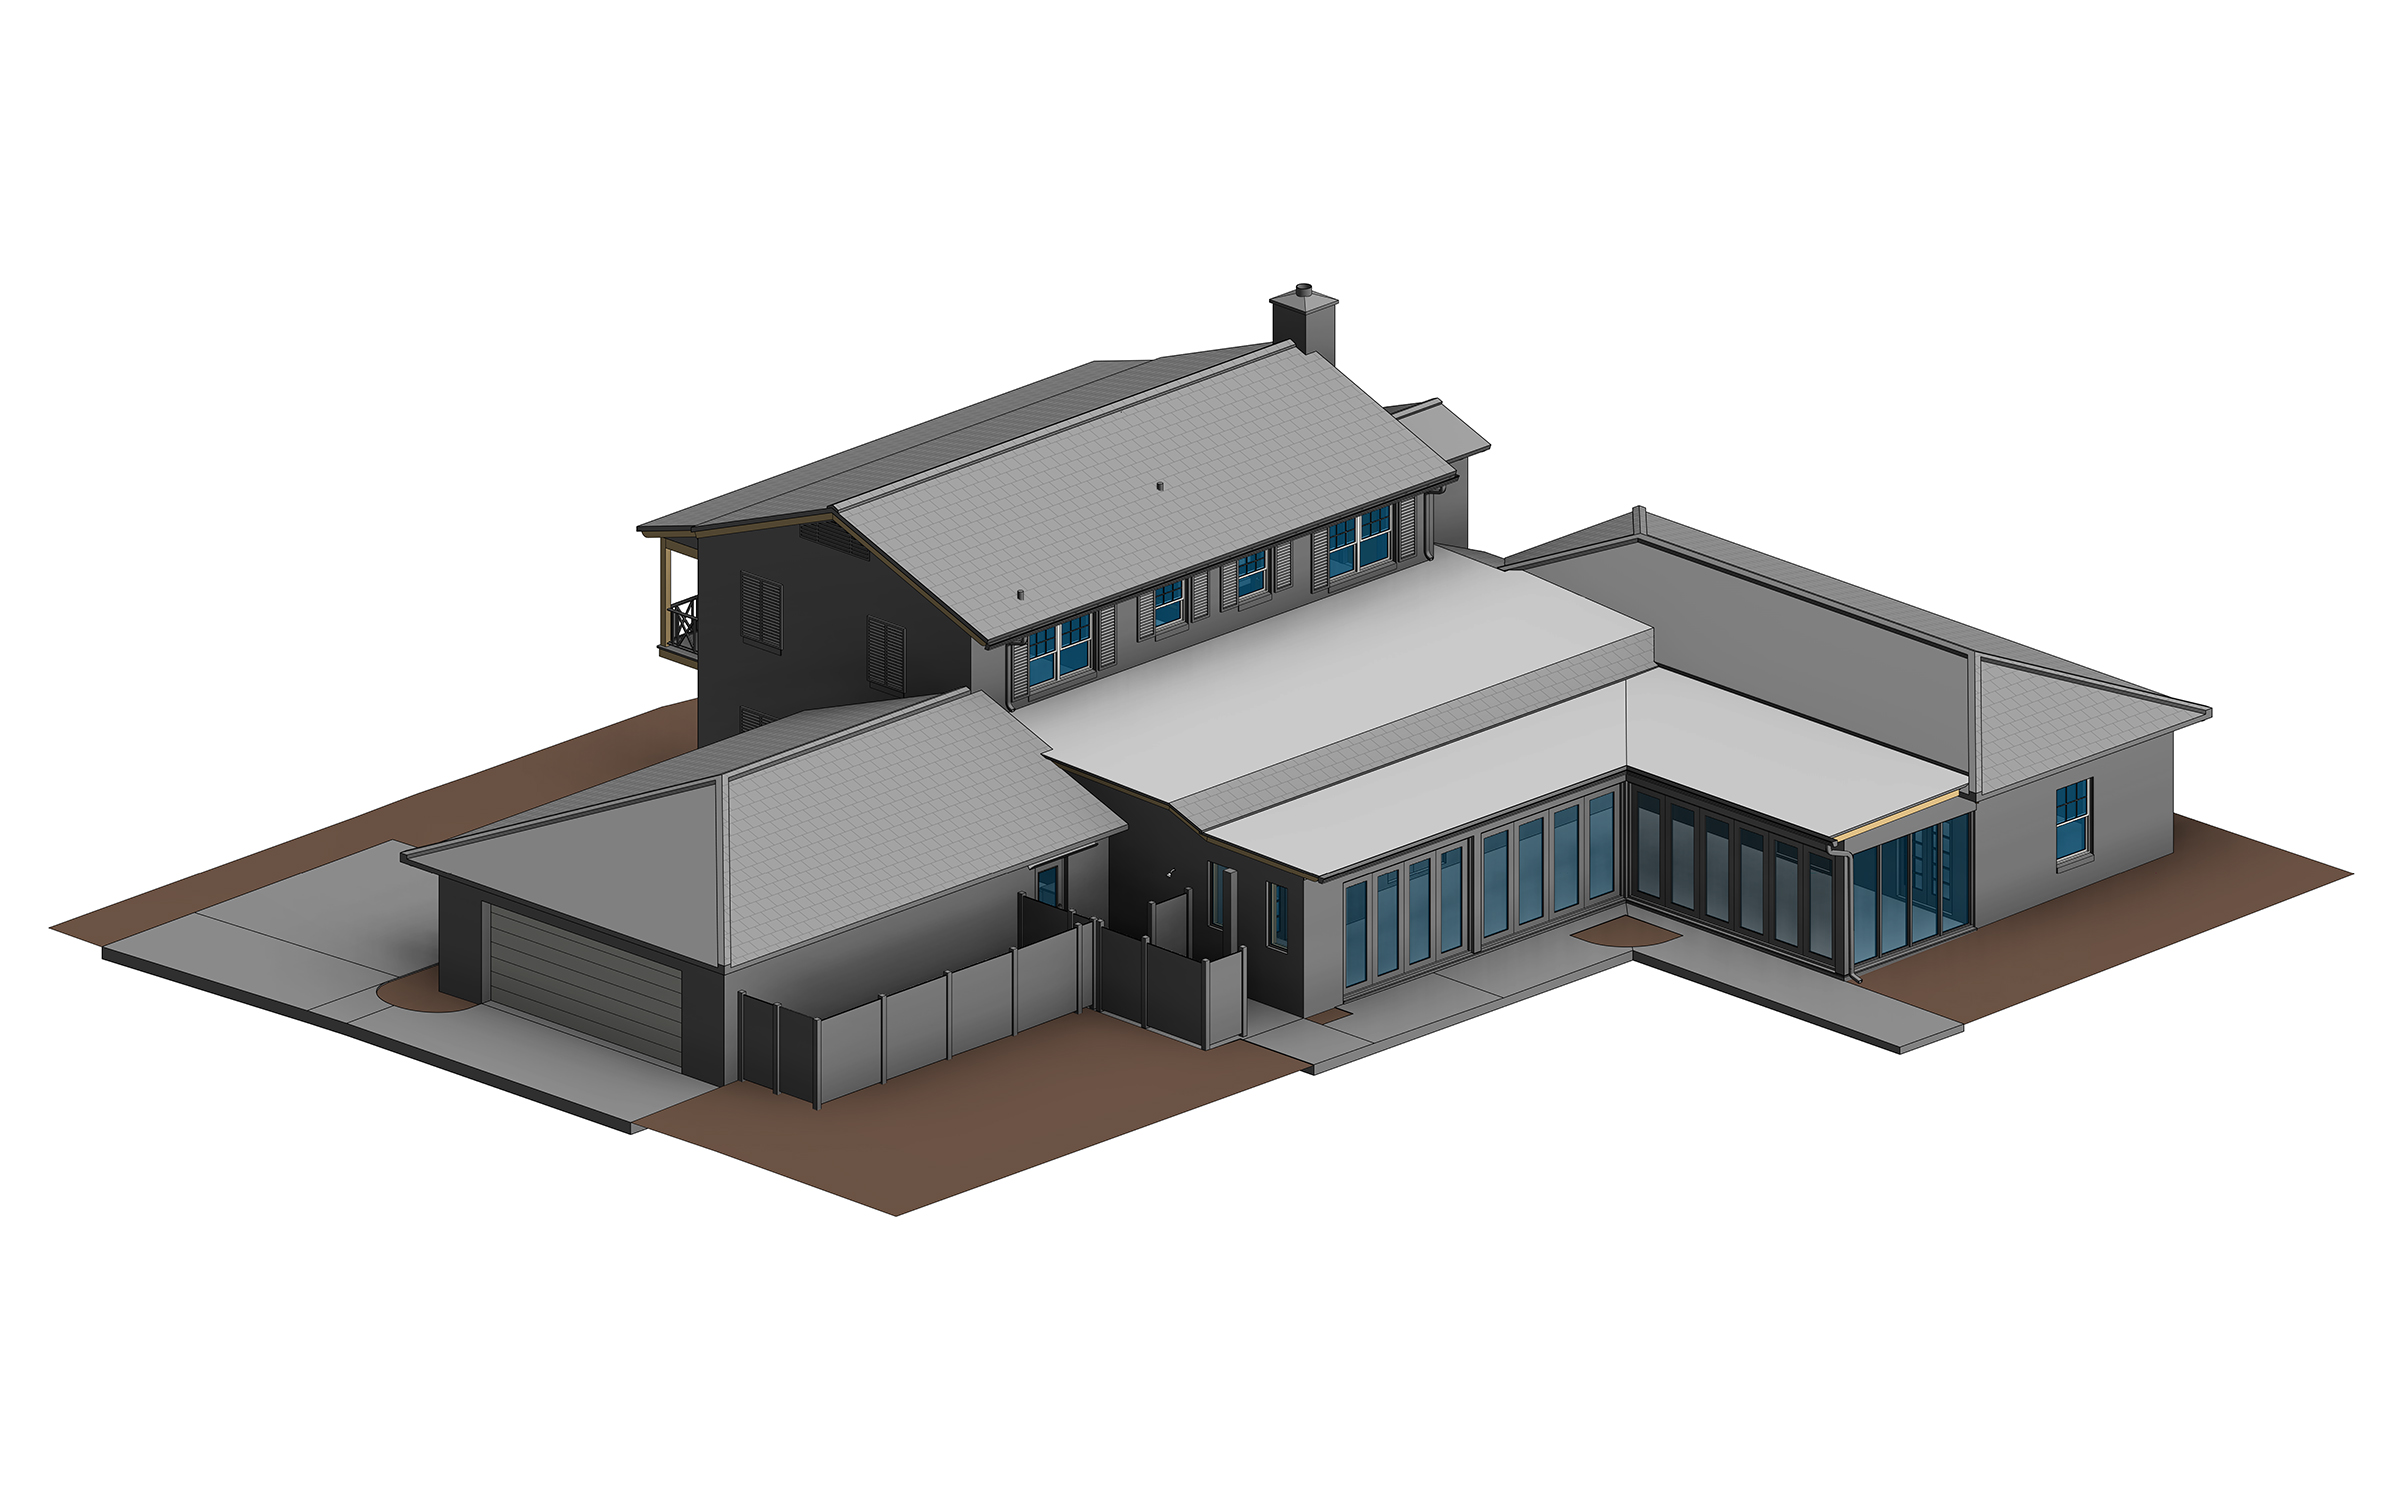
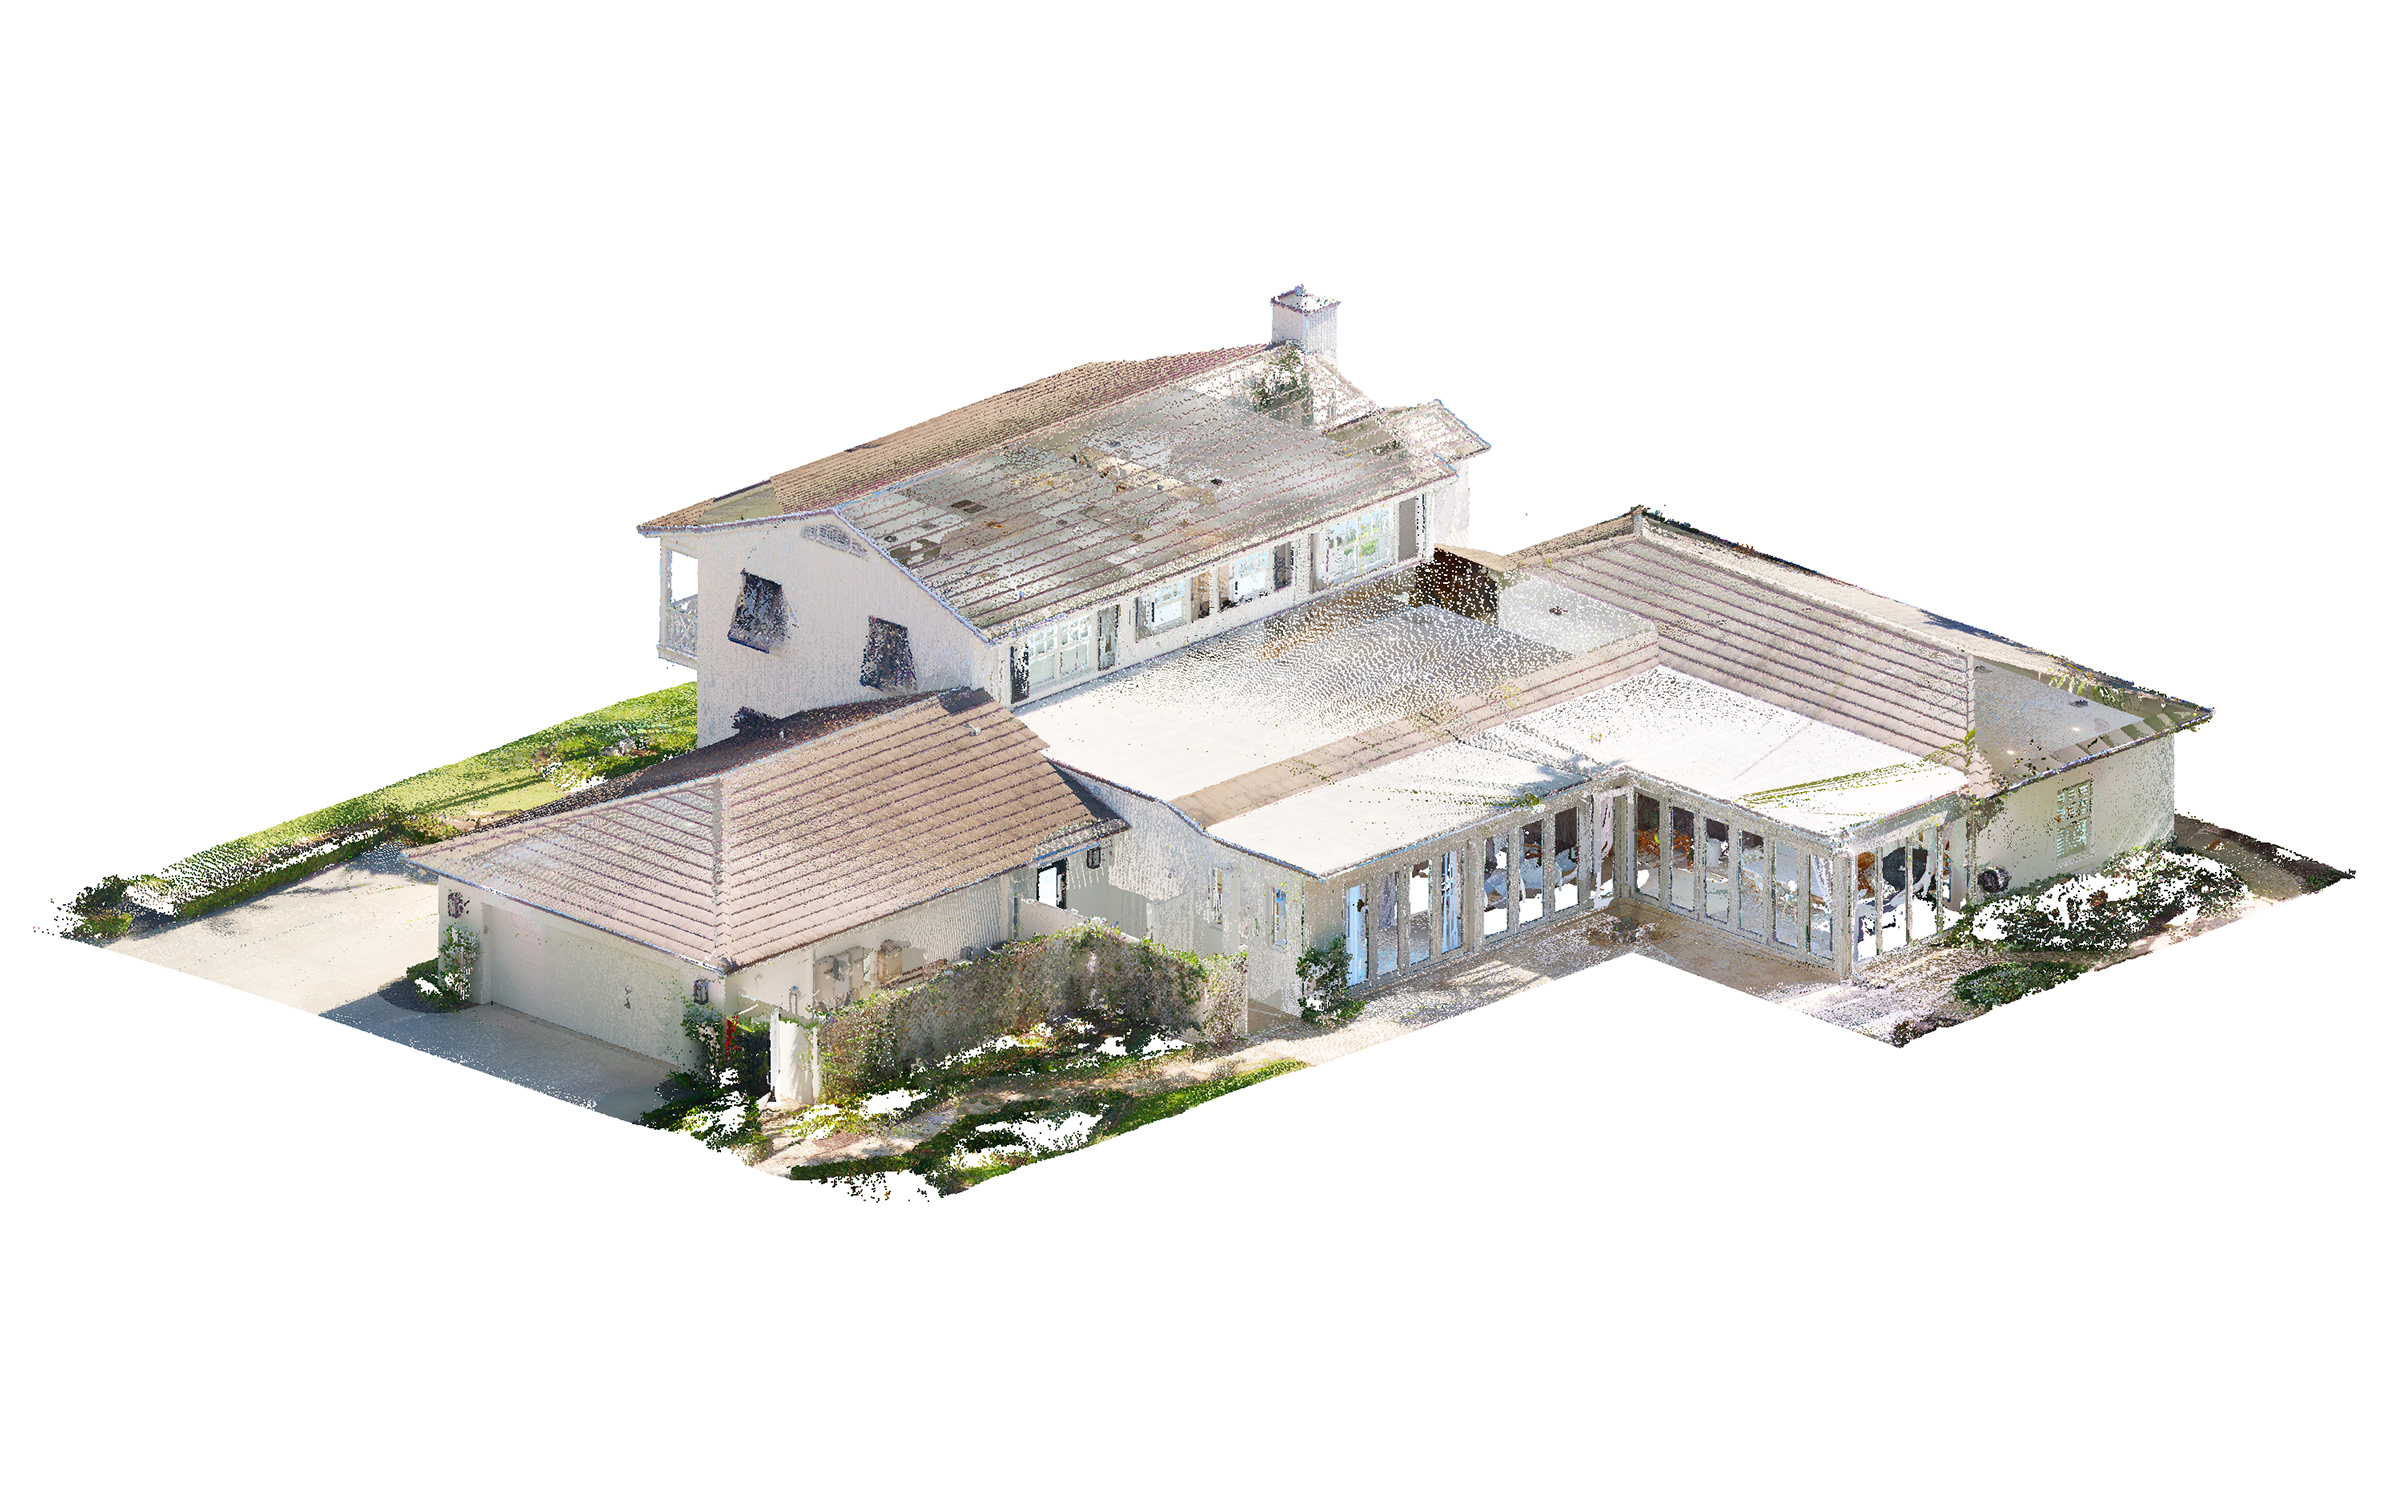
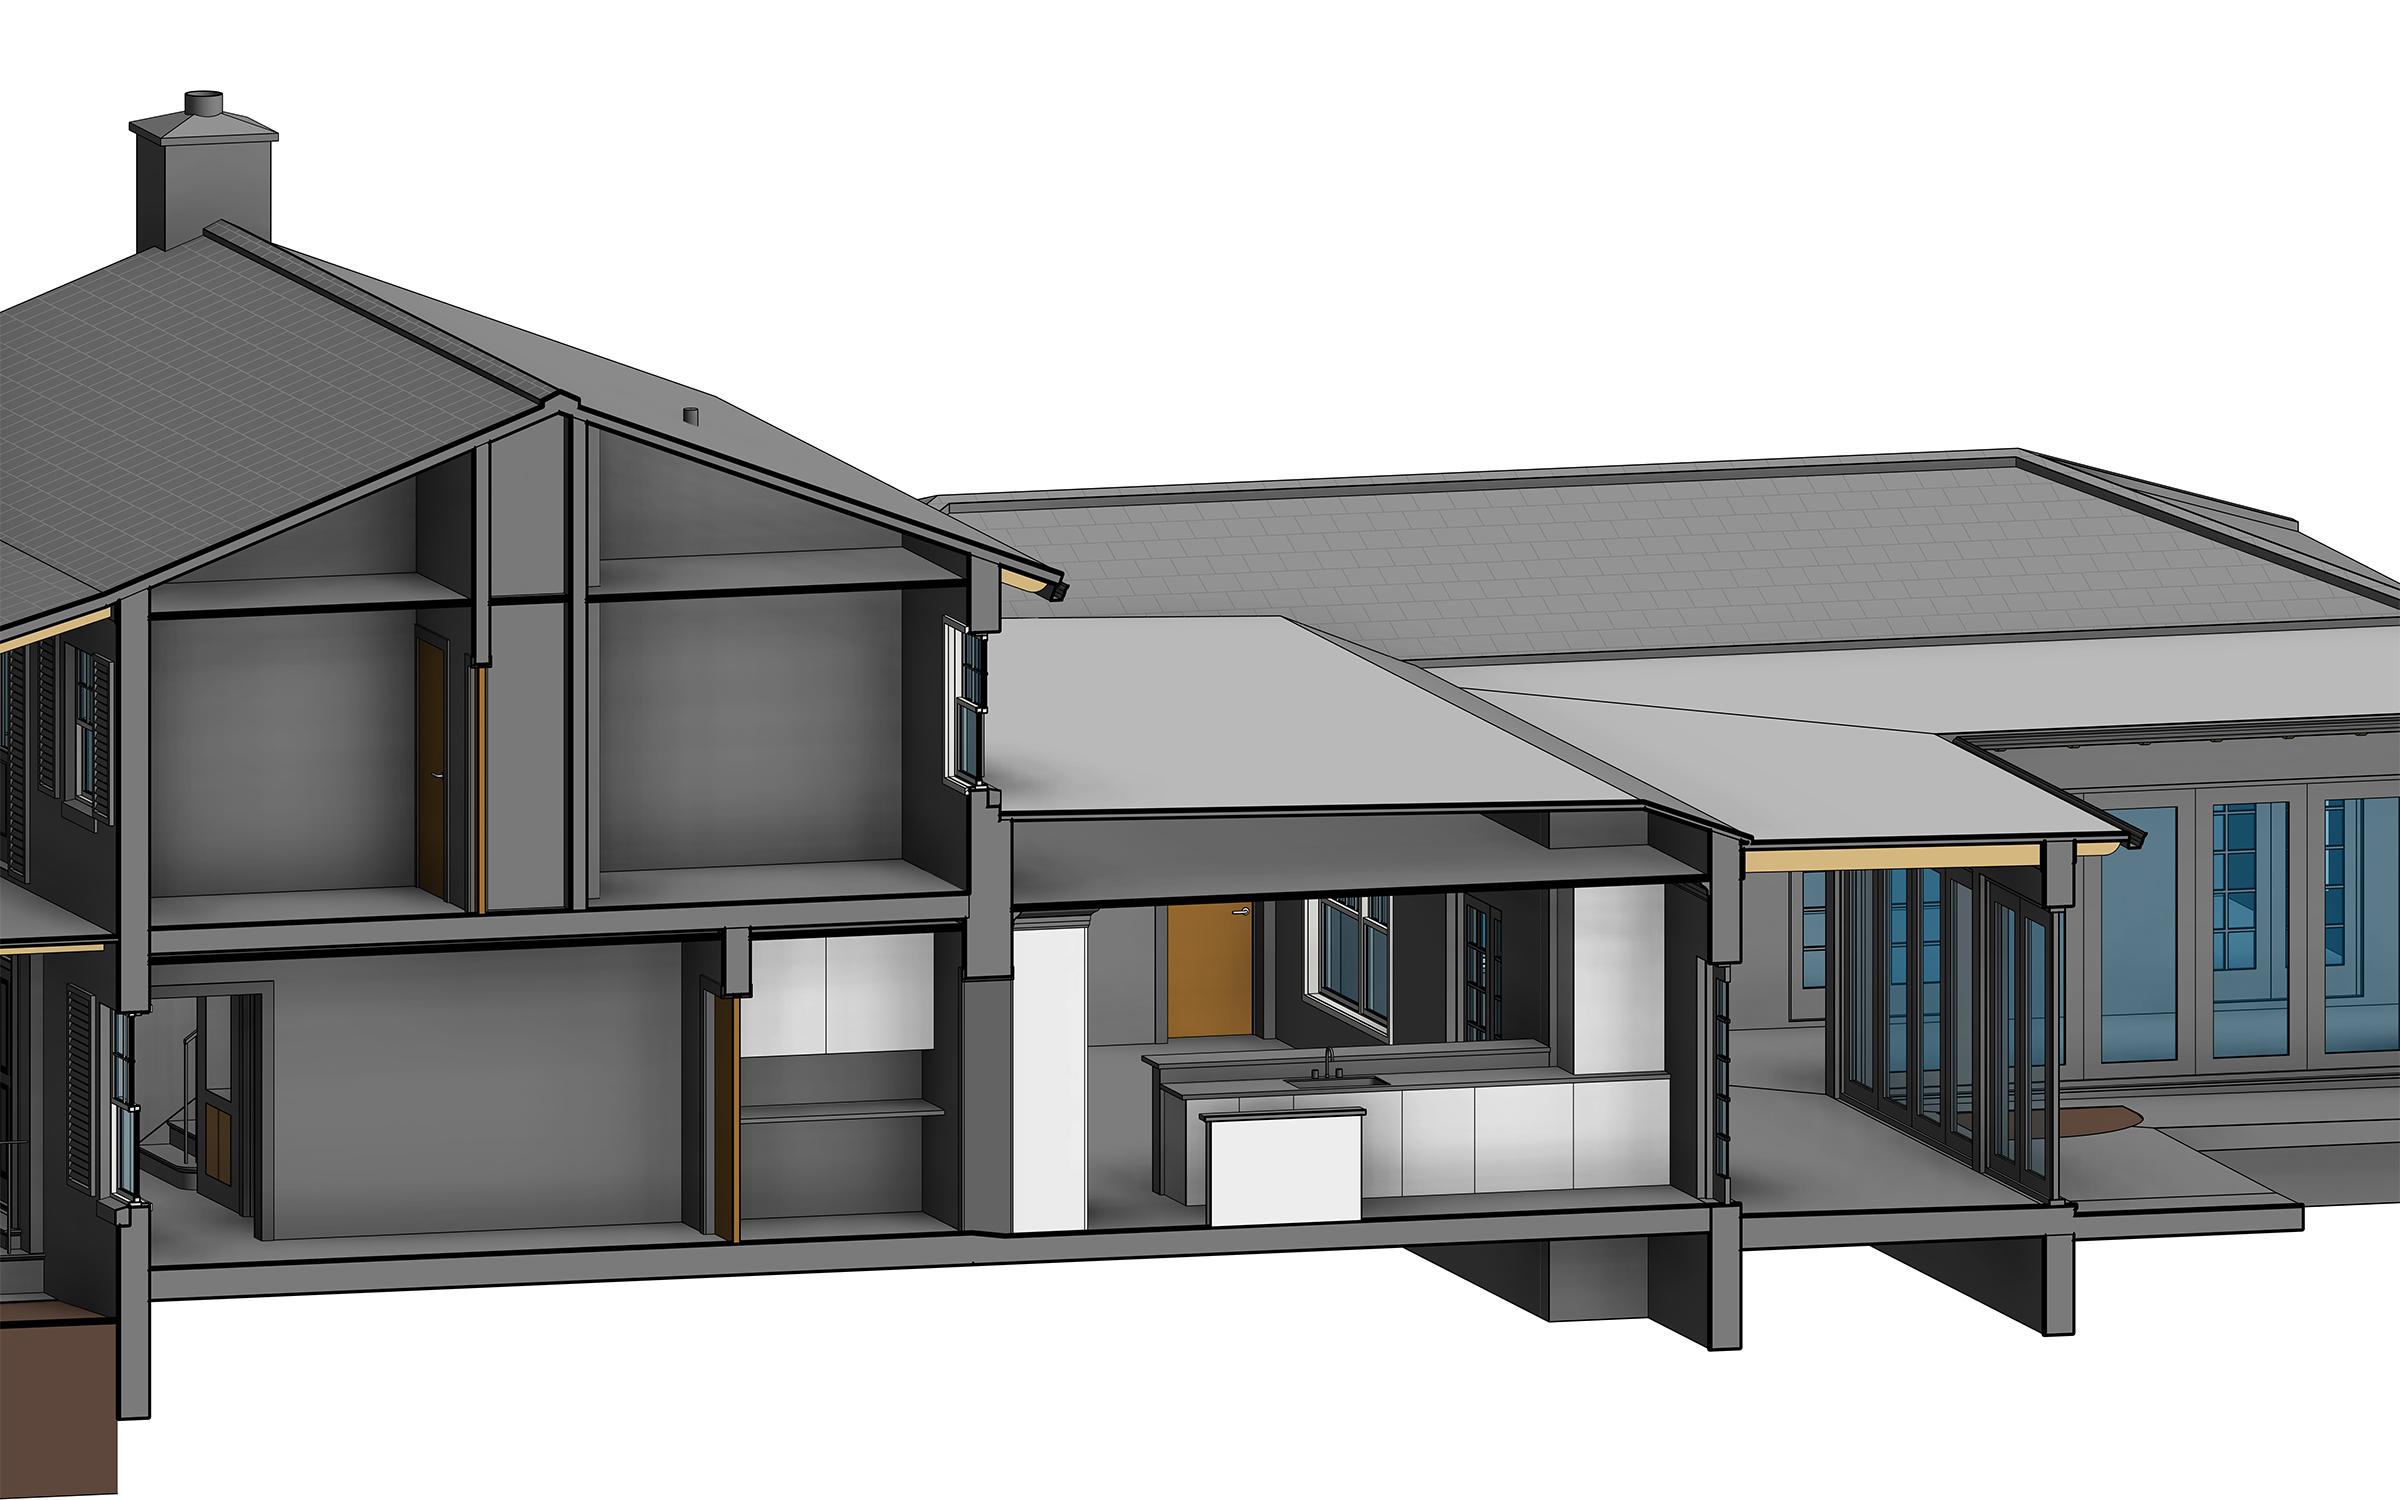
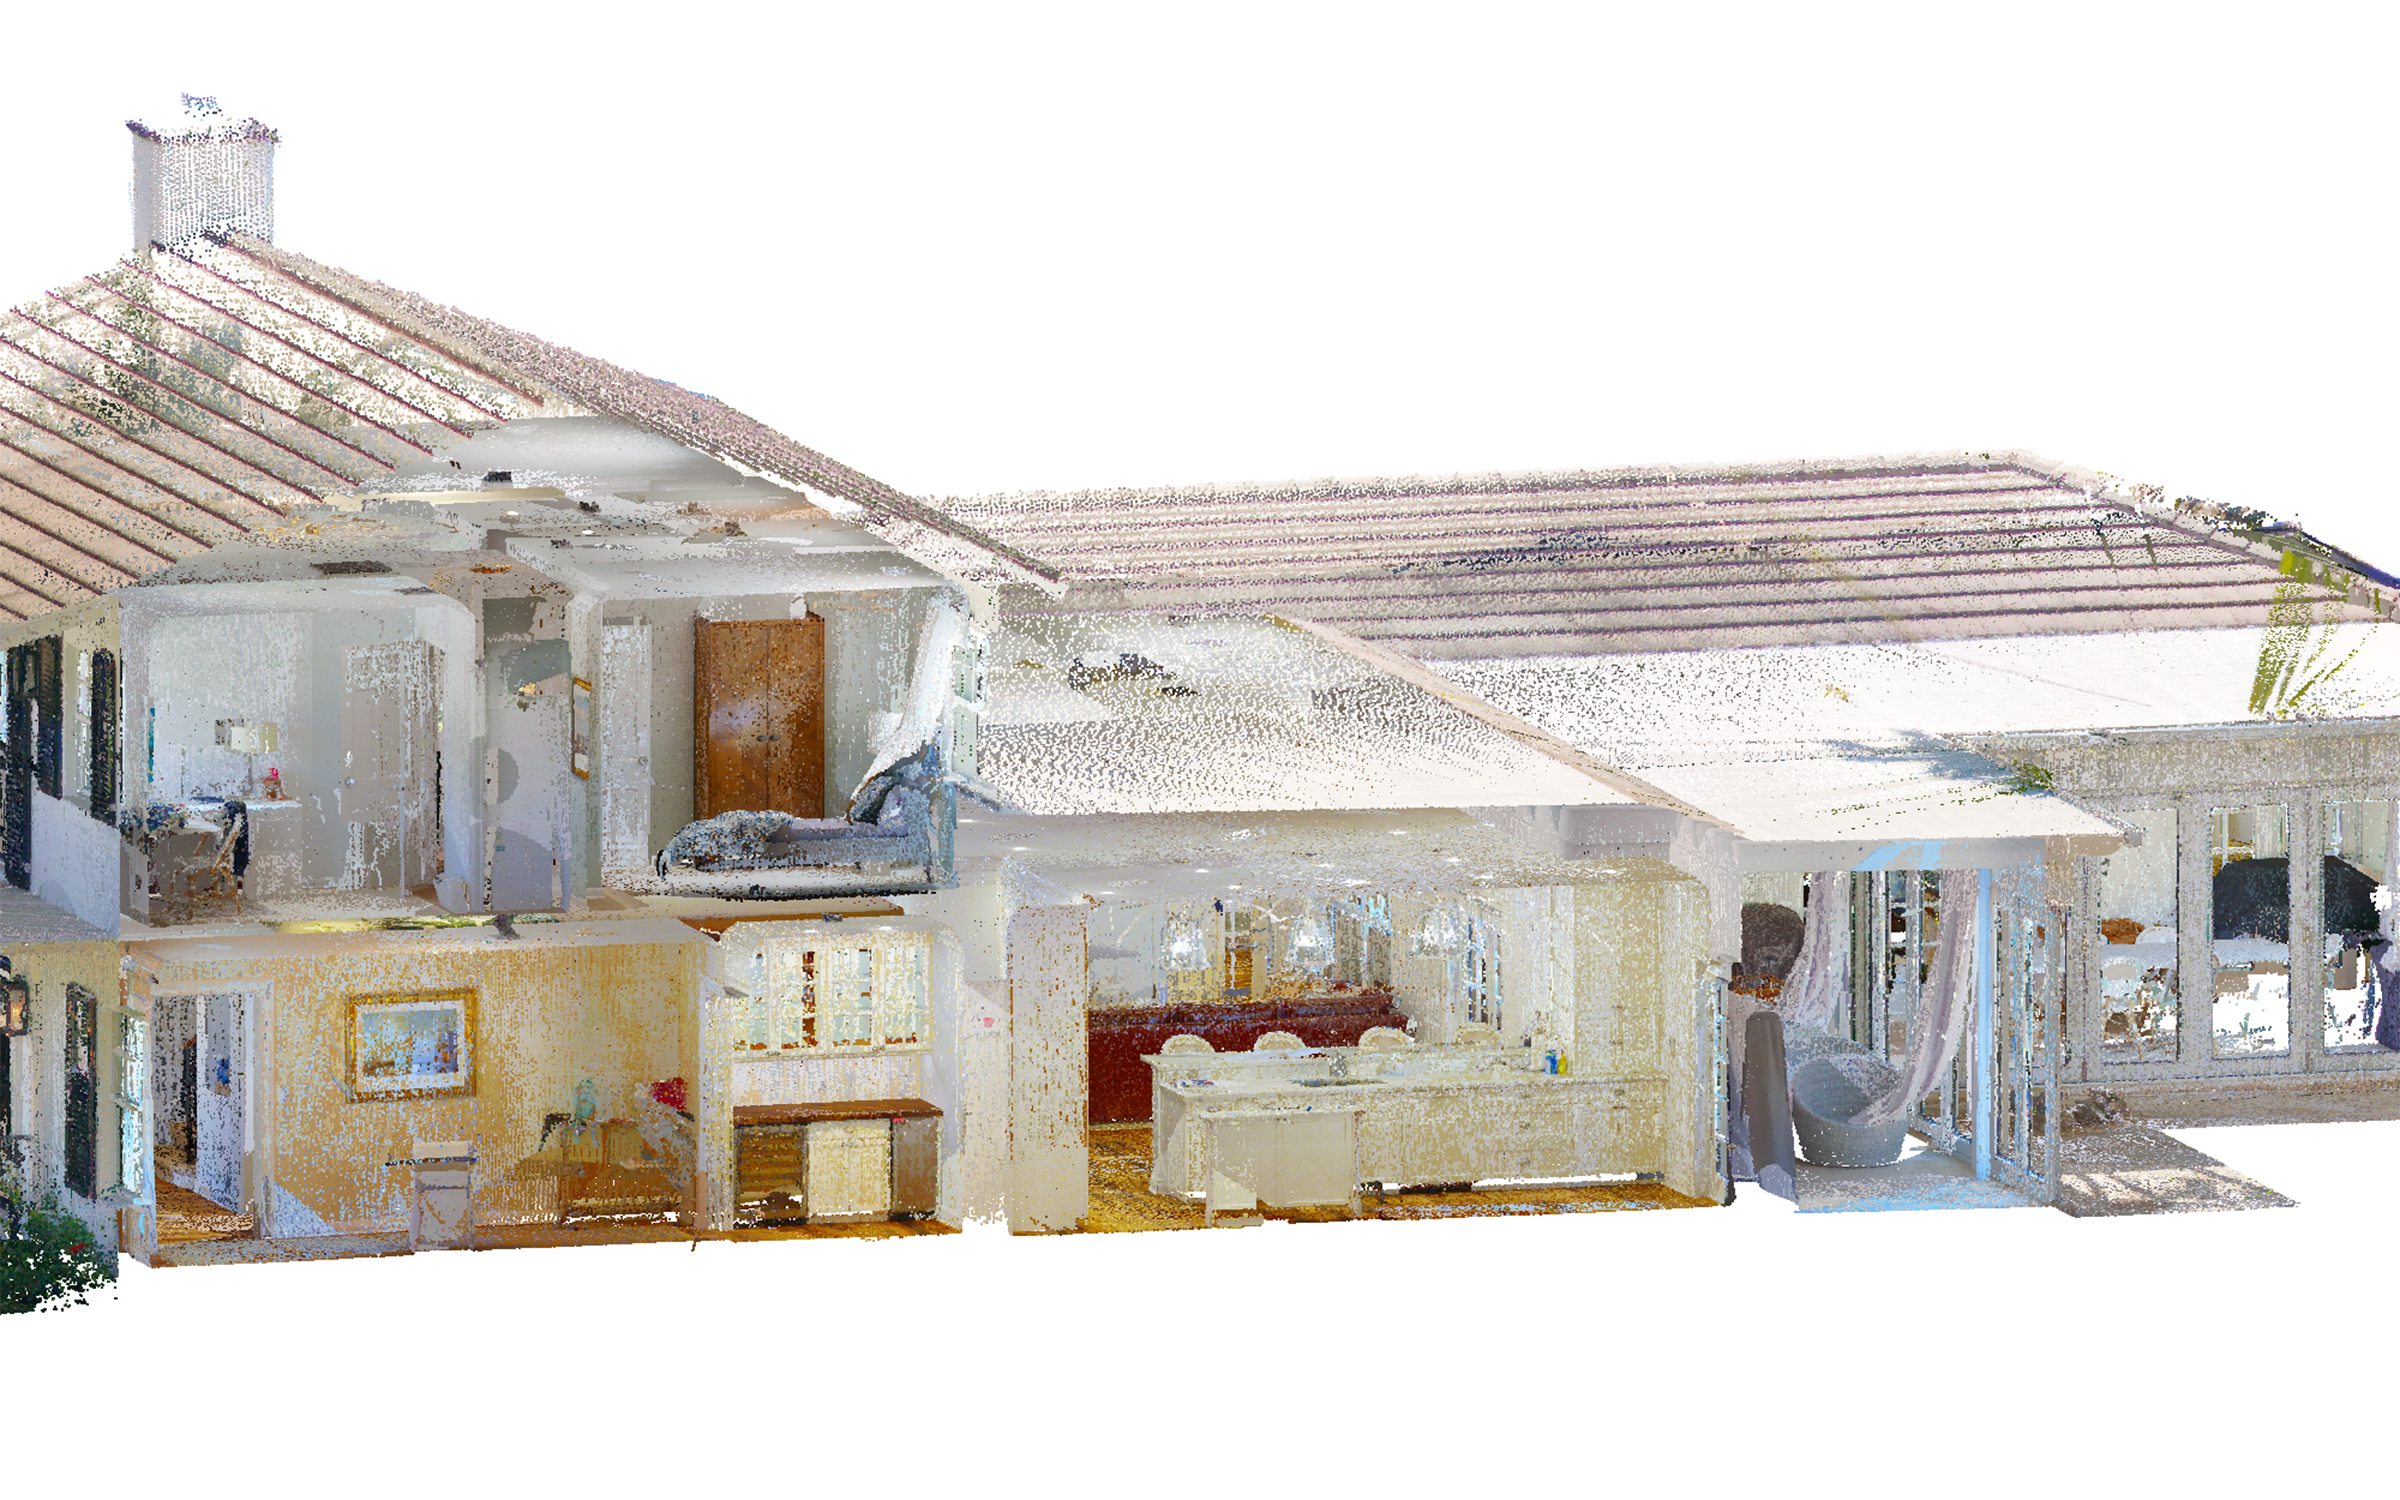
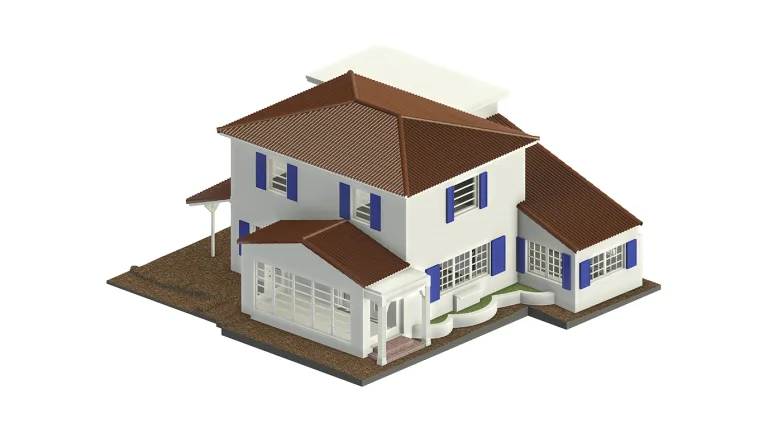
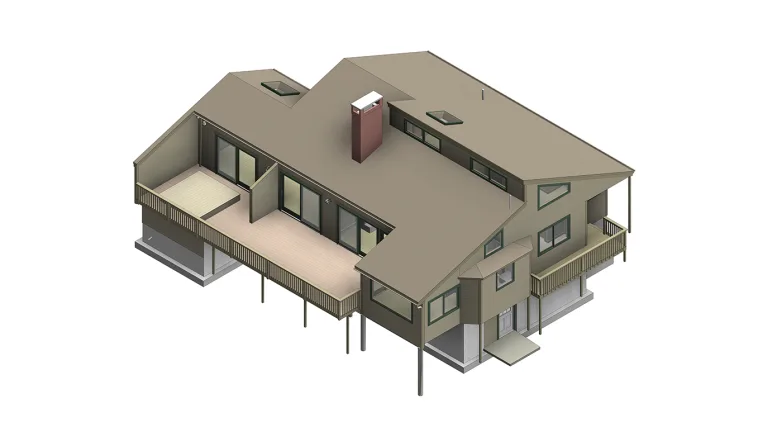
The drawing set drove the modeling decisions for this two-story home with a covered porch. We built an LOD 300 Revit model from the point cloud with a maximum modeling deviation of ½ inch, focusing on the architectural details that needed to appear in the drawings.

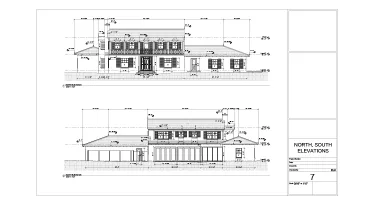
We used that model to produce a dimensioned set of as-built architectural drawings, including floor plans, ceiling plans, sections, and elevations. Because the views came from the same model, the design team had a consistent record of the home’s existing conditions to work from.

Category: BIM, STRUCTURE, ARCHITECTURE
Services:Scan-to-BIM, As-built drawings
Industry:Residential
Object type:Single-family home
Area:520 m² / 5600 ft²
Tools used:Autodesk Revit, Autodesk ReCap, Cintoo
Share:
Project stages
1. Receiving and reviewing the point cloud data
2. Modeling the main building geometry in Revit
3. Developing interior layouts, ceilings, and openings
4. Detailing the facades, including windows, doors, shutters, and railings
5. Producing dimensioned floor plans, ceiling plans, sections, and elevations
6. Checking the model against the point cloud and reviewing the drawings for consistency
7. Delivering the final as-built architectural drawing set
Scope of work

LOD 300 architectural modeling in Revit, covering the home’s interior layout, ceilings, and exterior features.

  • Input: Point cloud data.
  • Output: Complete set of dimensioned 2D as-built architectural drawings.
Point cloud vs model
1

Modeling for as-built sections and elevations

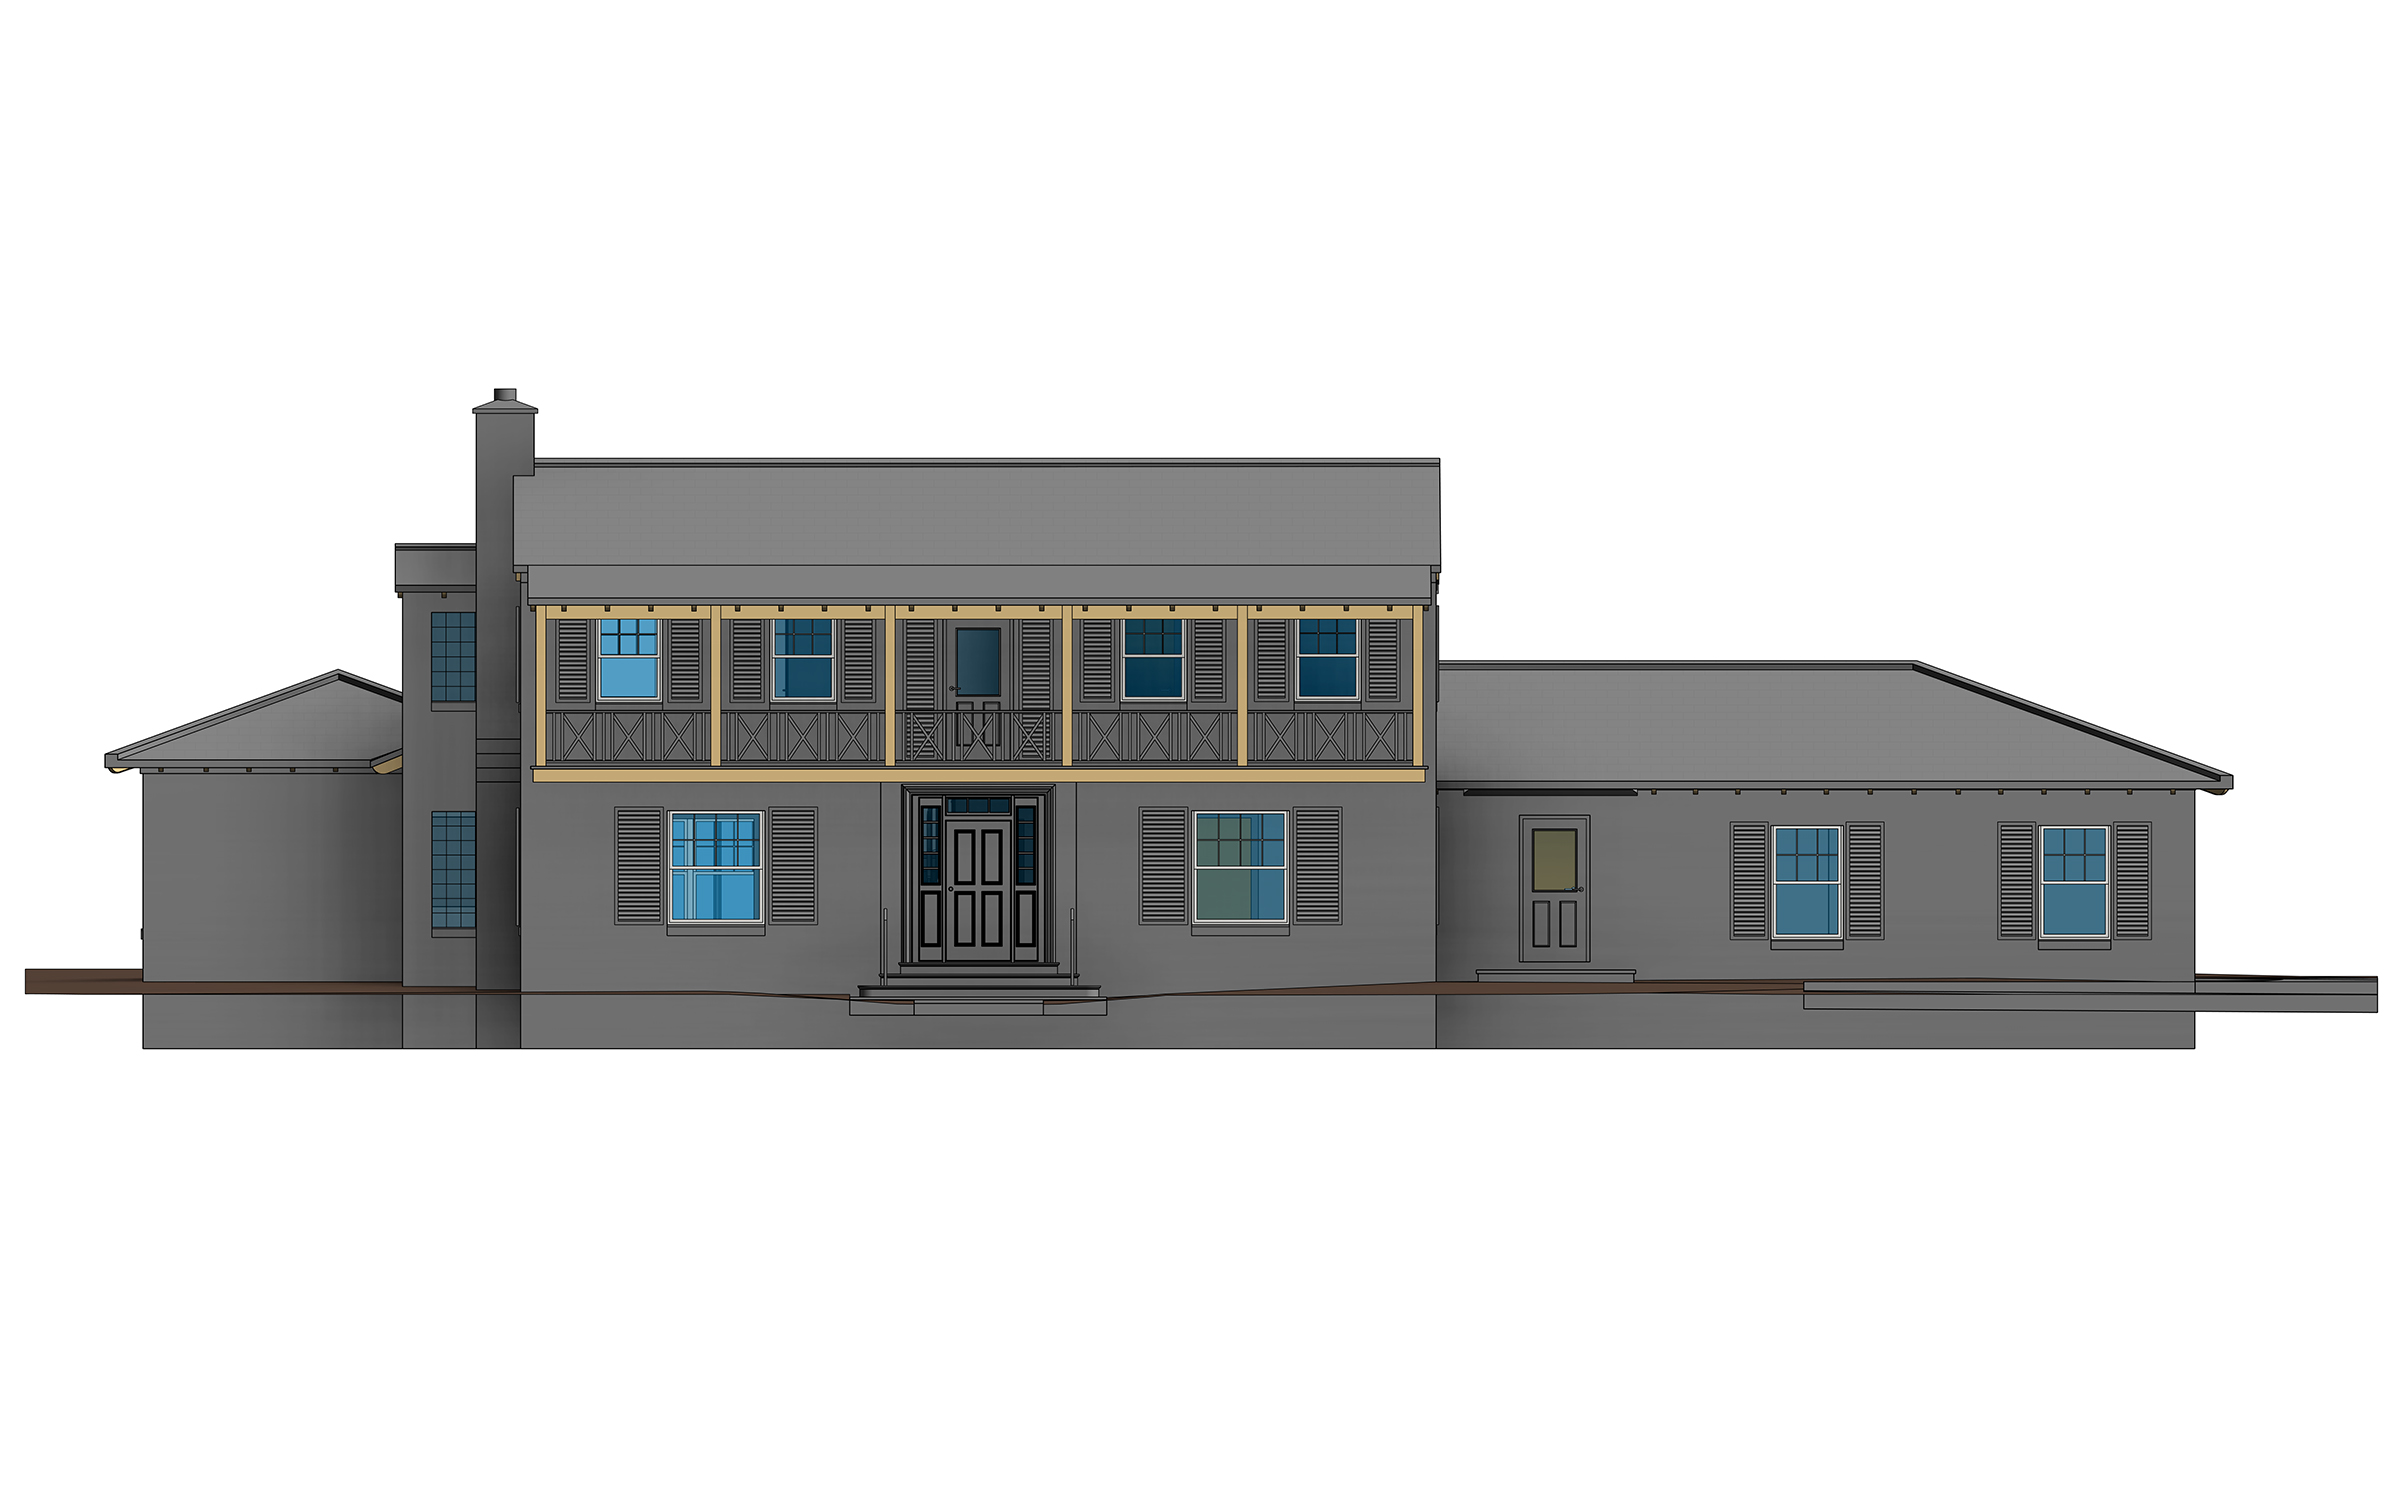
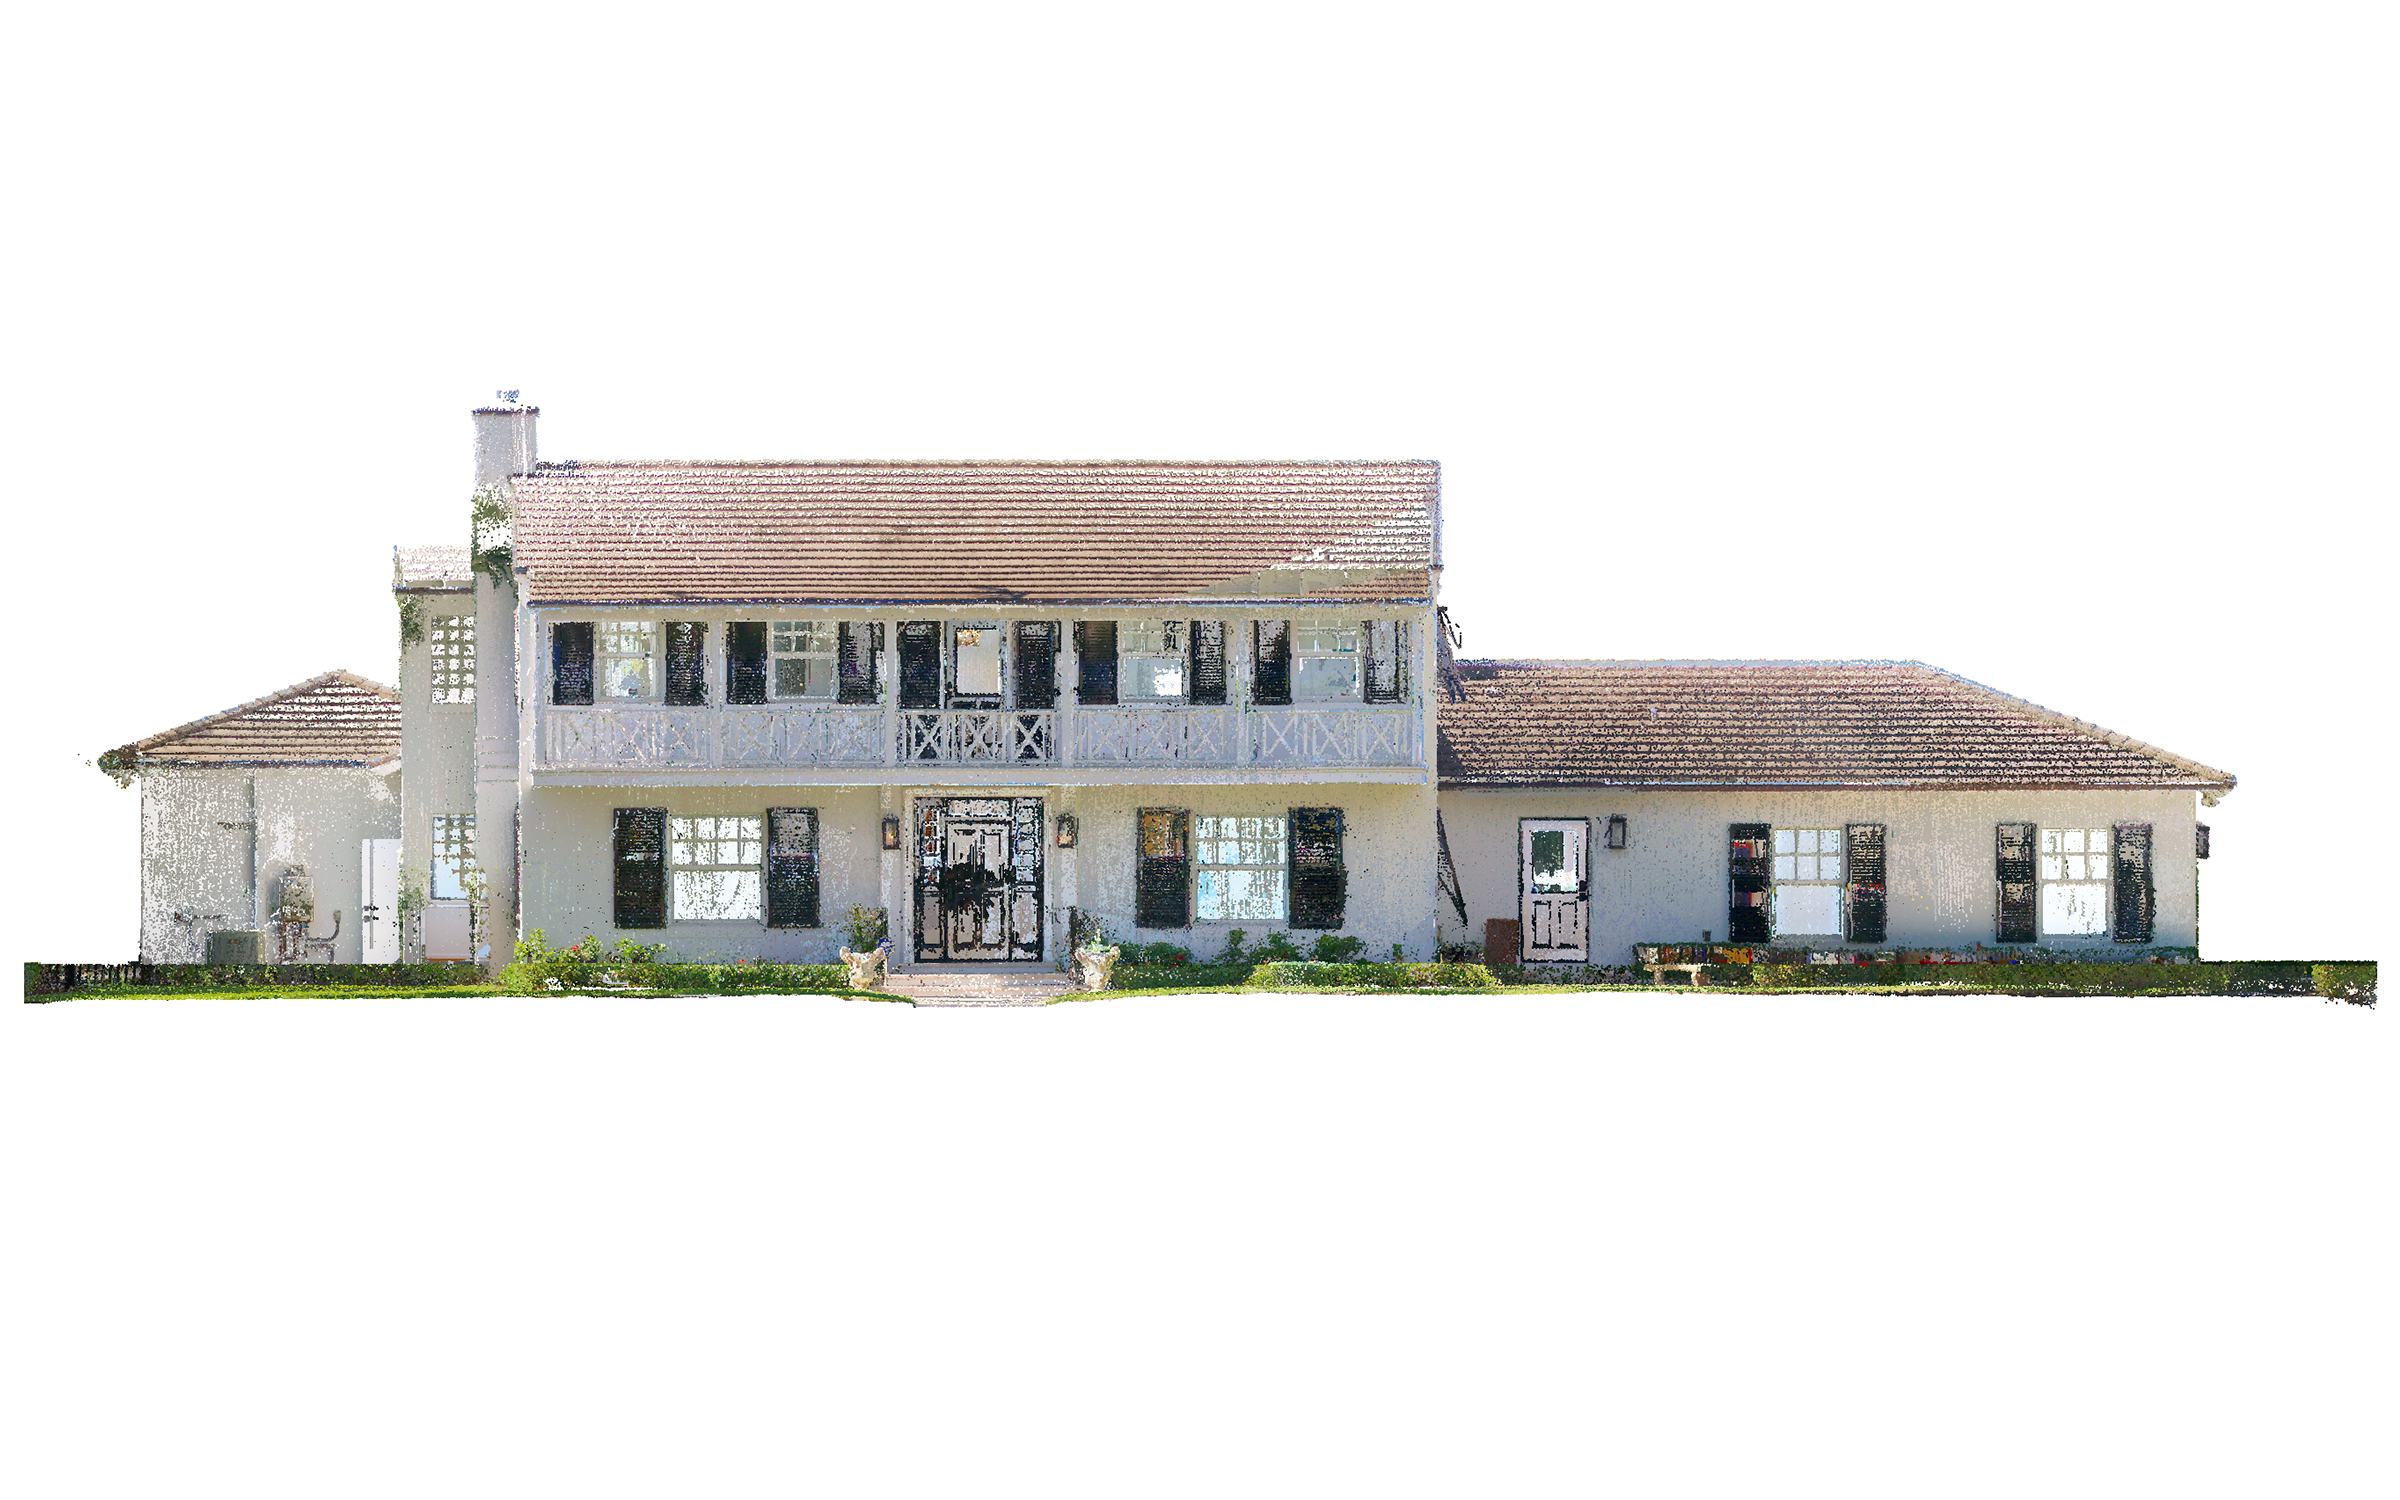
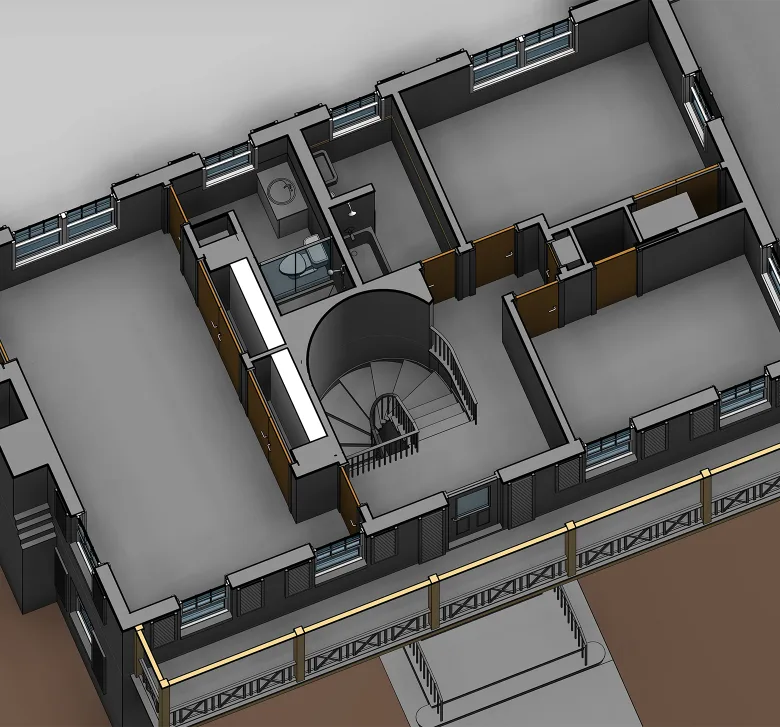
We tailored the level of detail in Revit to what each drawing needed to show. For the sections, we focused on how the floor and ceiling levels relate to the roof. For the elevations, we modeled the home’s exterior profiles and located window and door openings using the point cloud.

Using the same Revit model for plans, sections, and elevations kept the placement of openings consistent wherever they appeared in the drawing set.

Point cloud vs model

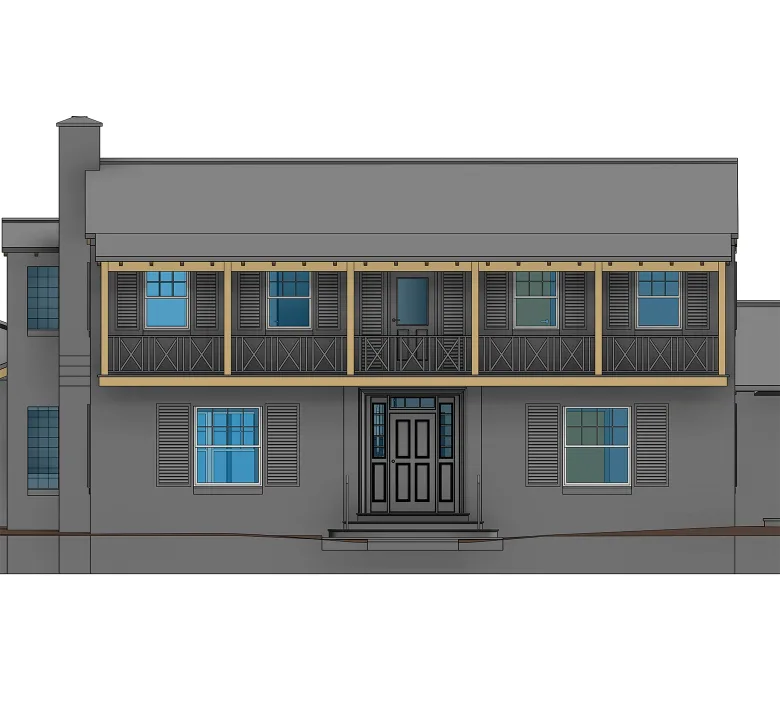
Modeling the home’s facade details

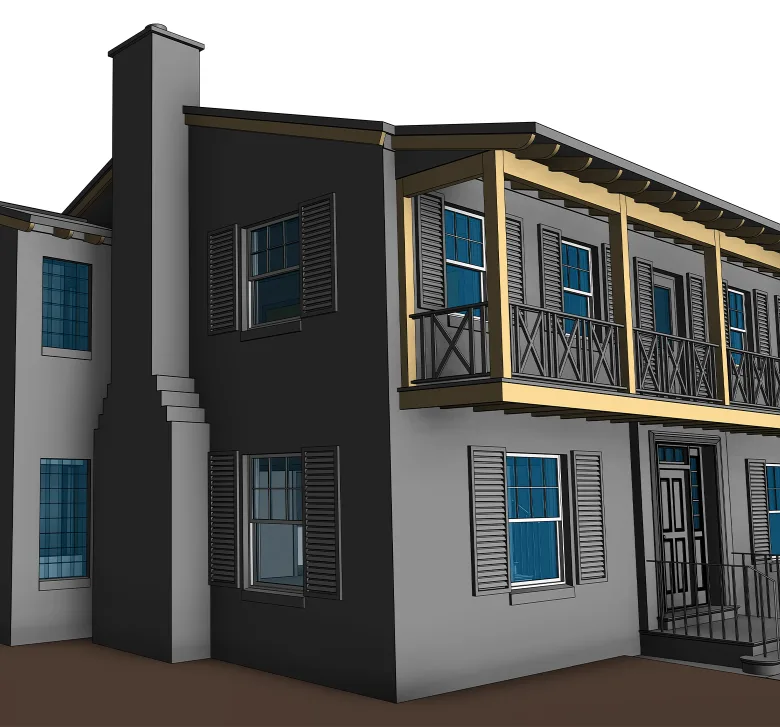
The location of a window or door opening is only part of what an as-built elevation needs to show. For this home, the Revit model also recorded the visible grille patterns in the windows and the panel layouts of the doors. That level of detail makes it possible to distinguish openings that might otherwise look alike on the drawings.

The point cloud provided the reference for aligning these elements with the surrounding facade geometry. The model also captured the placement of shutters and railings and the transitions between exterior finishes, so the elevations show how those details relate to the building as a whole.

1
Point cloud vs model
1

Interior layouts and furnishings

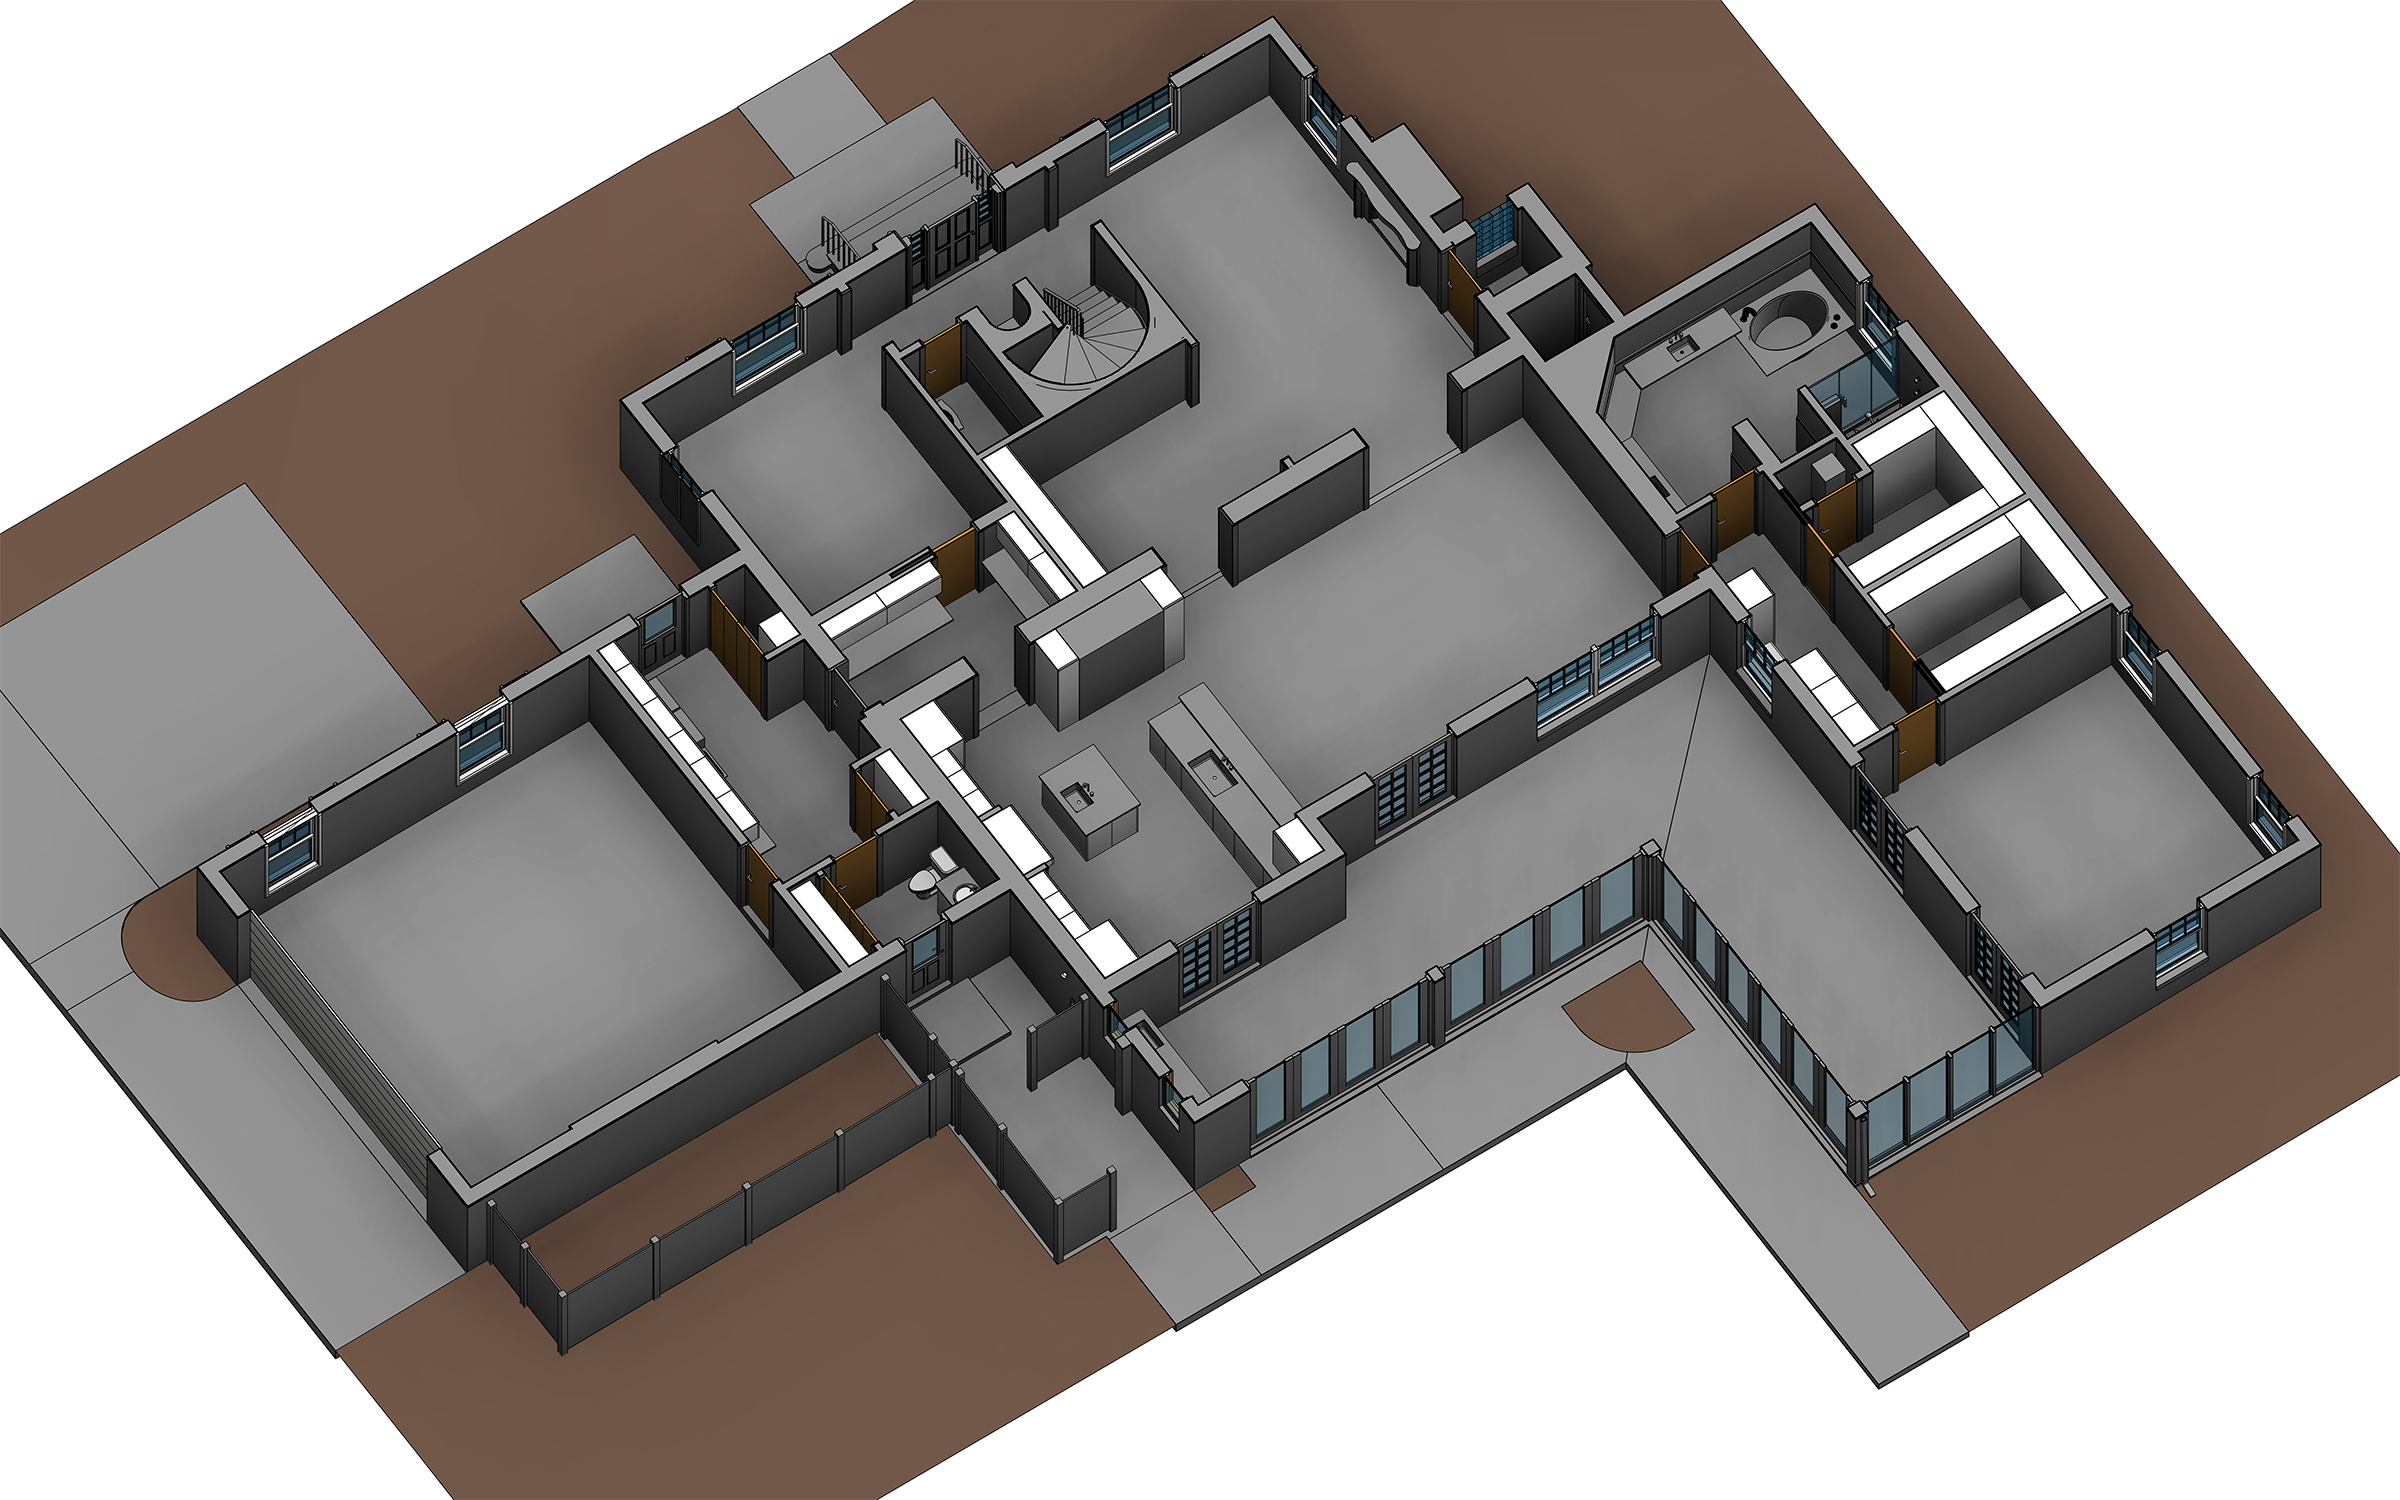
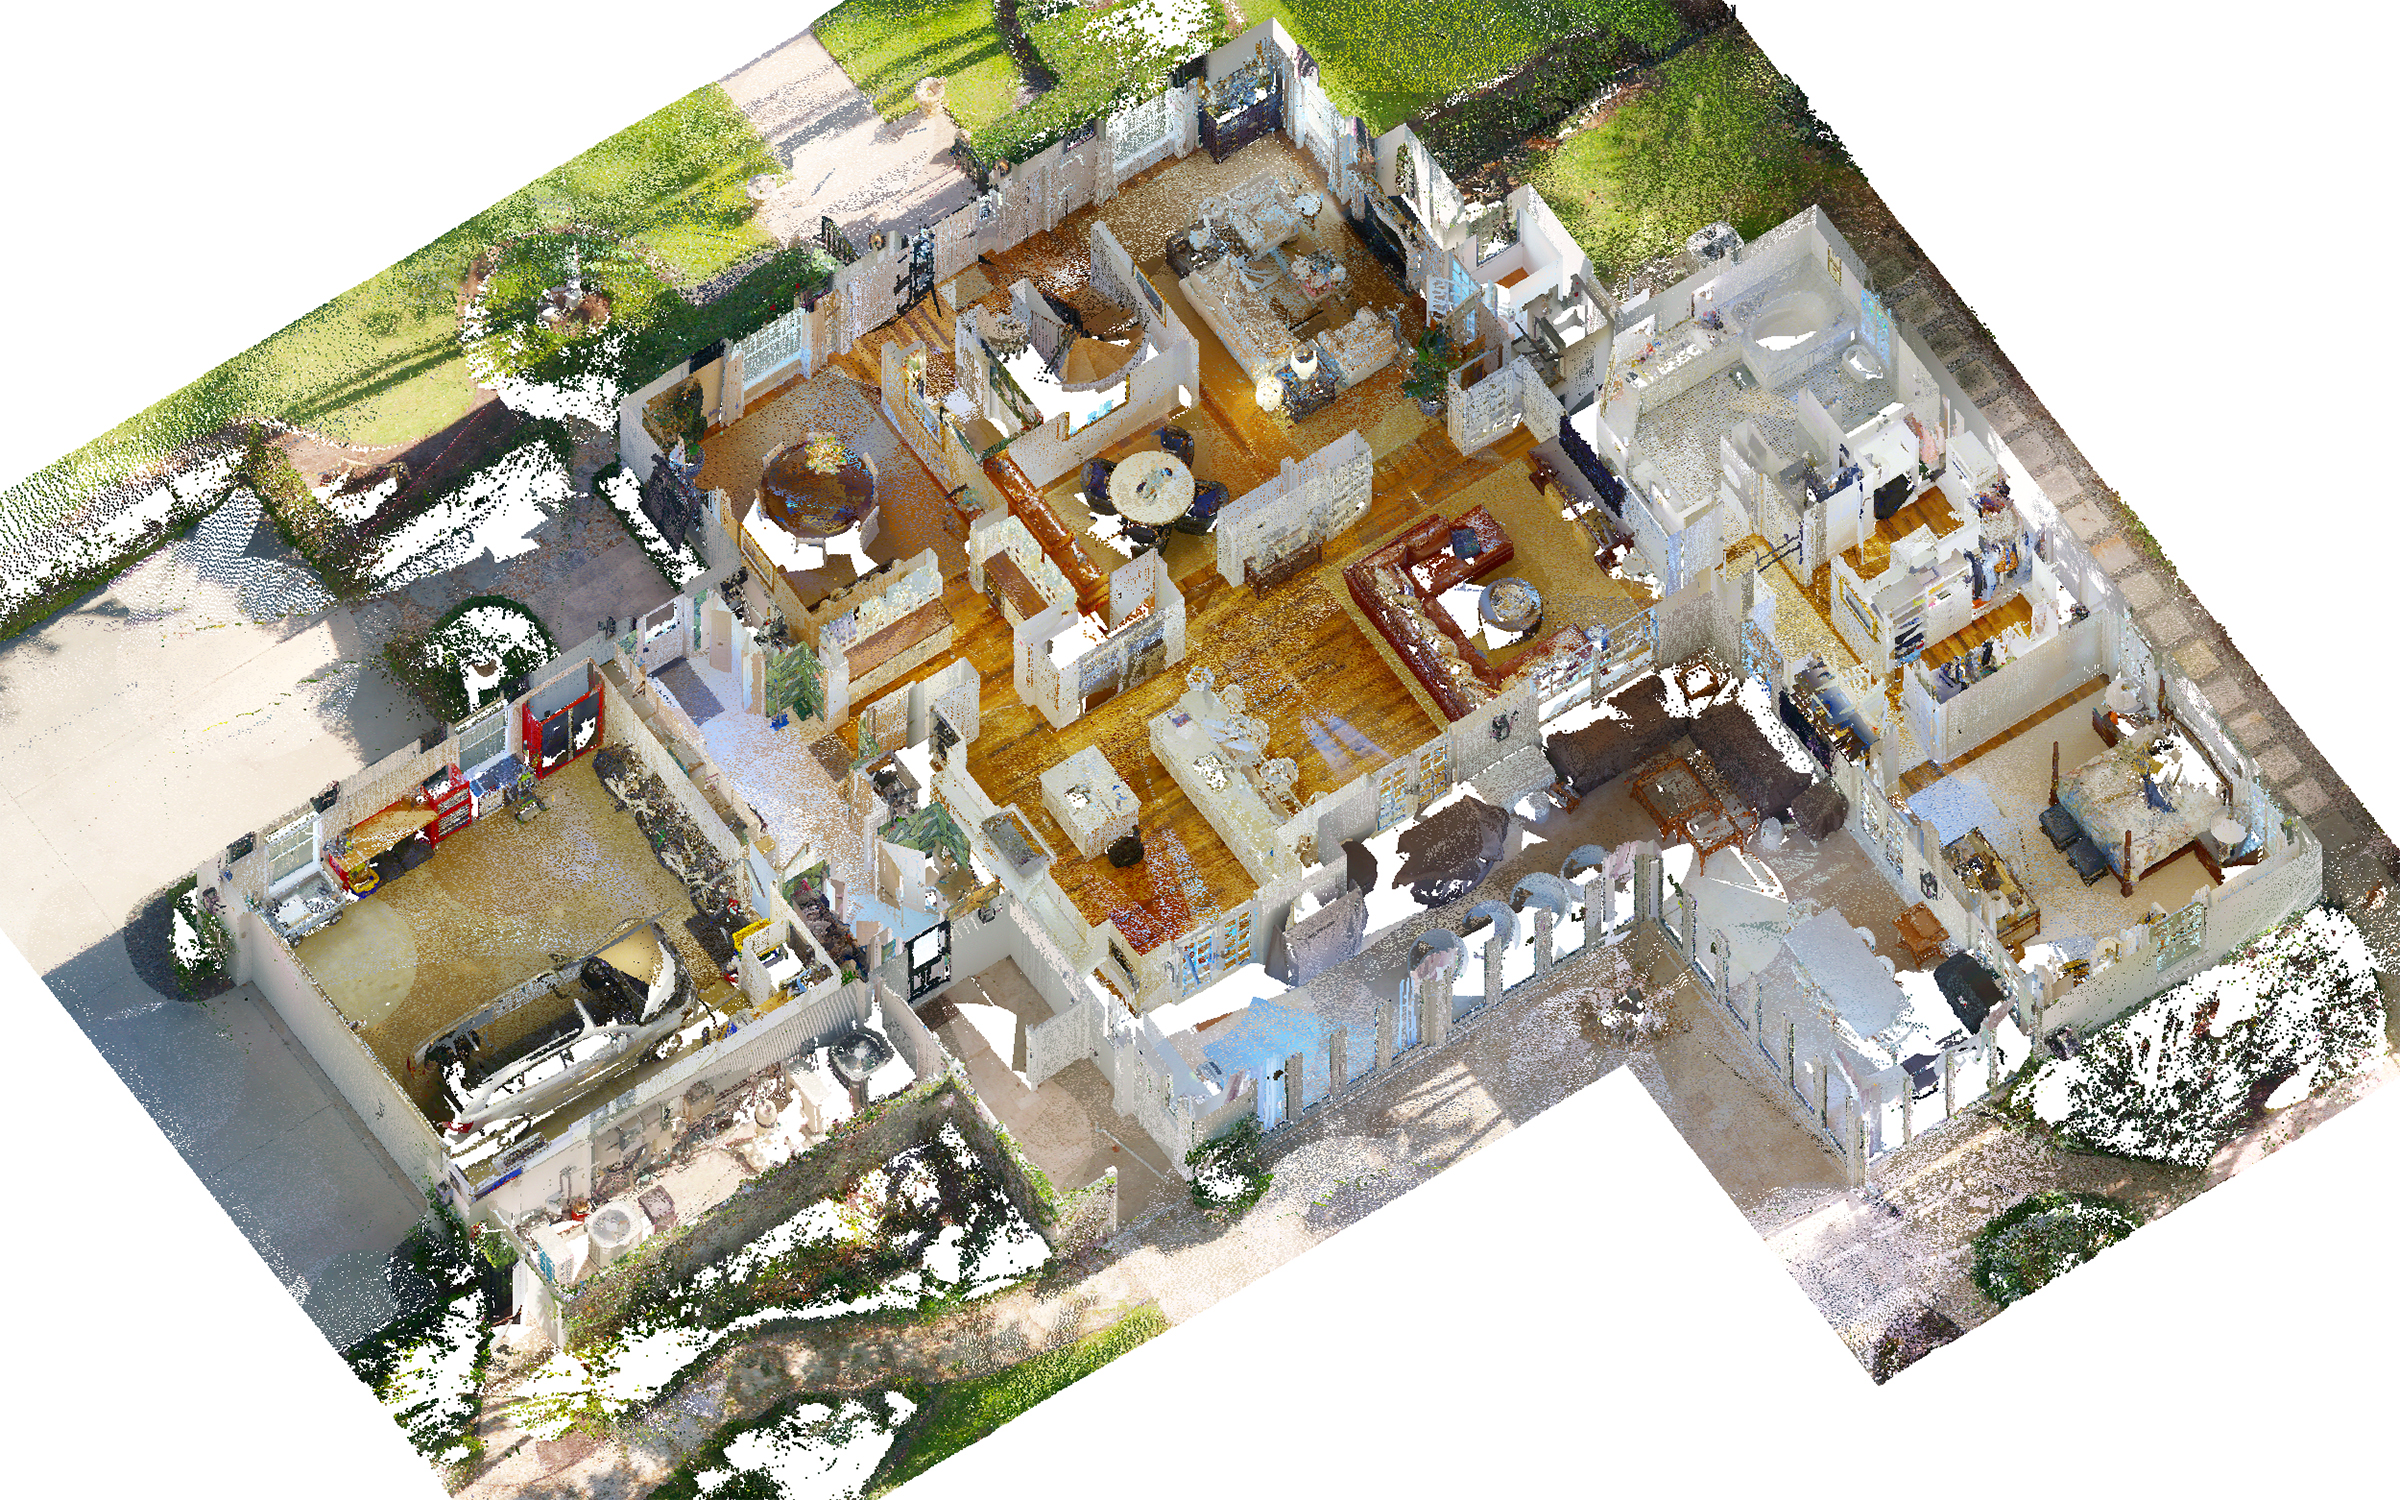
The interior model records the existing room layouts, walls, ceilings, and openings captured in the scan. These architectural elements form the basis for the as-built floor plans, ceiling plans, and building sections.

Existing furniture and other nonstructural elements were included where they helped explain how a room was arranged. Simplified geometry showed the approximate size and position of each piece of furniture. This made the existing interiors easier to read in the drawings without adding unnecessary complexity to the Revit model.

Point cloud vs model

Architectural scope and level of detail

The model needed enough detail to document the home as it stood, but it wasn’t intended for construction detailing. We kept the geometry and dimensions that mattered to the as-built plans, sections, and elevations, and simplified elements where finer detail wouldn’t change what those drawings conveyed.

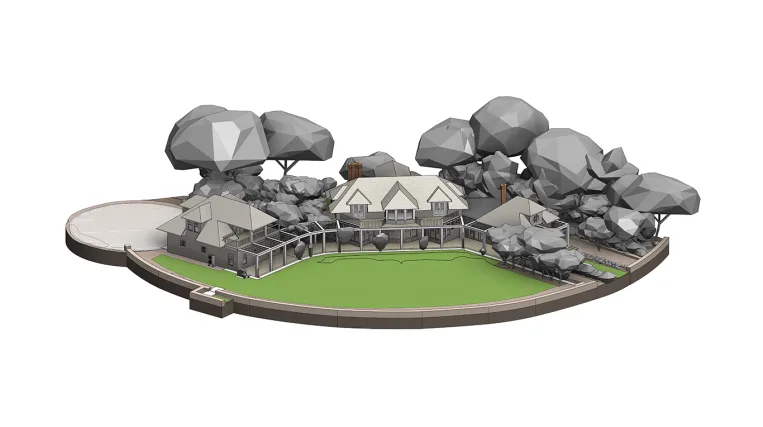
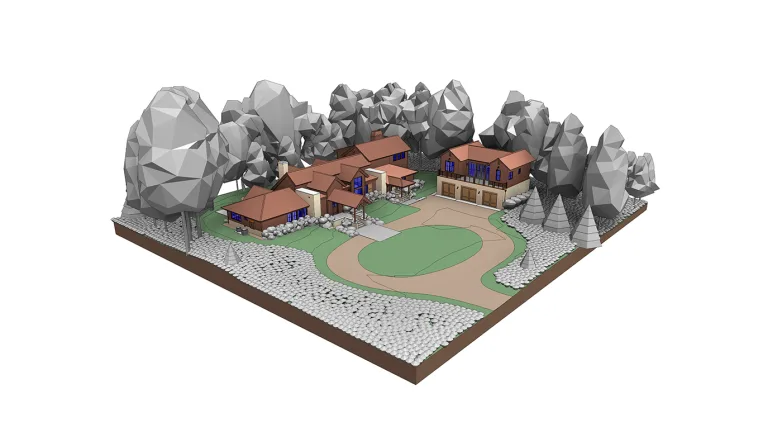
Mechanical, electrical, and plumbing (MEP) systems, landscaping, and site development were outside the scope of both the Revit model and the drawing package. That kept the model easy to work with while preserving the information needed to produce the final 2D drawings.

1
Point cloud vs model
Drawings

Click on preview to view high-resolution PDF drawings

Benefits
The dimensioned as-built drawing set gives the design team a measured baseline for developing renovation options
Plans, sections, and elevations share the same Revit geometry, so the team can trace an opening or level from one view to another without reconciling separately drafted views
The exterior elevations show window grille patterns, door panels, shutters, and railings, making it easier to see which existing facade details a proposed change would affect
Simplified furnishings show how the rooms are arranged without crowding the floor plans, keeping the walls, openings, and dimensions easy to read
Tools used
1
Autodesk Revit
1
Autodesk ReCap
1
Cintoo
view project view more view photos