Search...
Overview

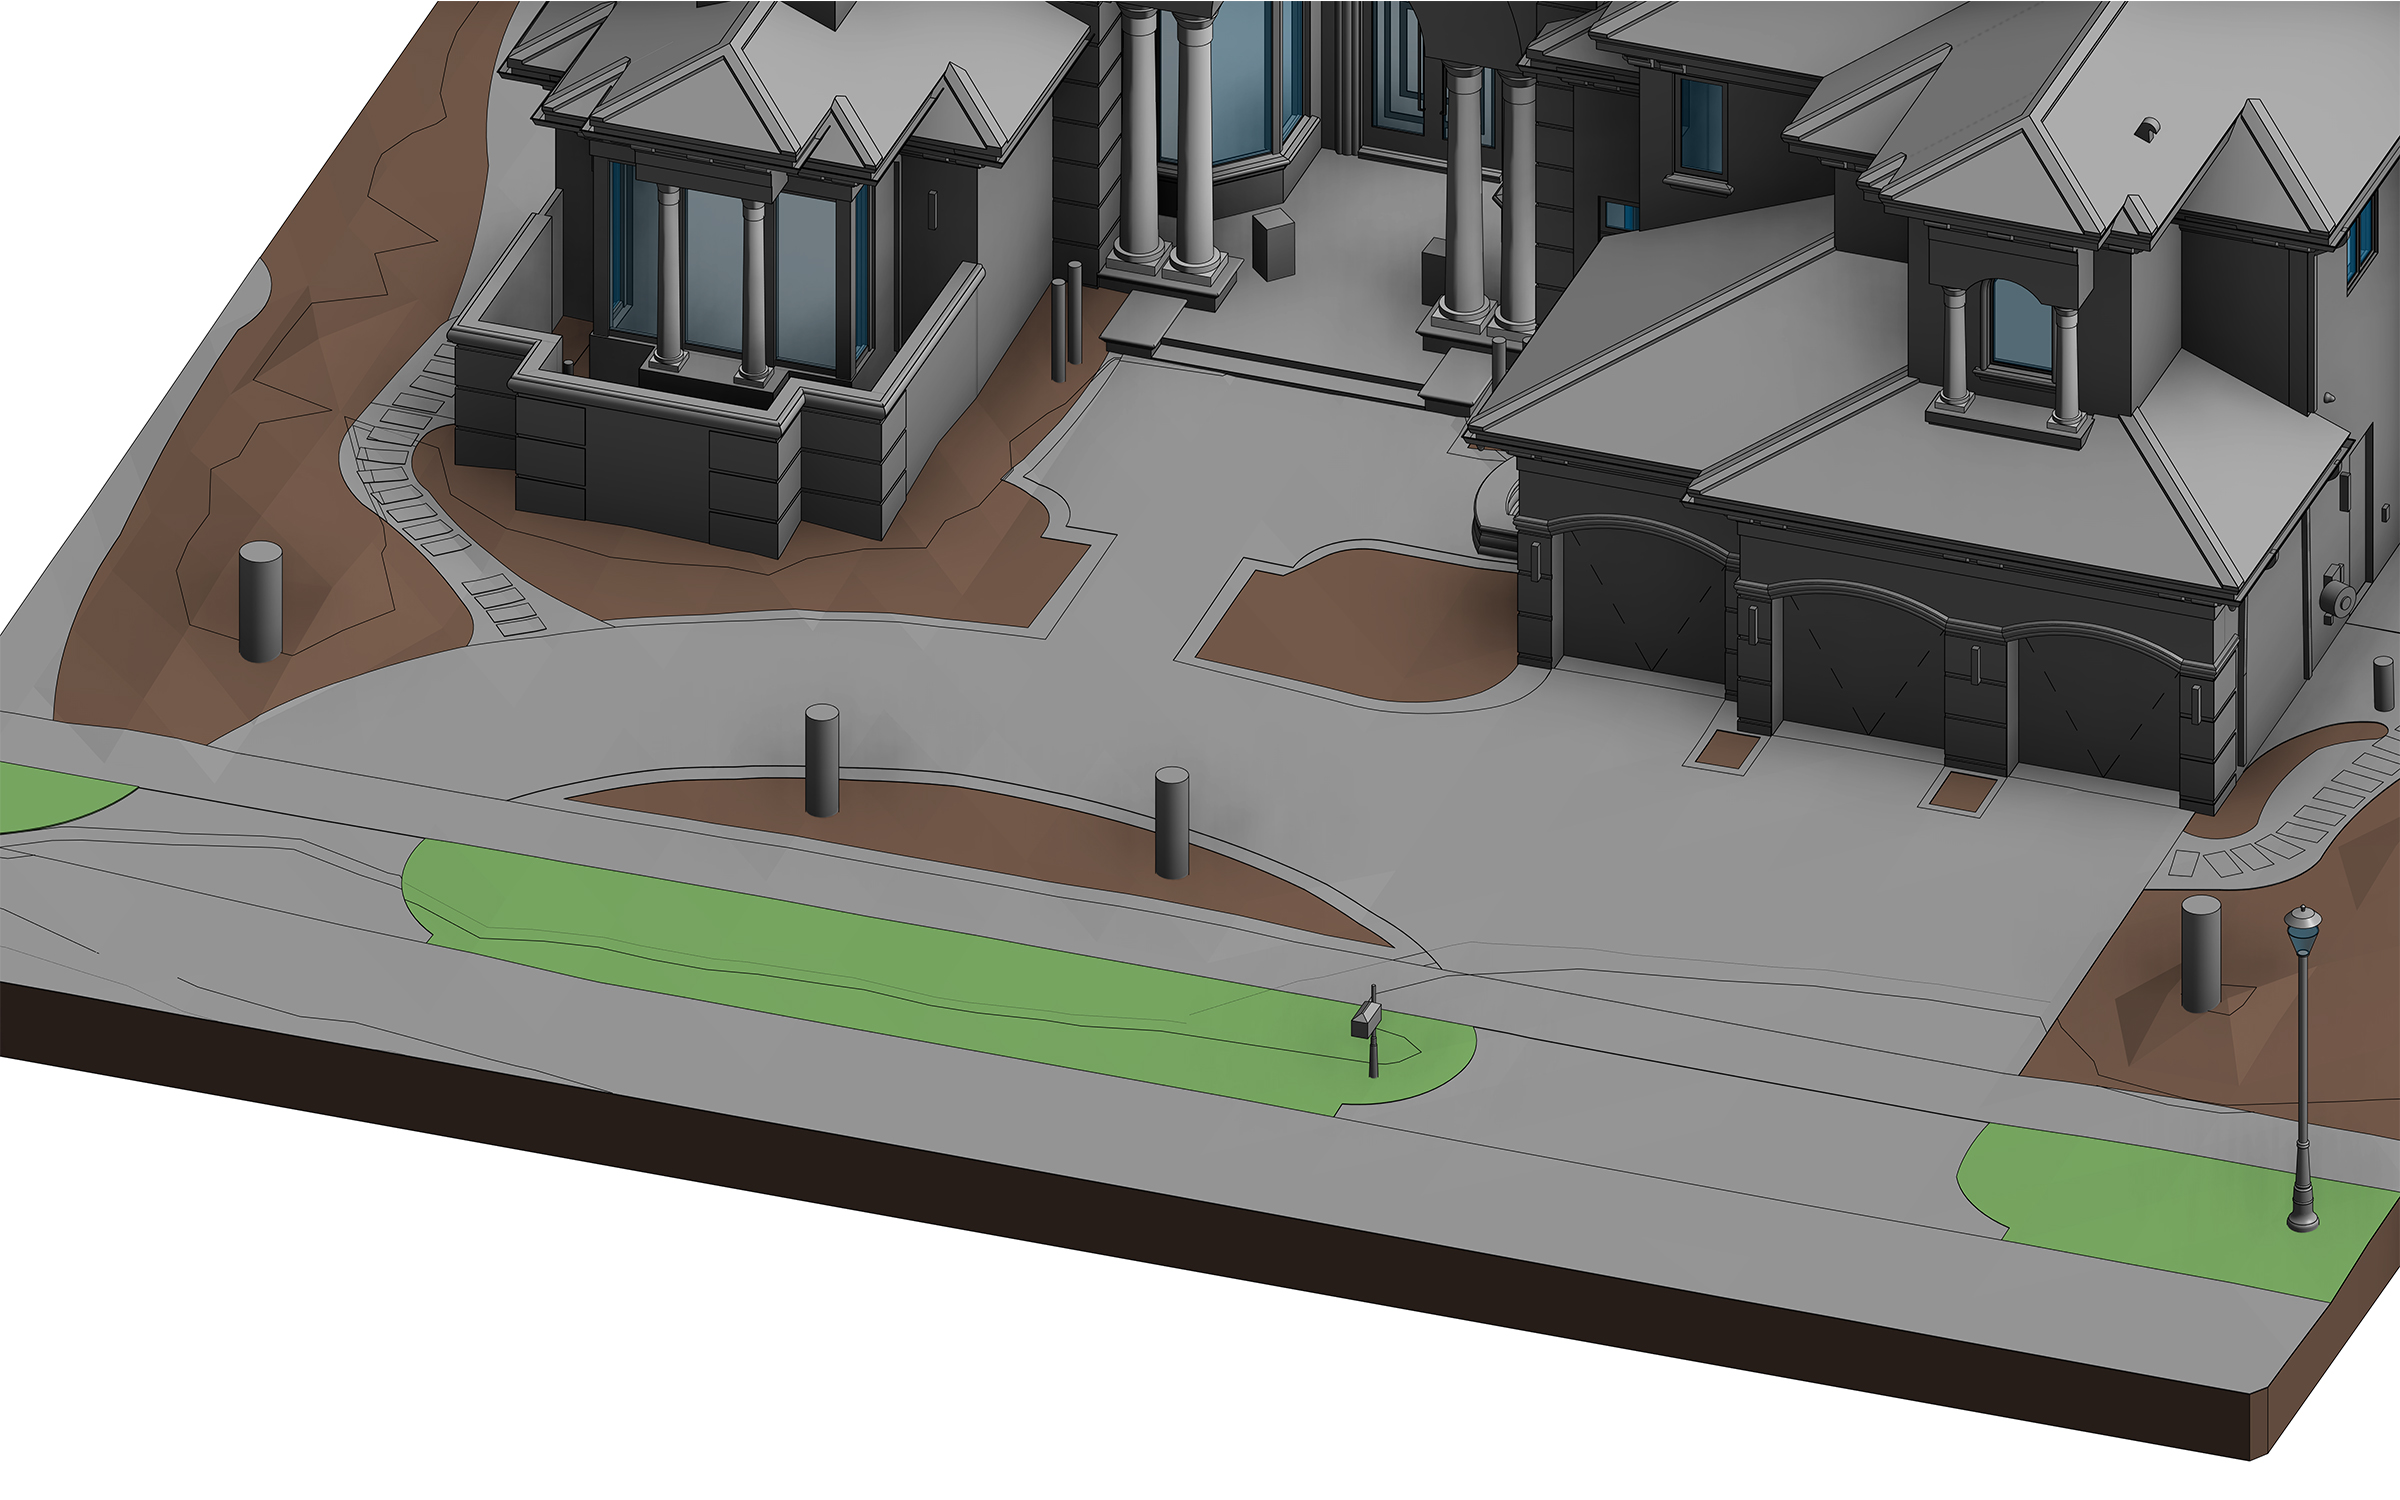
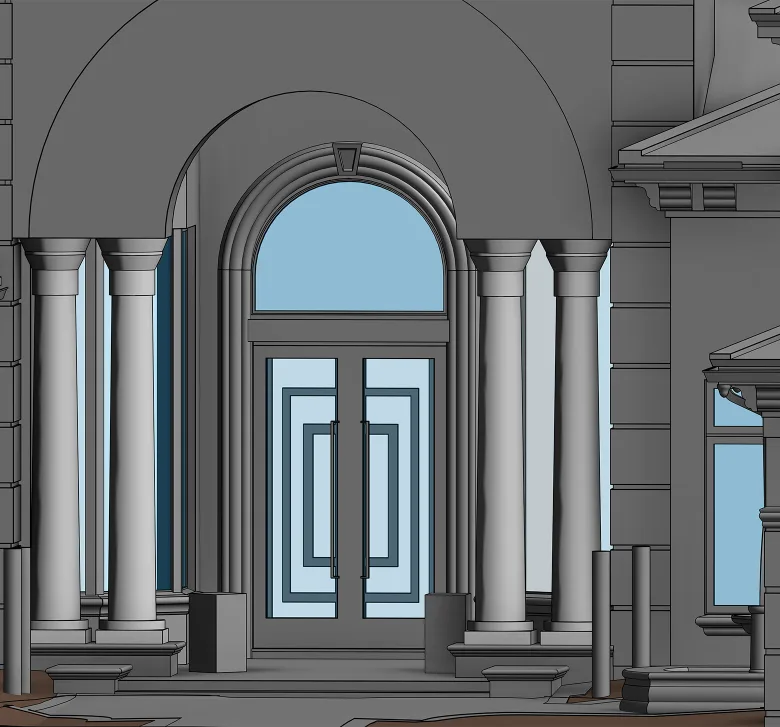
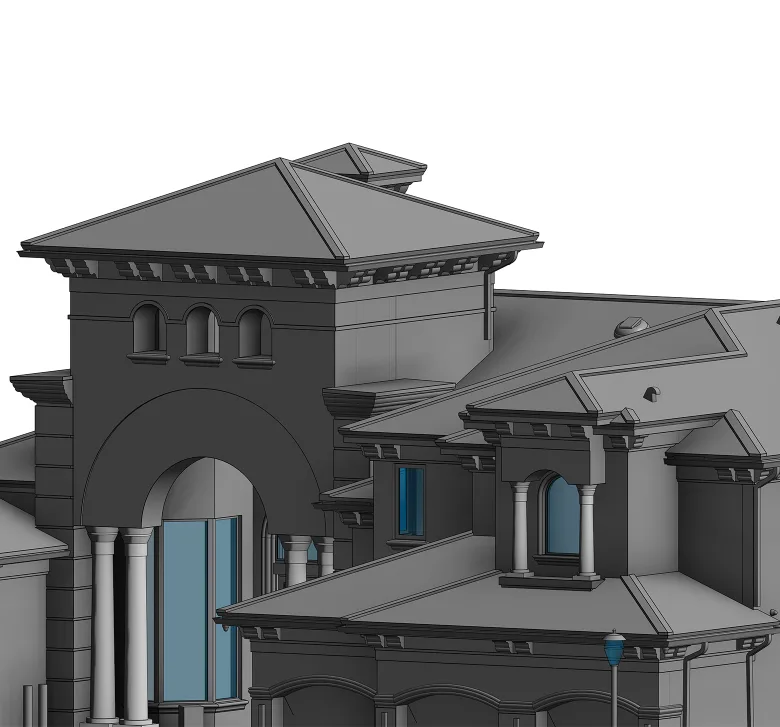
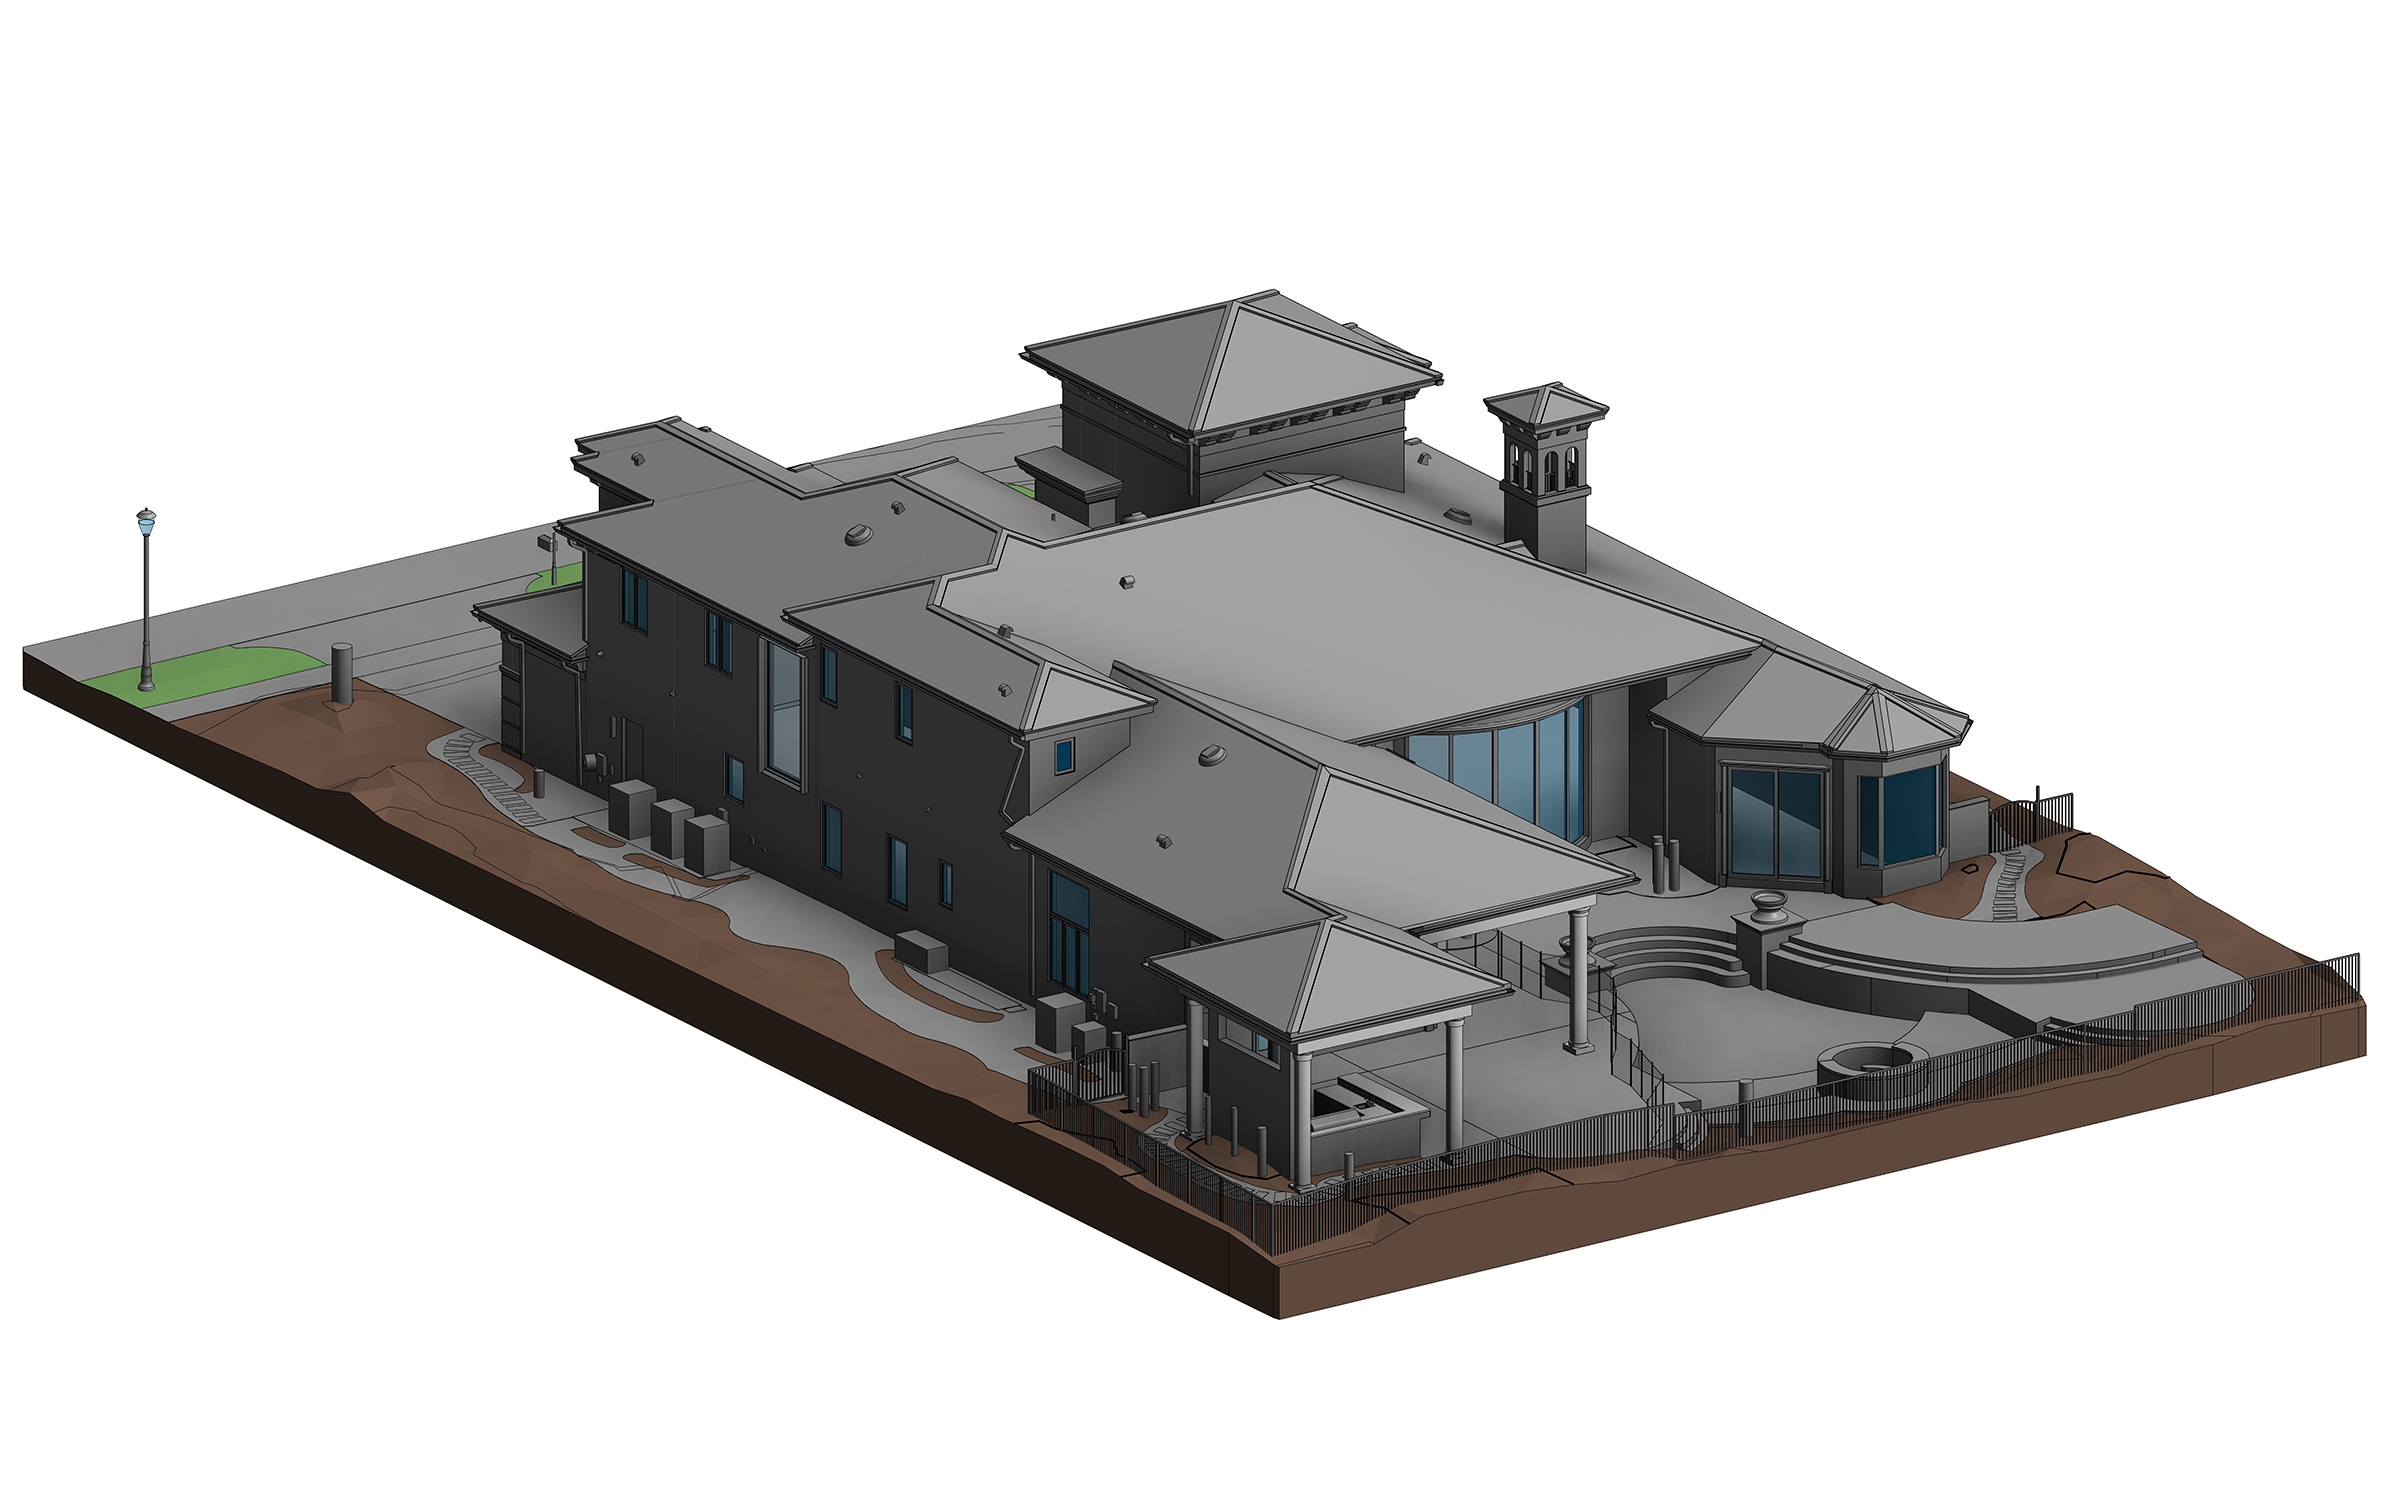
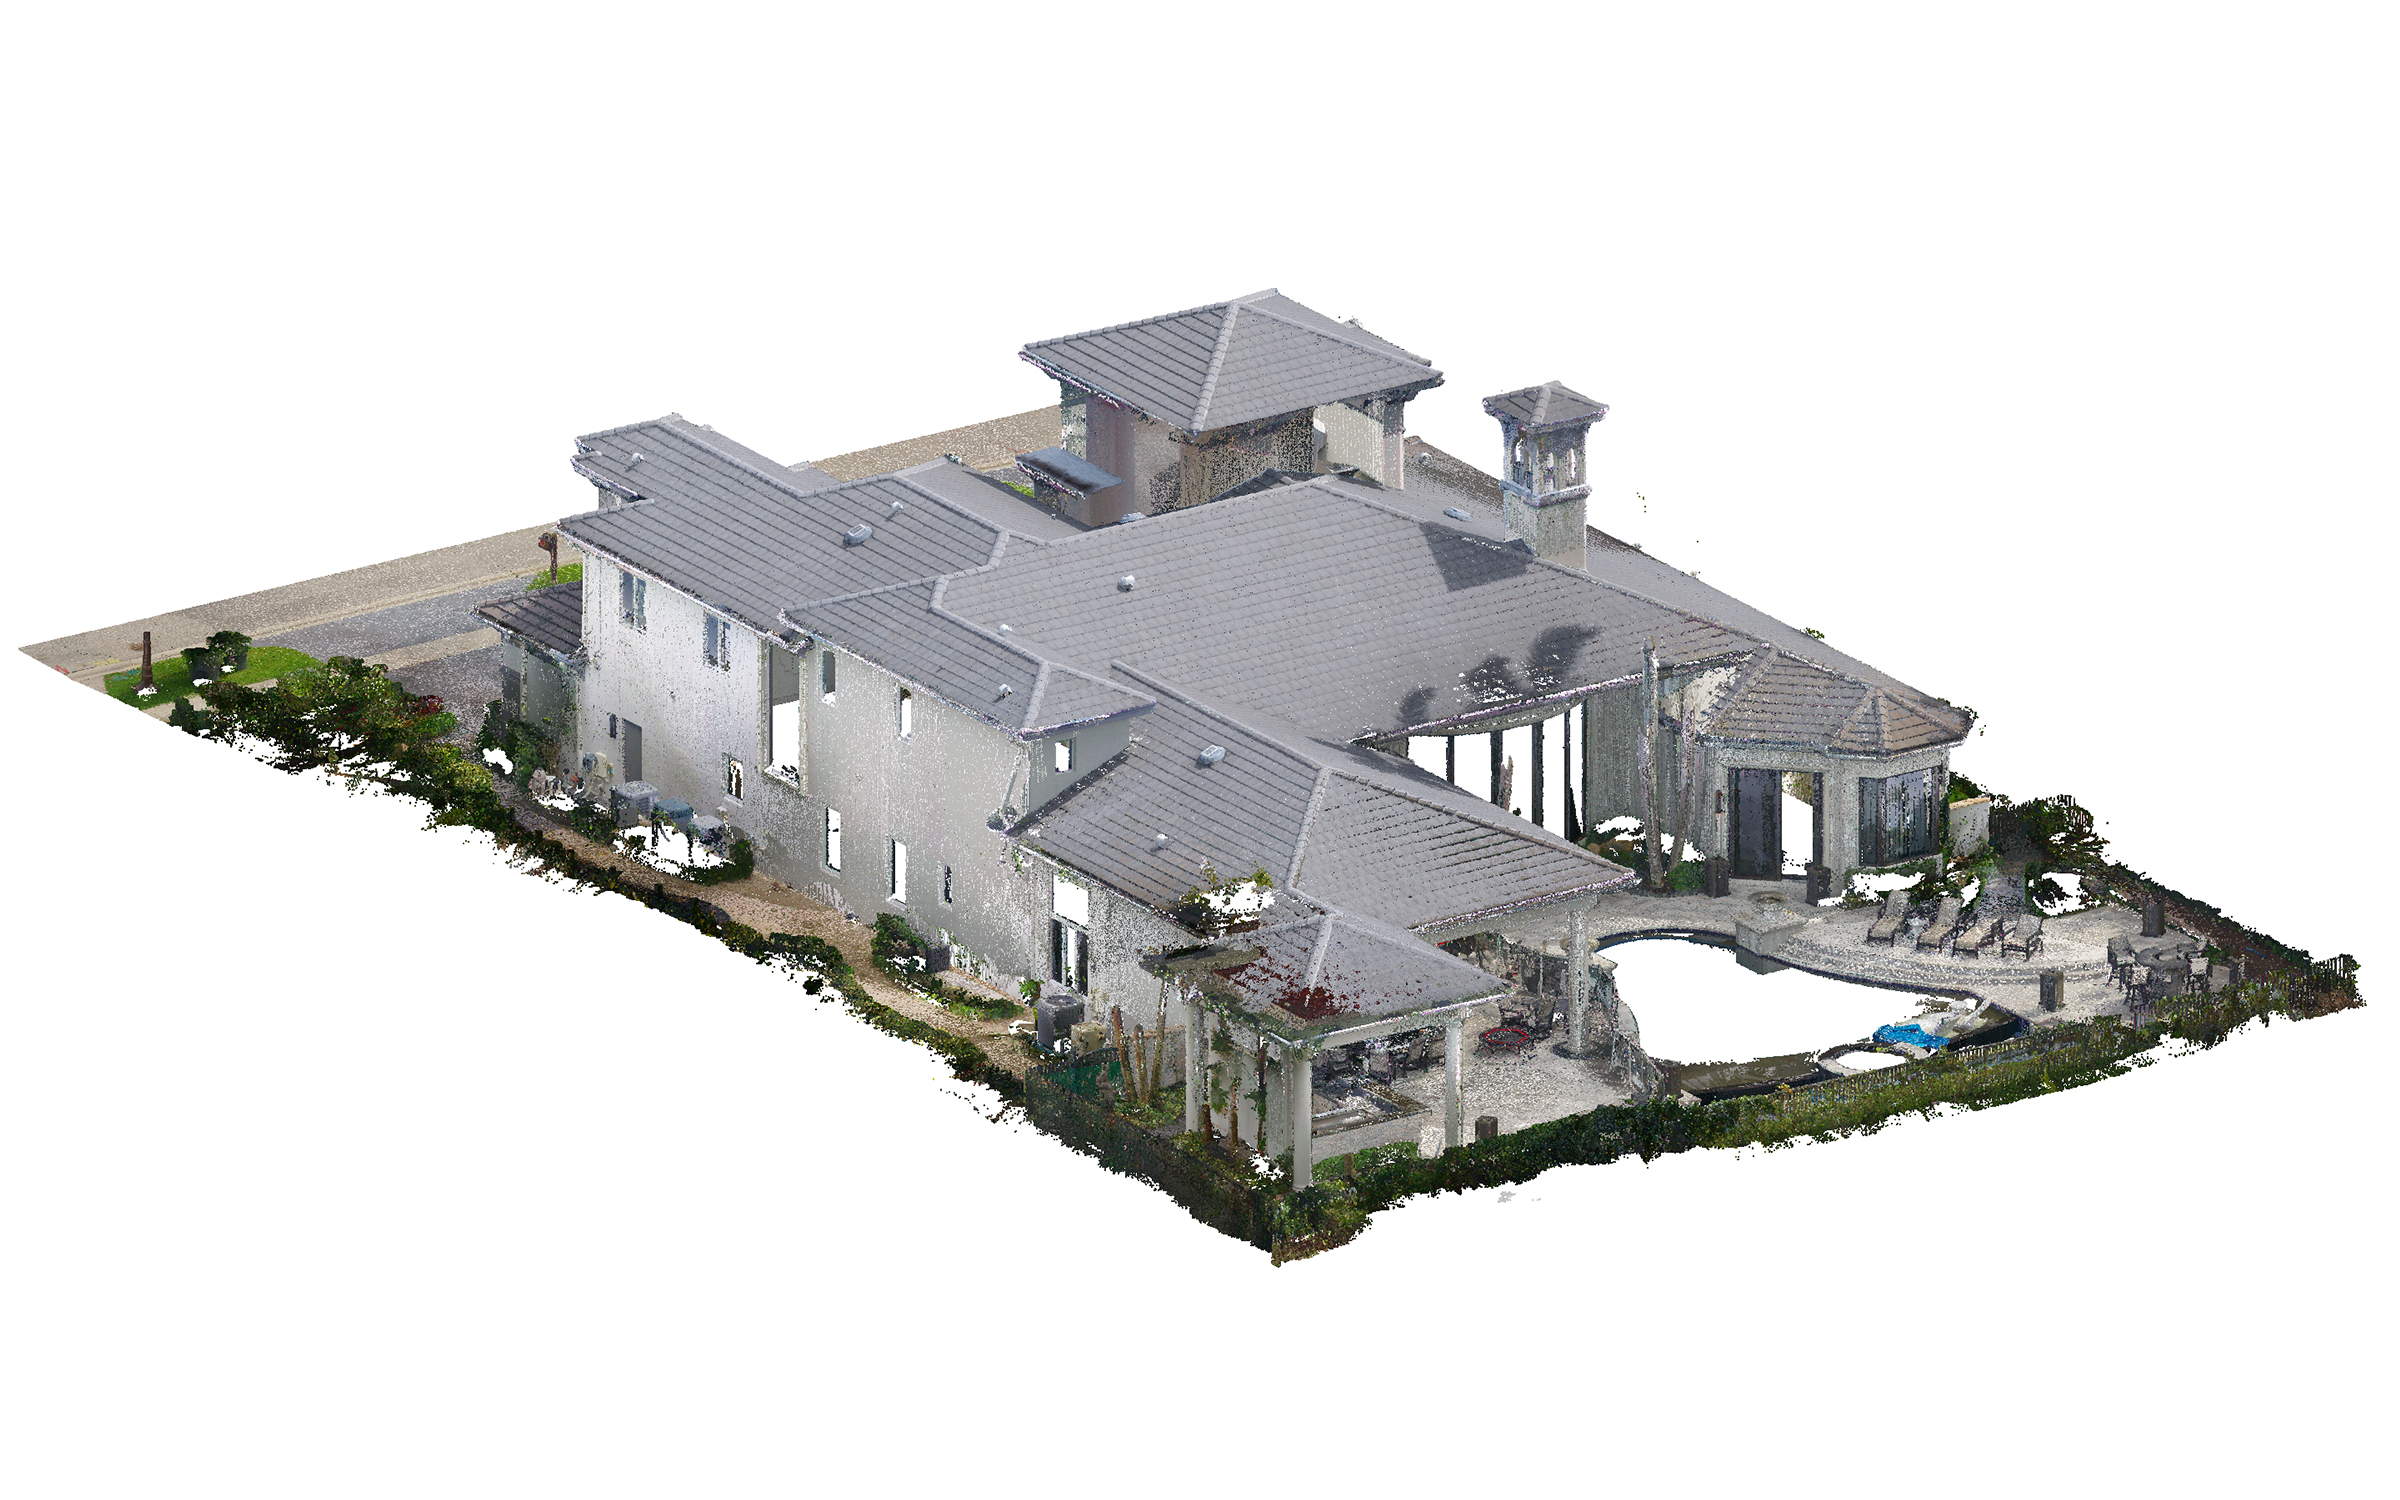
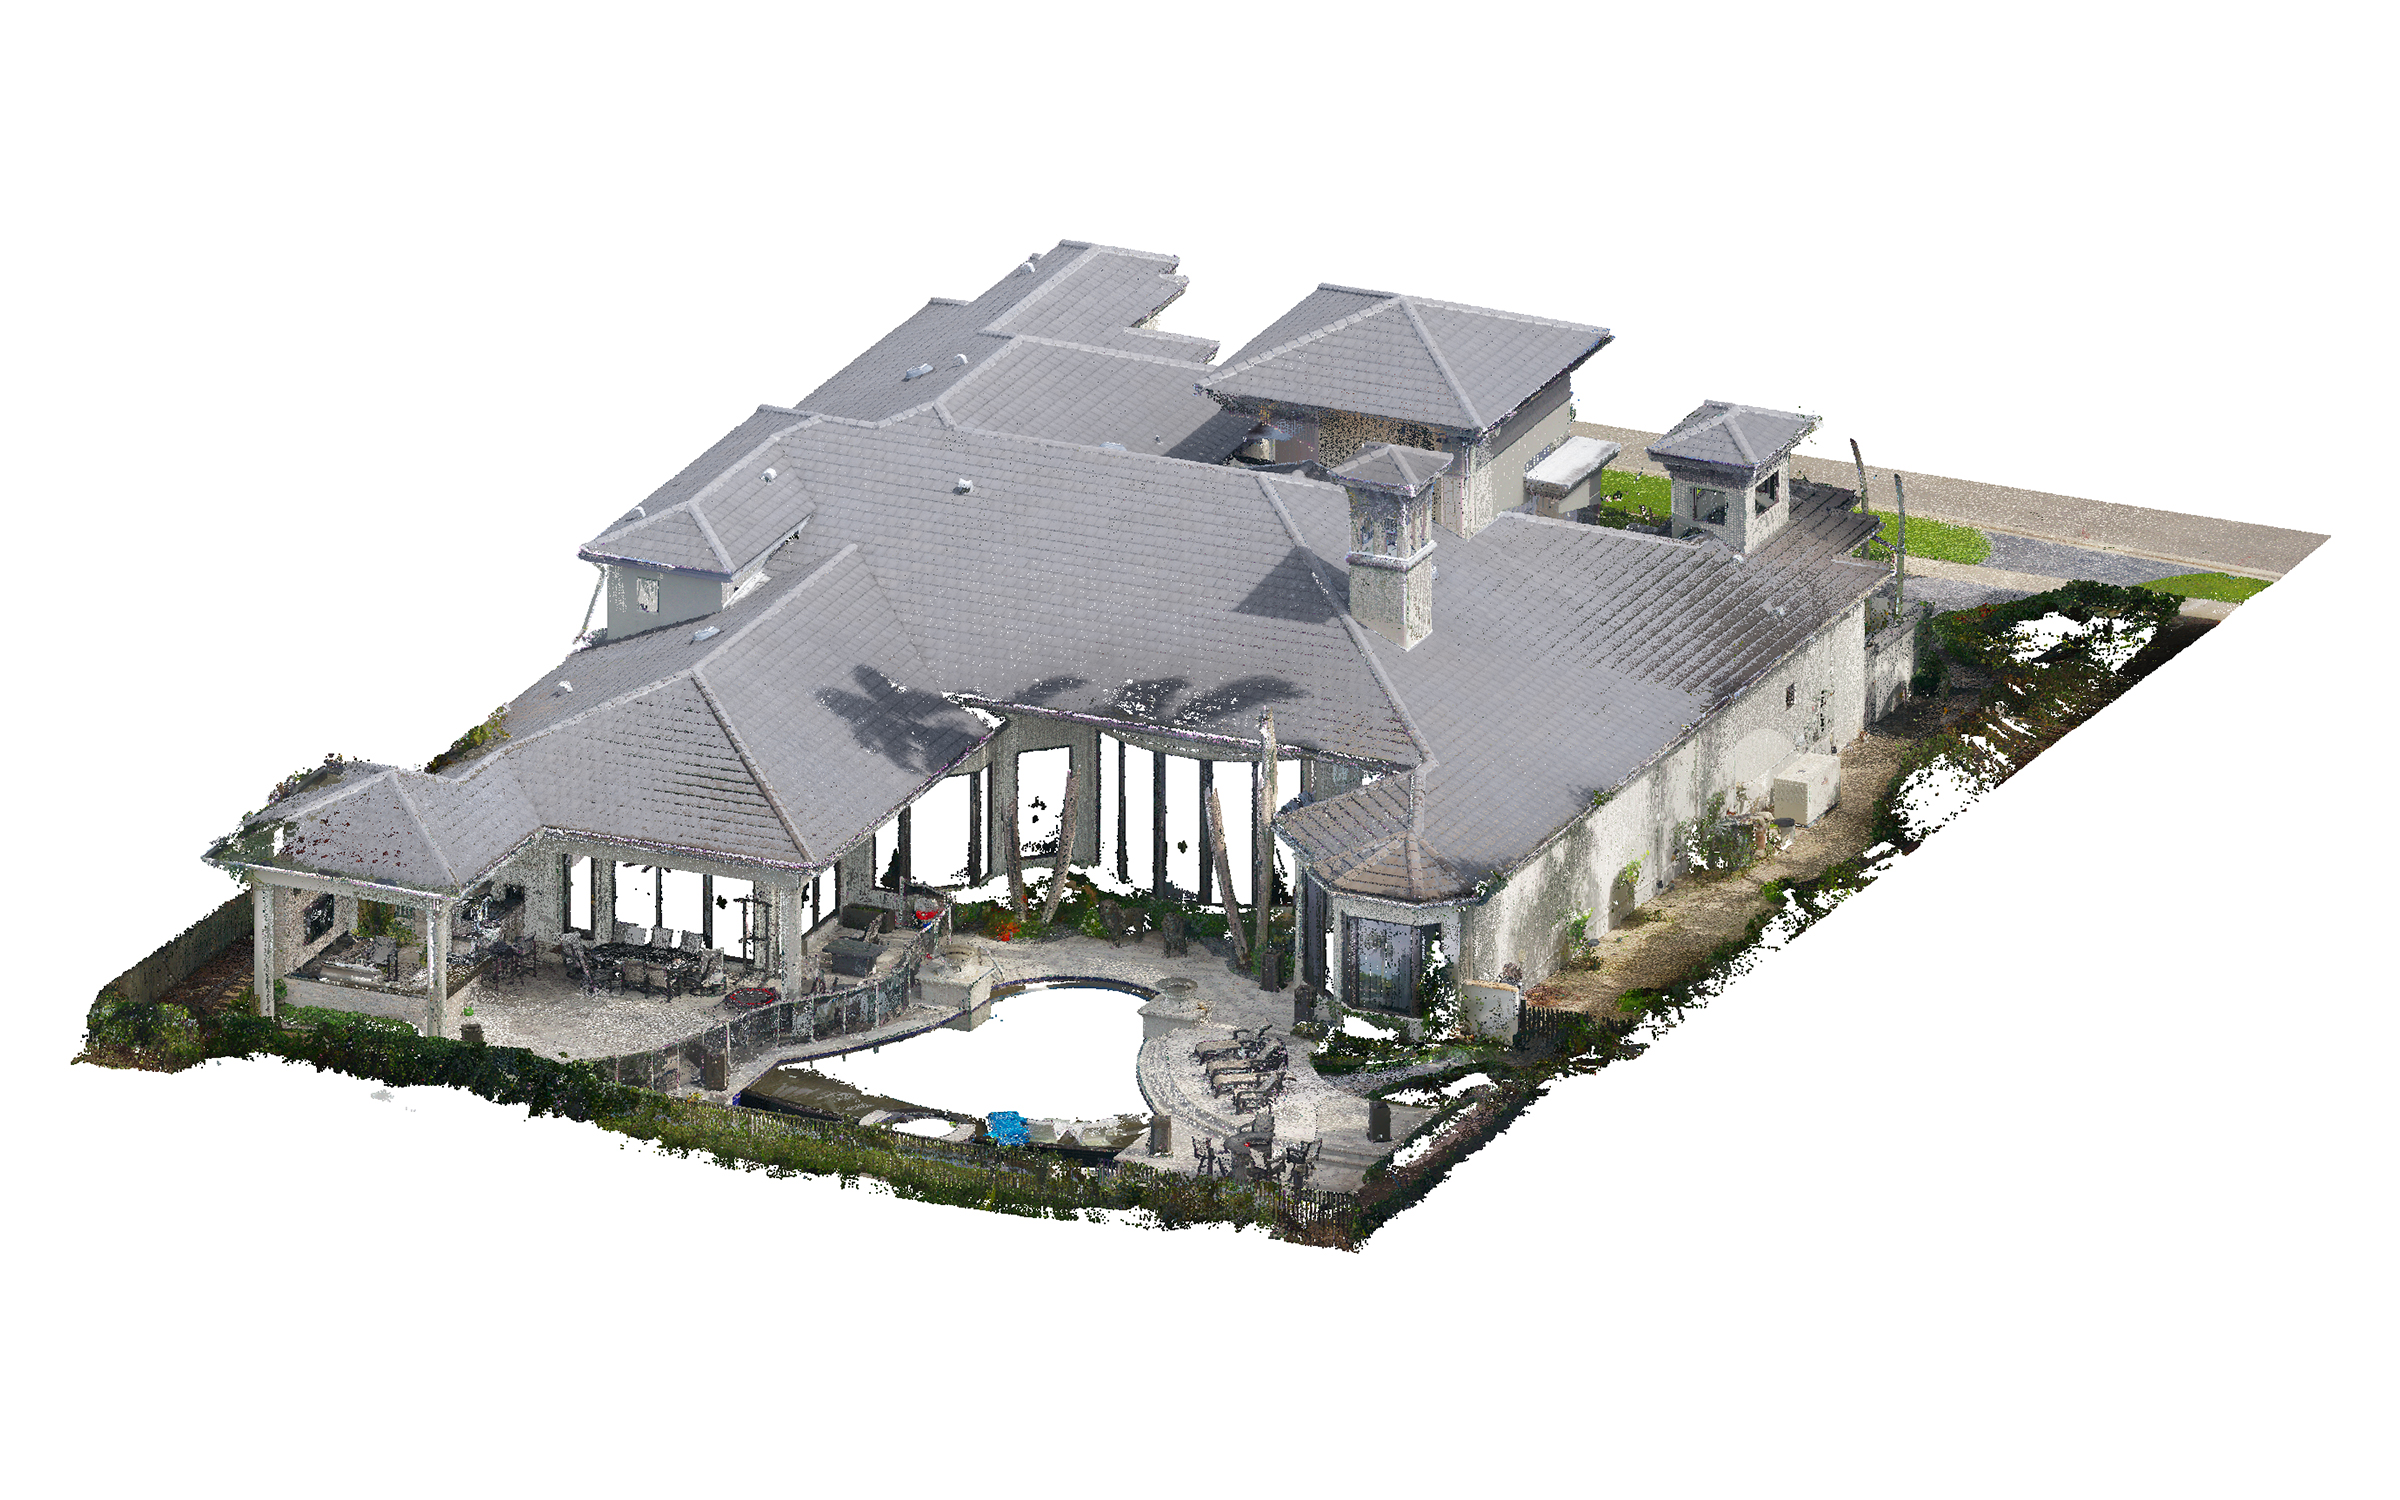
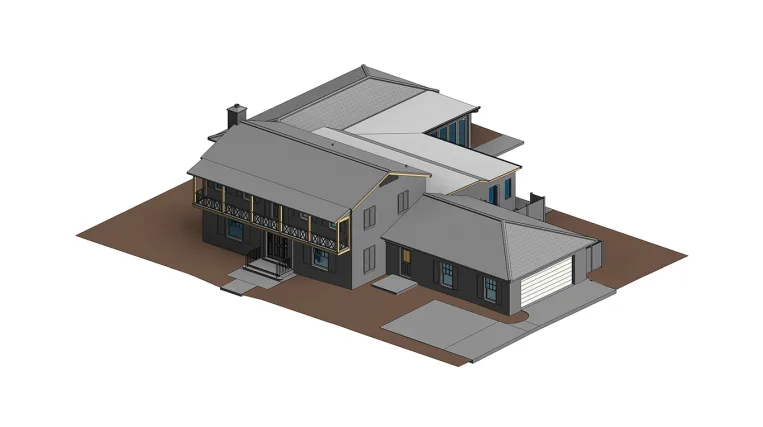
At the front of this two-story home, the arched entrance called for custom modeling in Revit to capture its decorative profiles. In the backyard, the point cloud captured only part of the swimming pool, so we used drone imagery as an additional reference to model the pool and its surroundings.

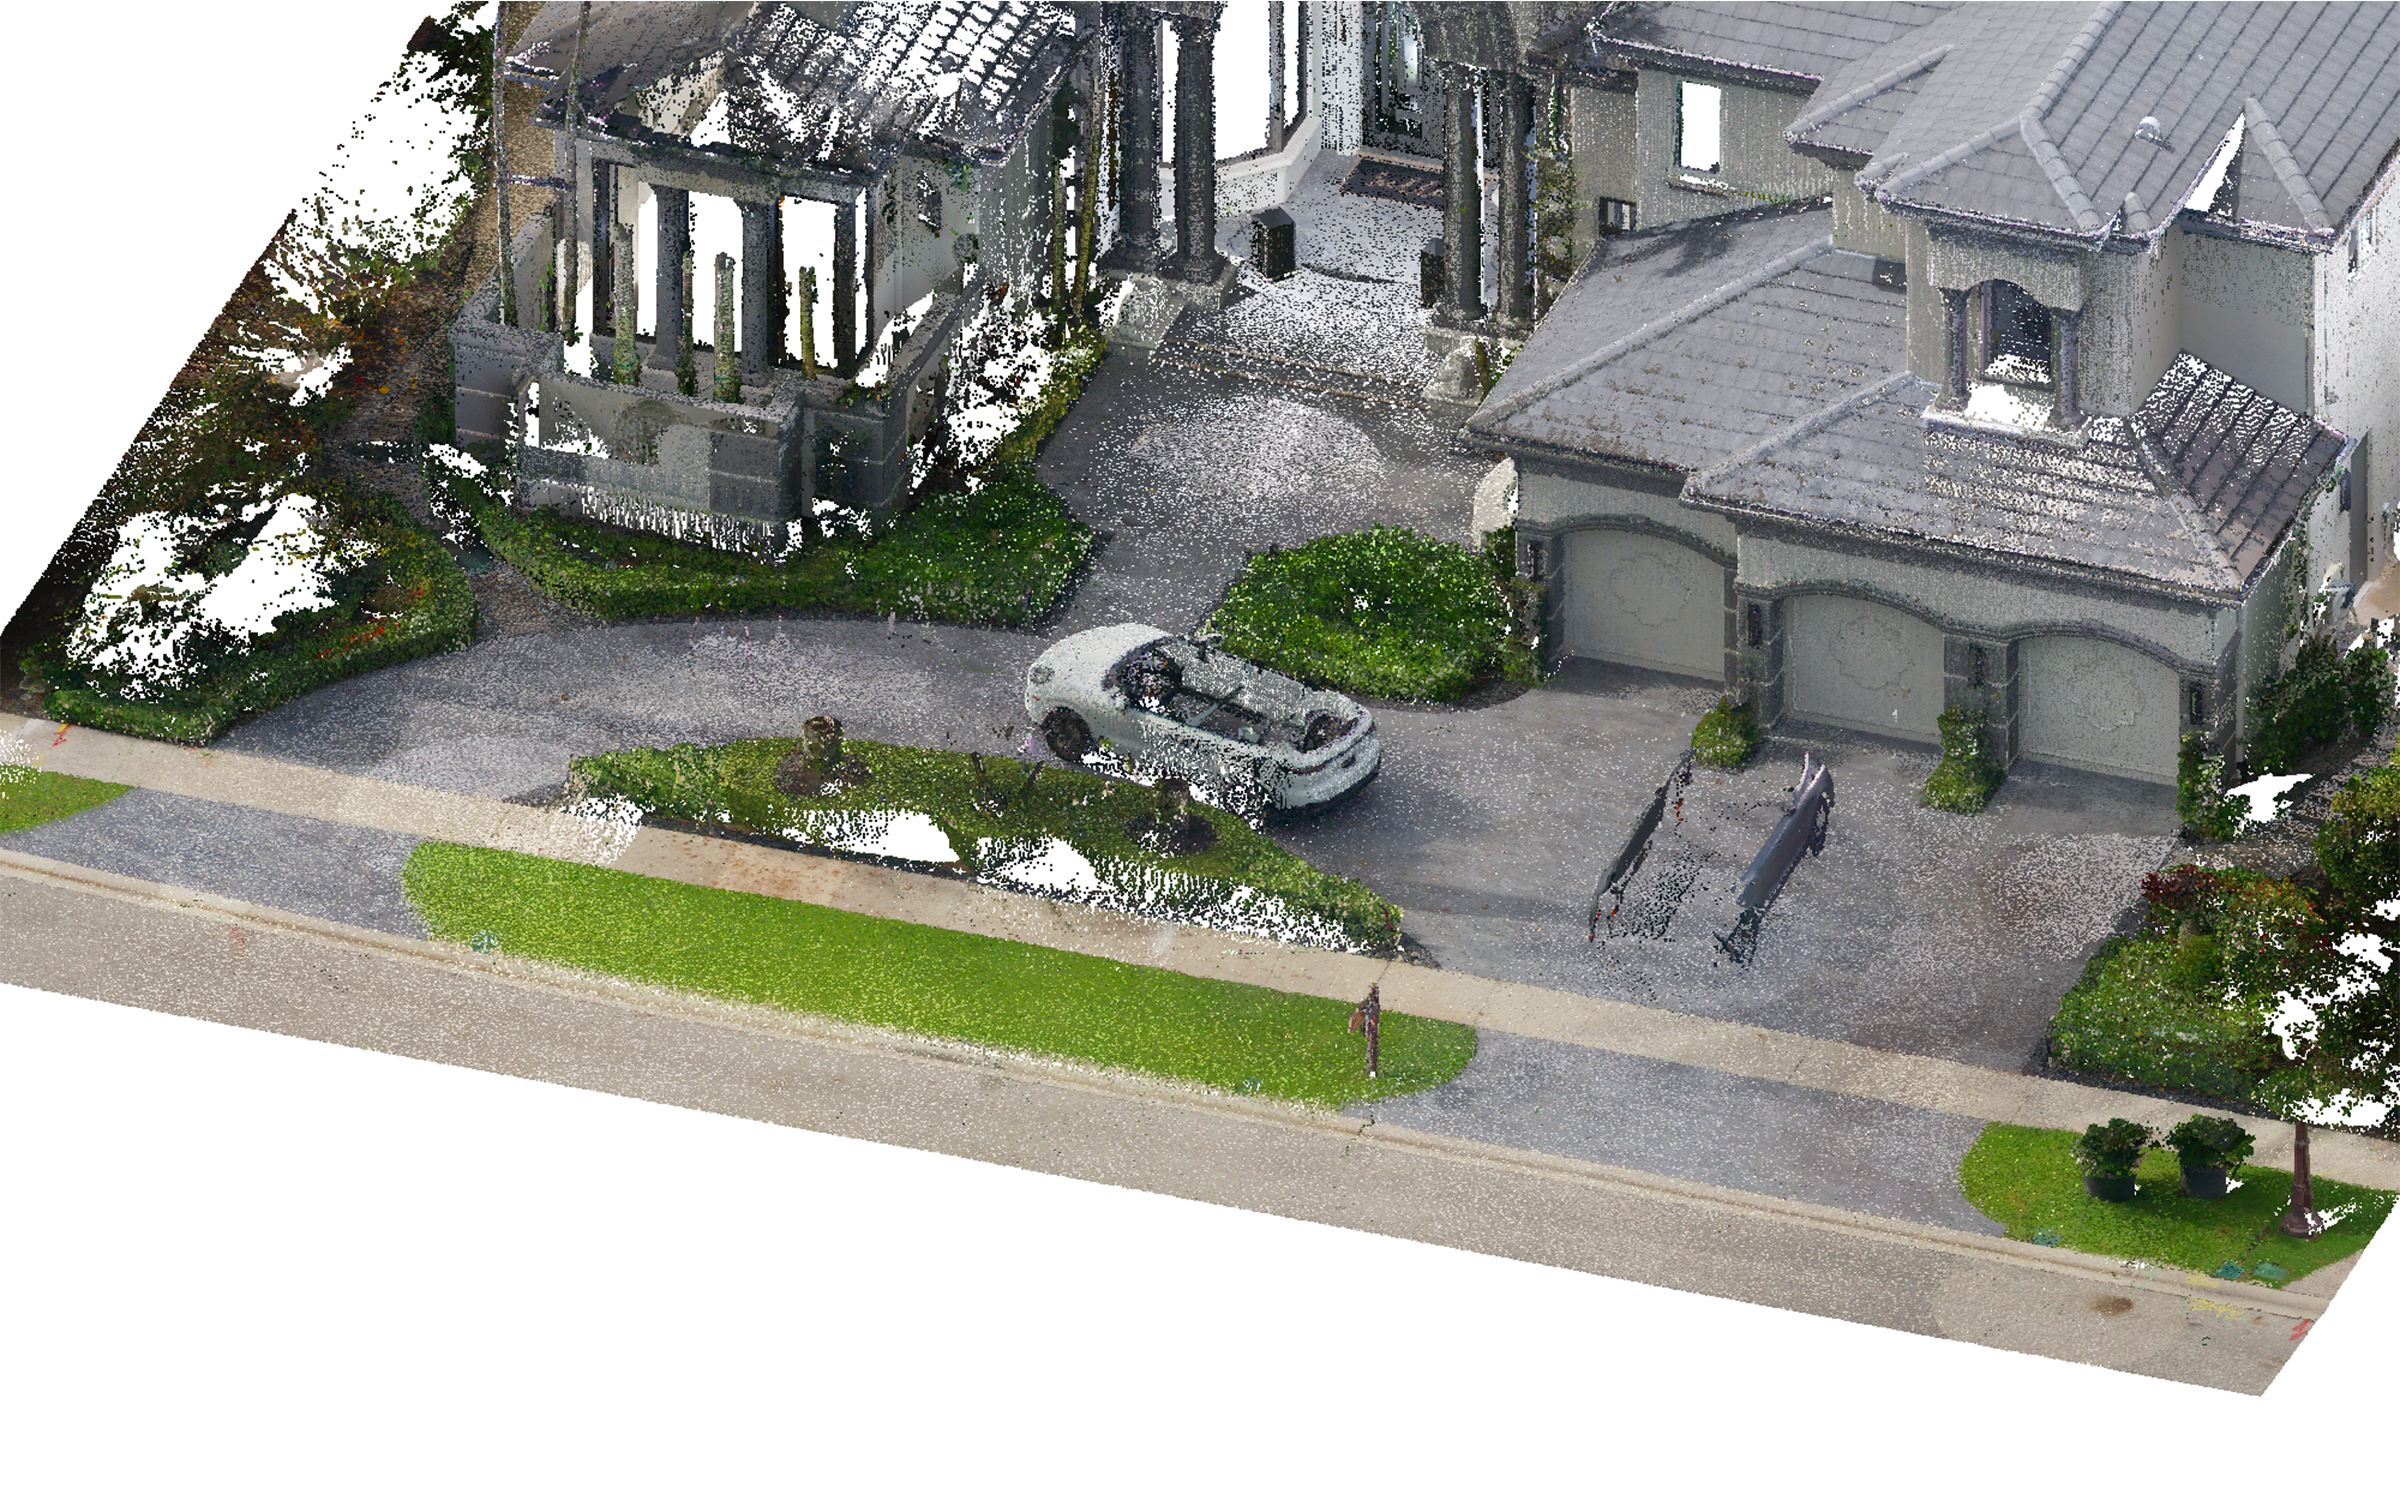
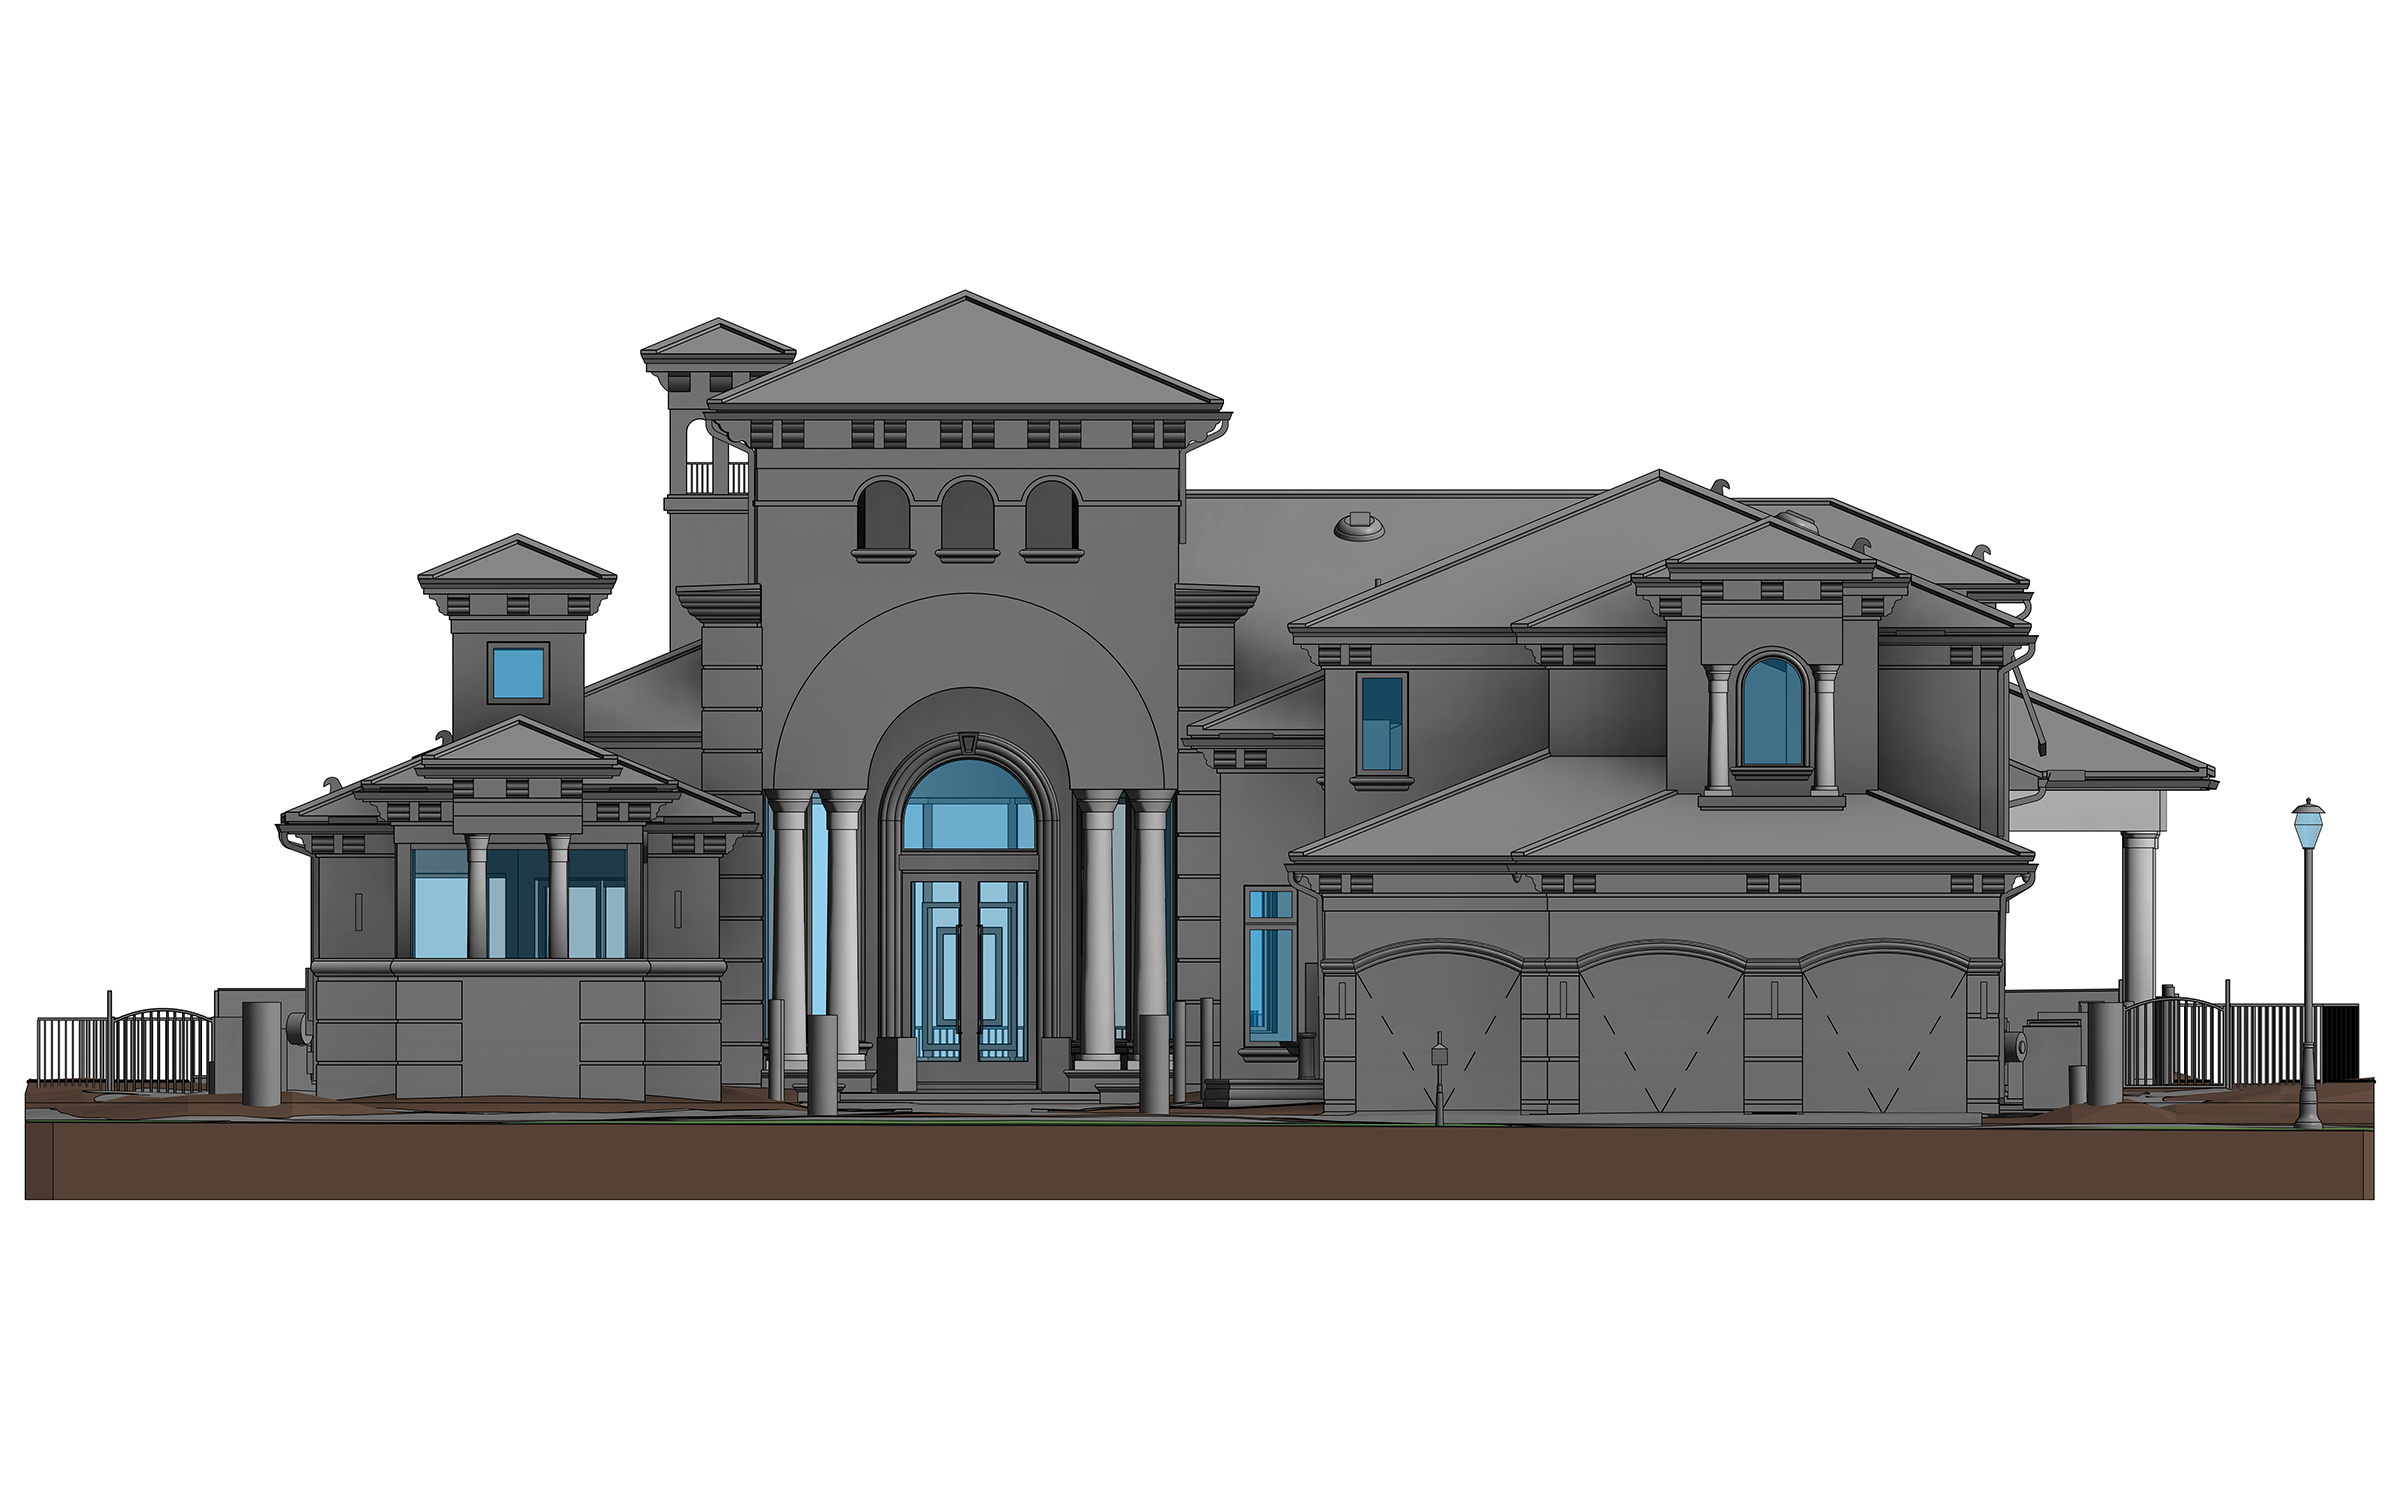
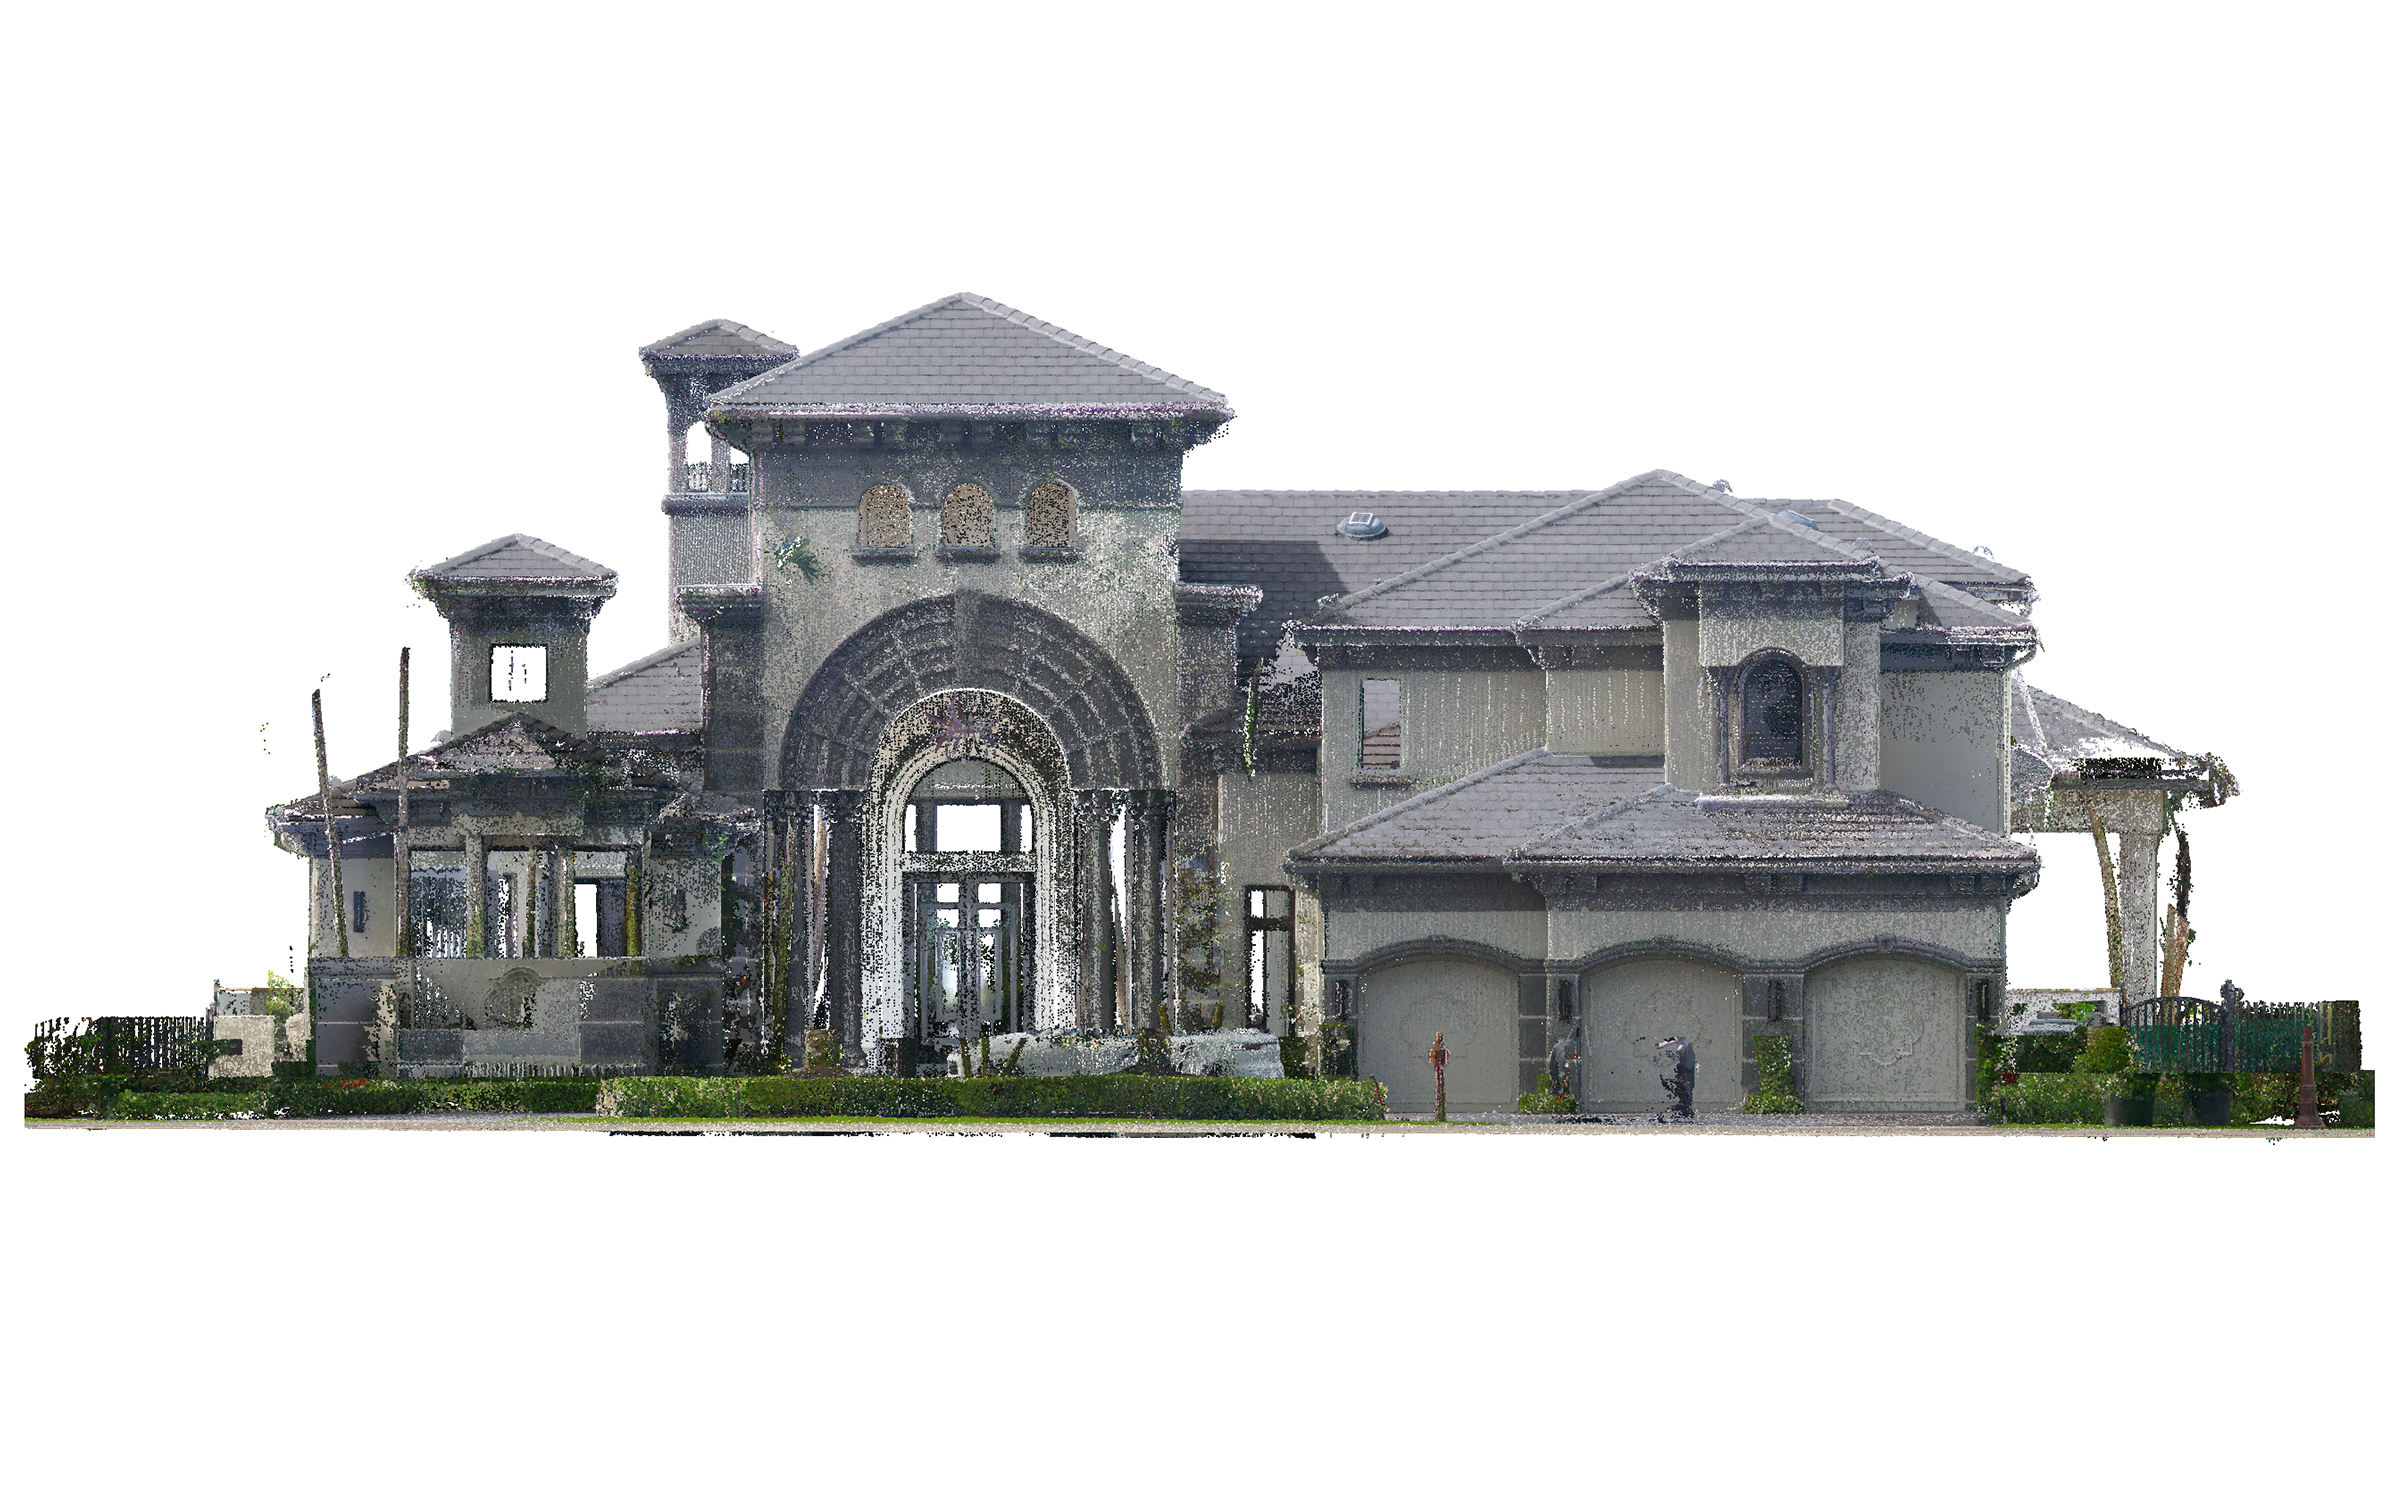
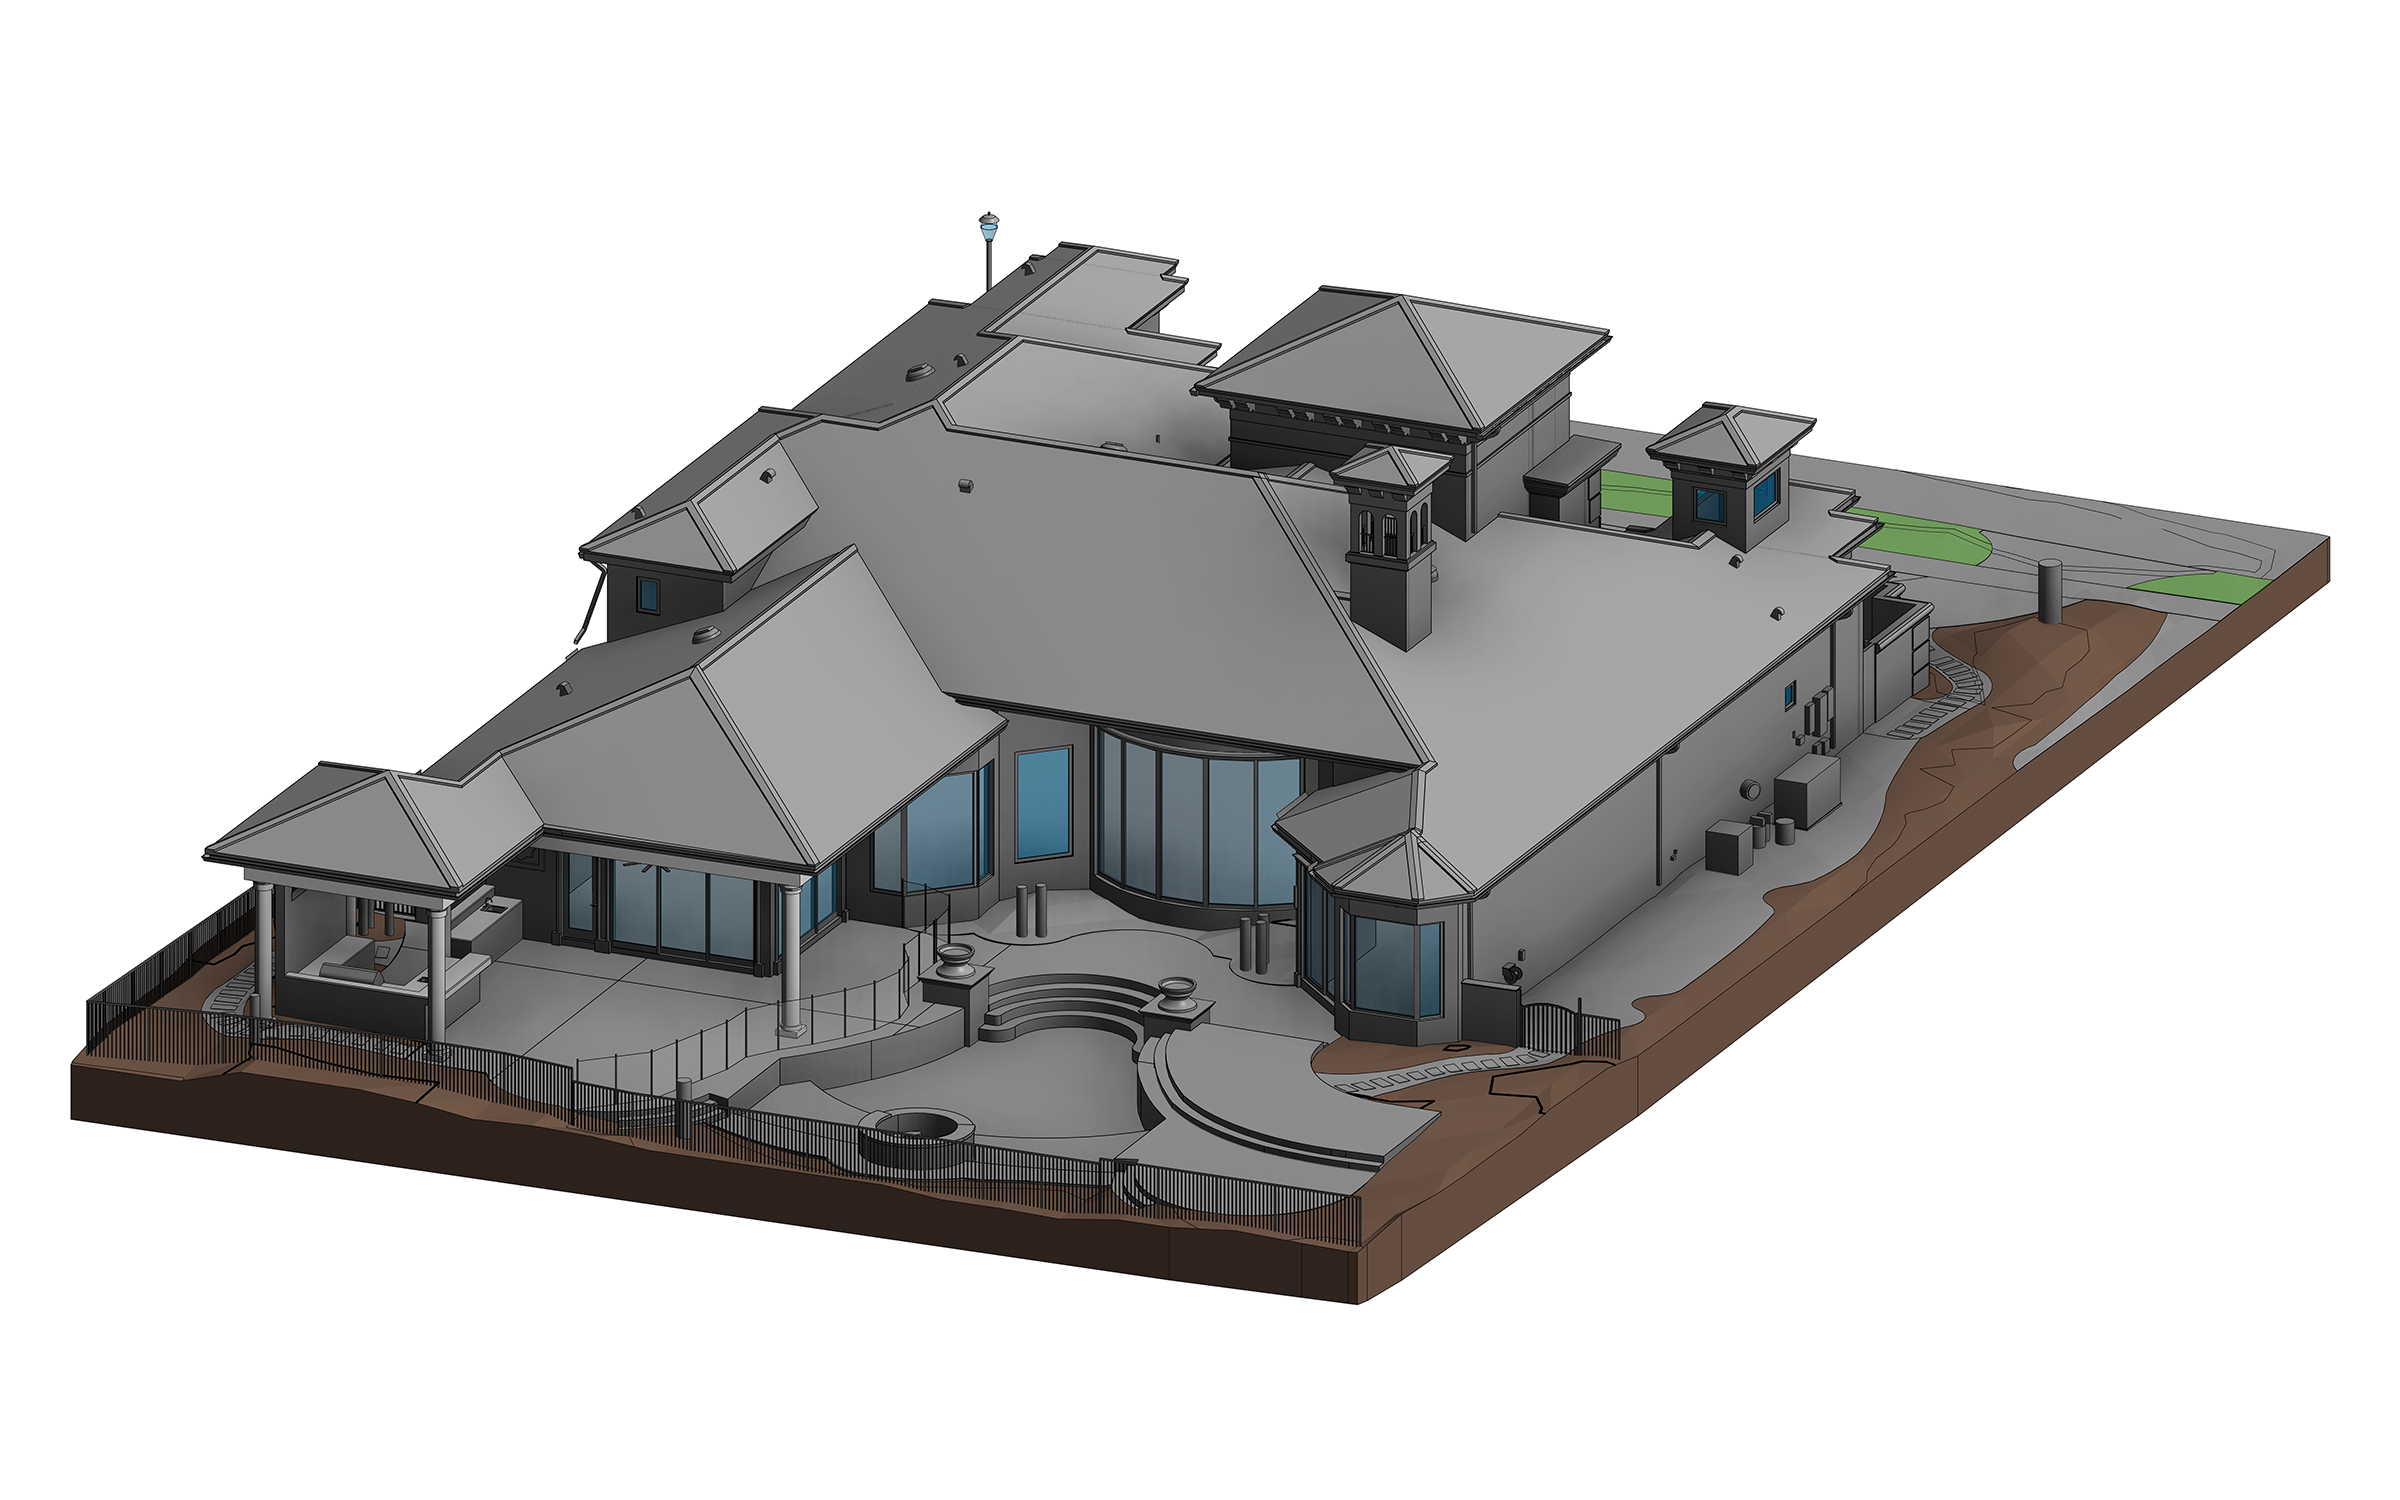
Both areas are part of the same LOD 300 as-built Revit model. It documents the home’s exterior, including its three-car garage and intersecting hip and gable roofs, along with the surrounding terrain, paths, and outdoor recreation areas. We also delivered dimensioned elevations and a roof plan as a reference for future design work.

Category: BIM, STRUCTURE, ARCHITECTURE
Services:Scan-to-BIM, As-built drawings
Industry:Residential
Object type:Single-family home
Area:594 m² / 6400 ft²
Tools used:Autodesk Revit, Autodesk ReCap
Share:
Project stages
1. Reviewing the client’s requirements and available reference material
2. Assessing point cloud coverage and defining the LOD 300 modeling approach
3. Modeling the home’s exterior in Revit, including the arched entrance and facade details
4. Modeling the intersecting hip and gable roofs, gutters, and downspouts
5. Reconstructing the site topography from the point cloud
6. Adding the pool, paths, fencing, and landscape features
7. Preparing dimensioned as-built elevations and a roof plan
8. Checking the model and drawings and making final corrections
9. Delivering the Revit model and as-built drawings
Scope of work

BIM modeling of the building exterior, including facade details, roof geometry, and drainage, along with site topography and landscape features.

  • Input: Point cloud data, Google Maps references, and supplementary drone imagery for the pool area.
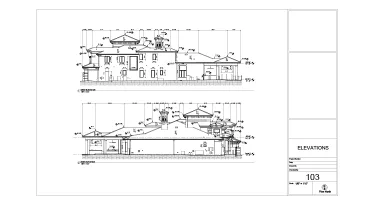
  • Output: LOD 300 Revit model and dimensioned as-built drawings covering exterior elevations and the roof plan.
Point cloud vs model
1
1
1

Modeling the arched entrance and facade details

A large arched opening frames the main entrance, with decorative glazing in the double doors and classical columns on either side. The columns have distinct base and capital profiles that needed to be represented in the as-built model.

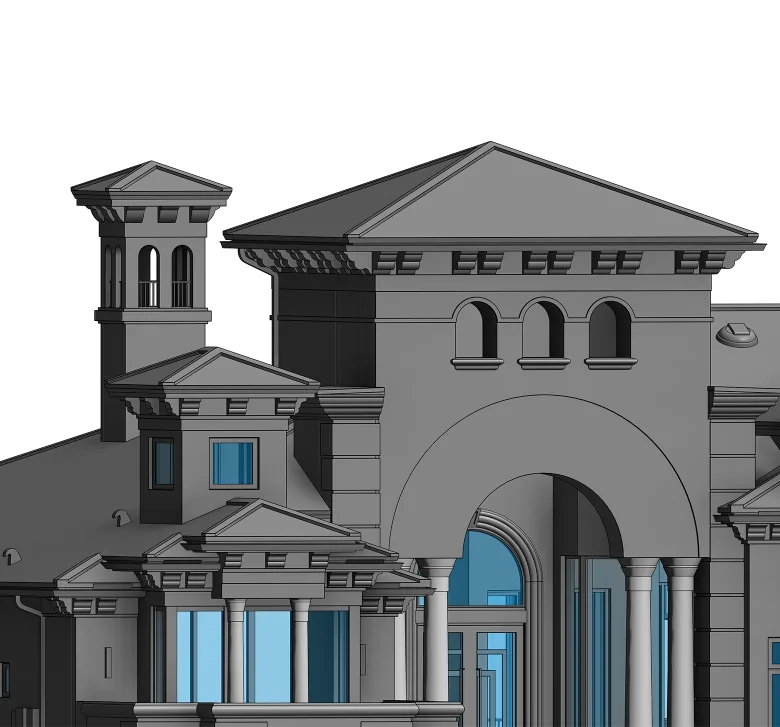
Beyond the entrance, layered cornices, decorative moldings, and recessed window openings give the facade much of its character. We reconstructed these features from the point cloud, checking the proportions of each element and how it aligned with the surrounding walls and openings.

Where standard Revit elements couldn’t reproduce the shapes visible in the scan, we modeled the profiles as custom geometry. That let us retain the depth of the facade detailing and the proportions of the original entrance.

Point cloud vs model

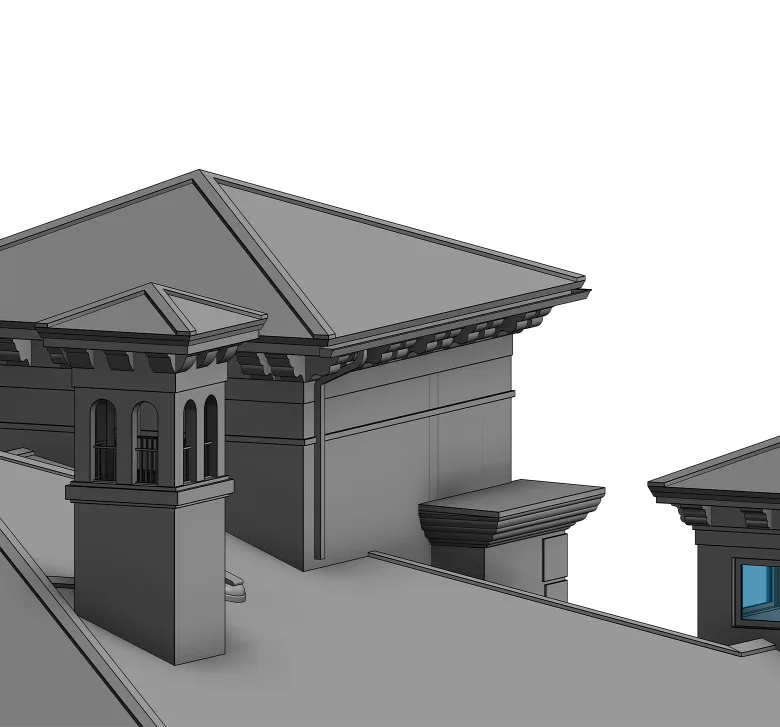
Roof geometry and drainage

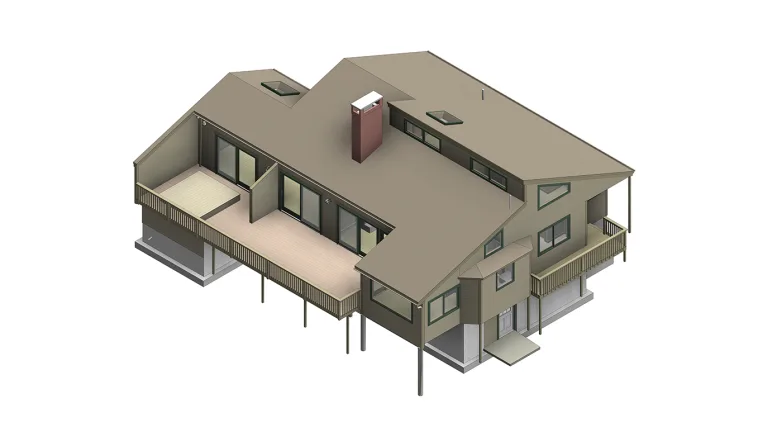
The roof is made up of intersecting hip and gable sections with varying pitches, layered roof edges, and decorative cornices. We used the point cloud to model the junctions where smaller roof sections meet the main roof, preserving the changes in slope and the depth of the overhangs.

We also modeled the existing gutters and downspouts so the Revit model shows how the roof drains as well as how its sections fit together.

1
Point cloud vs model
1

Modeling the site and pool area

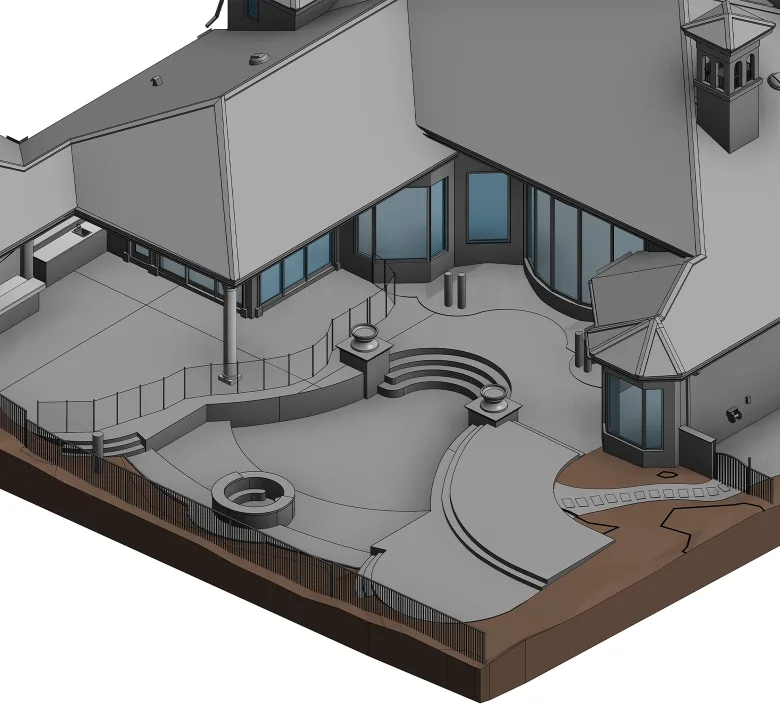
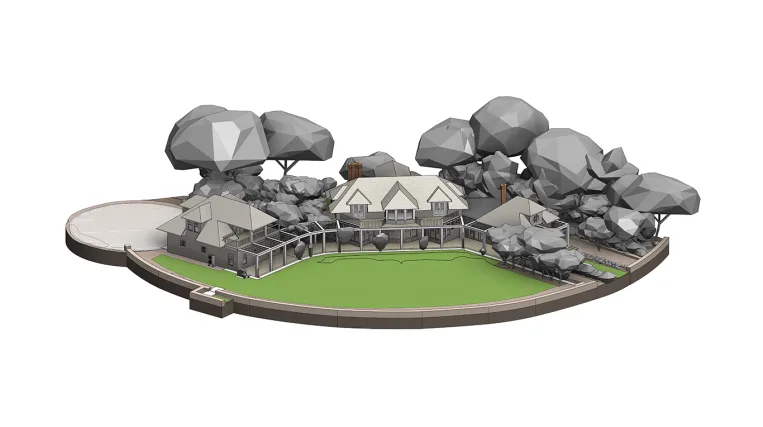
We modeled the existing terrain and site features around the house, from the front entrance and paths to the backyard terrace and recreation areas. The Revit model also includes fencing, outdoor equipment, and the approximate locations of existing trees.

The point cloud didn’t capture enough of the swimming pool to model it from the scan alone. We used drone imagery alongside the scan data to reconstruct the pool and show how it sits in relation to the terrace and the rest of the backyard.

Point cloud vs model
Drawings

Click on preview to view high-resolution PDF drawings

Benefits
The LOD 300 Revit model shows the house, terrace, and pool in relation to the existing terrain, giving the design team a single reference for planning changes to the property
The arched entrance, recessed window openings, and cornice profiles are documented in 3D, so proposed facade changes can be checked against the existing architectural details
The model shows where roof sections of different pitches meet and where gutters and downspouts are located, giving the team a basis for reviewing changes to the roof or drainage
Dimensioned as-built elevations and a roof plan let team members reference existing dimensions without opening the Revit model
Tools used
1
Autodesk Revit
1
Autodesk ReCap
view project view more view photos