Search...
Overview

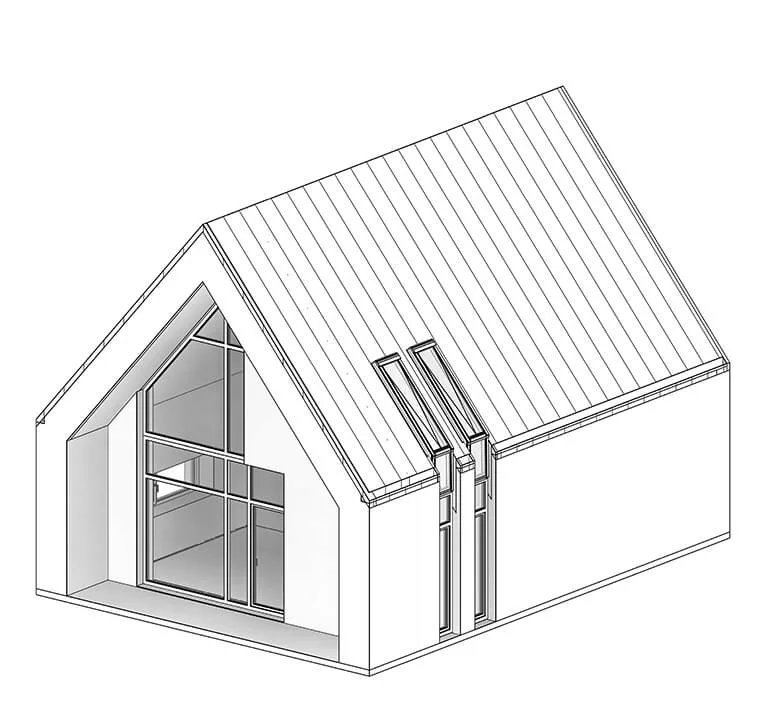
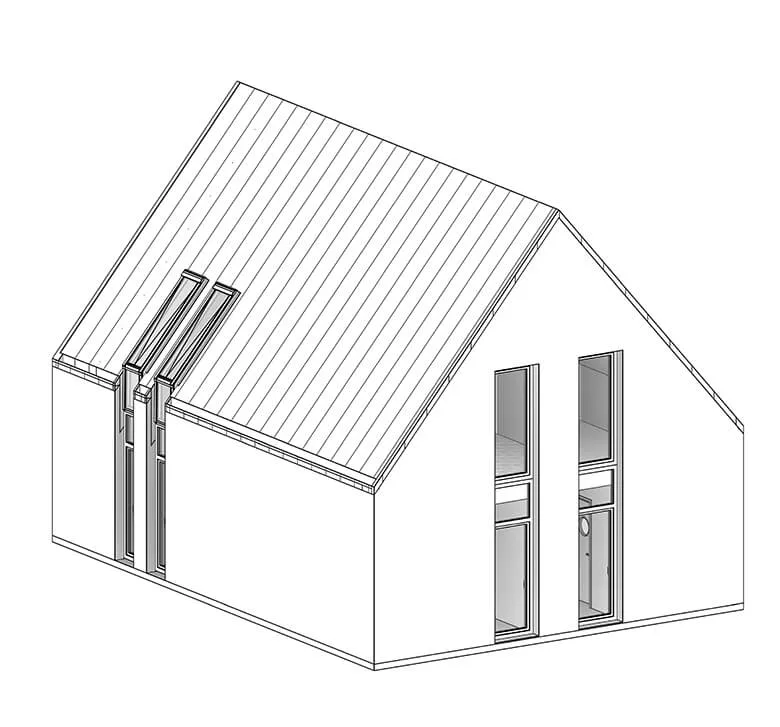
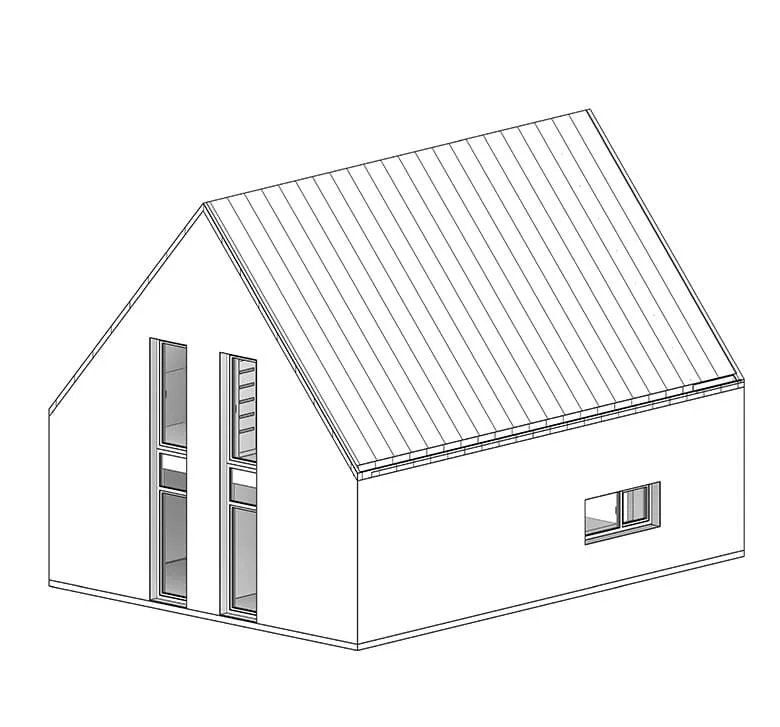
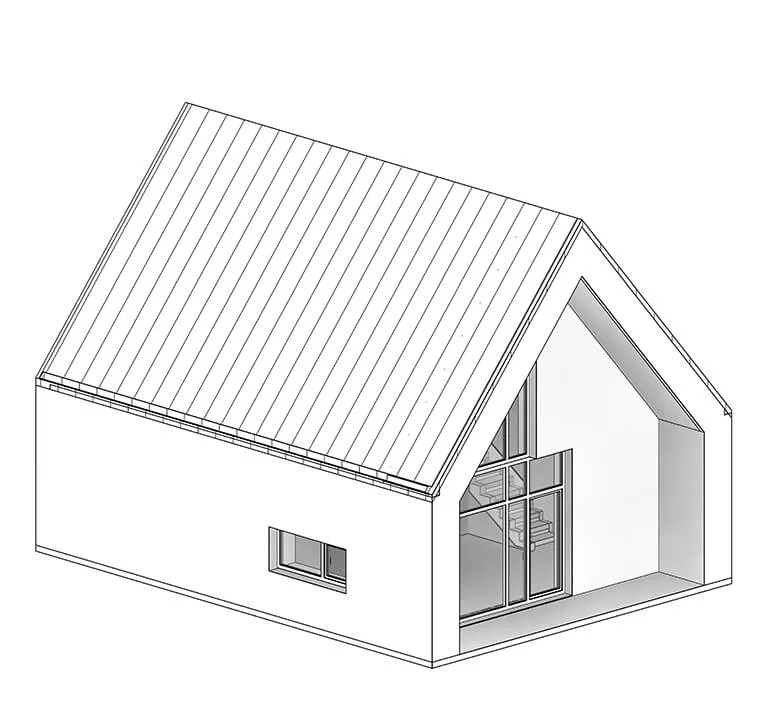
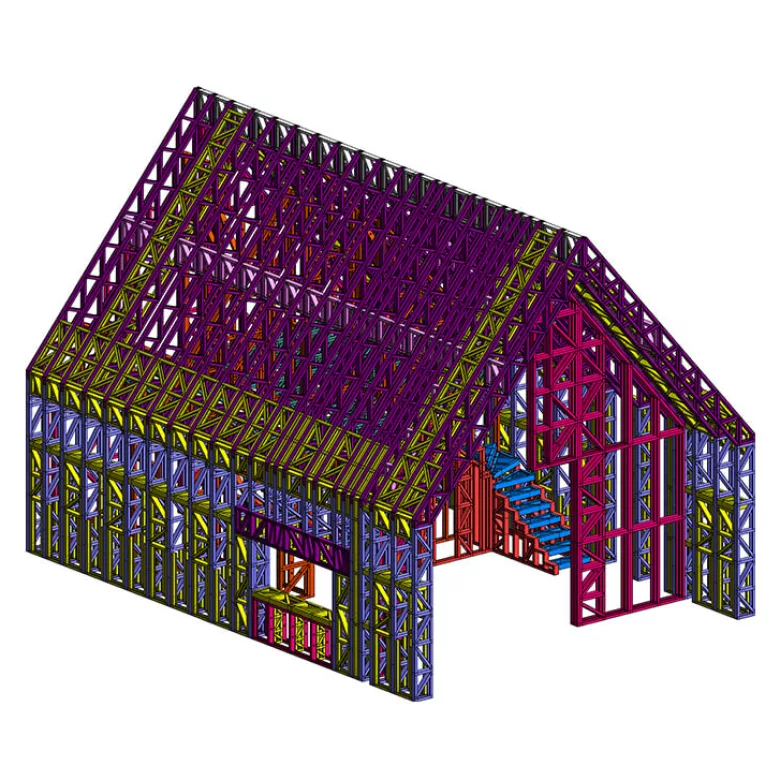
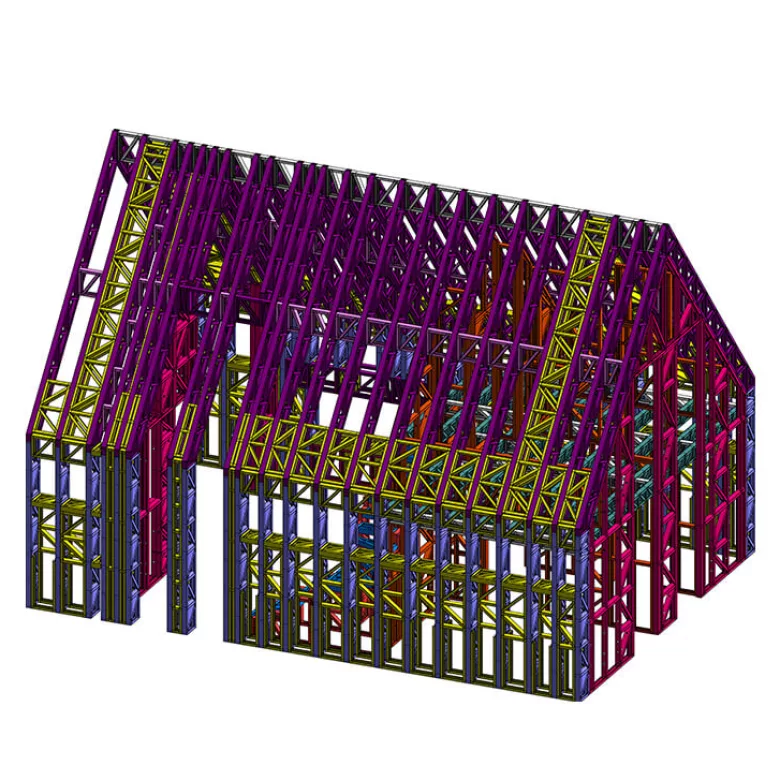
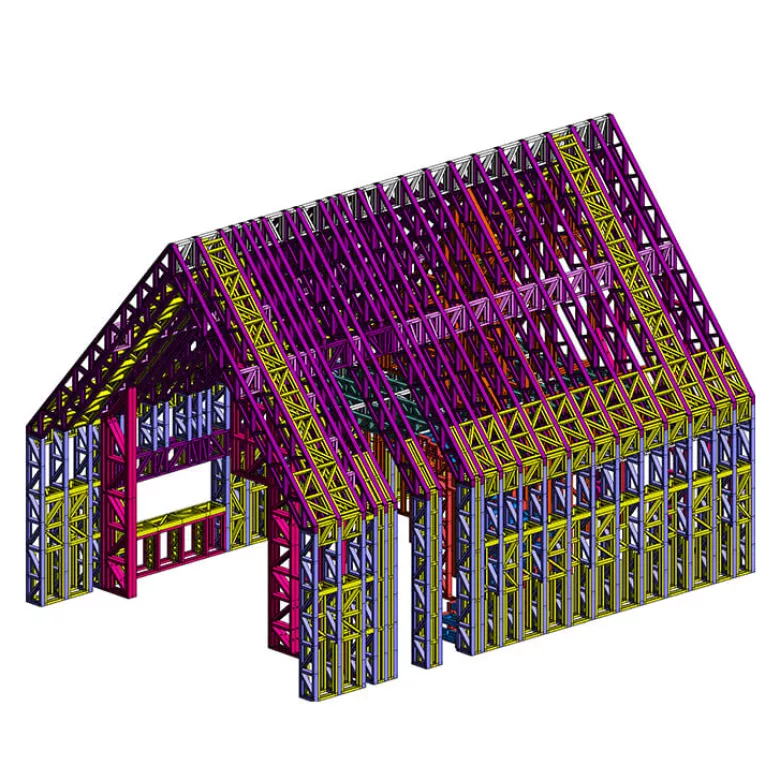
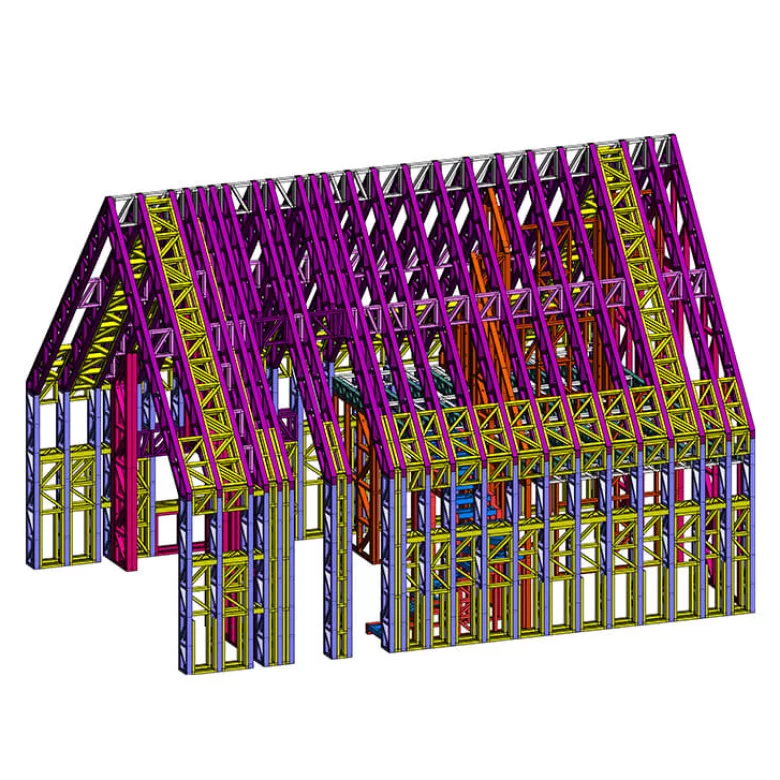
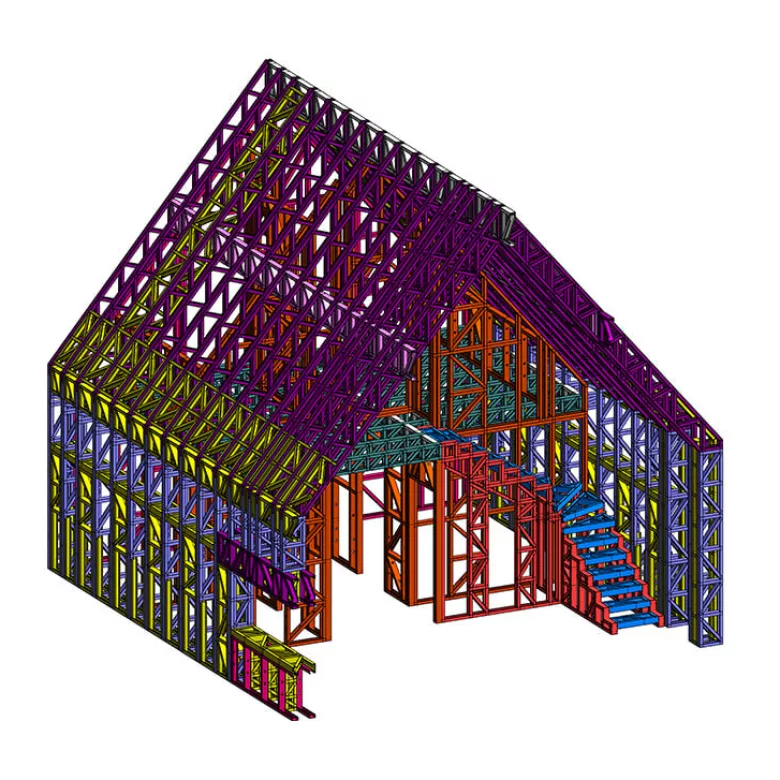
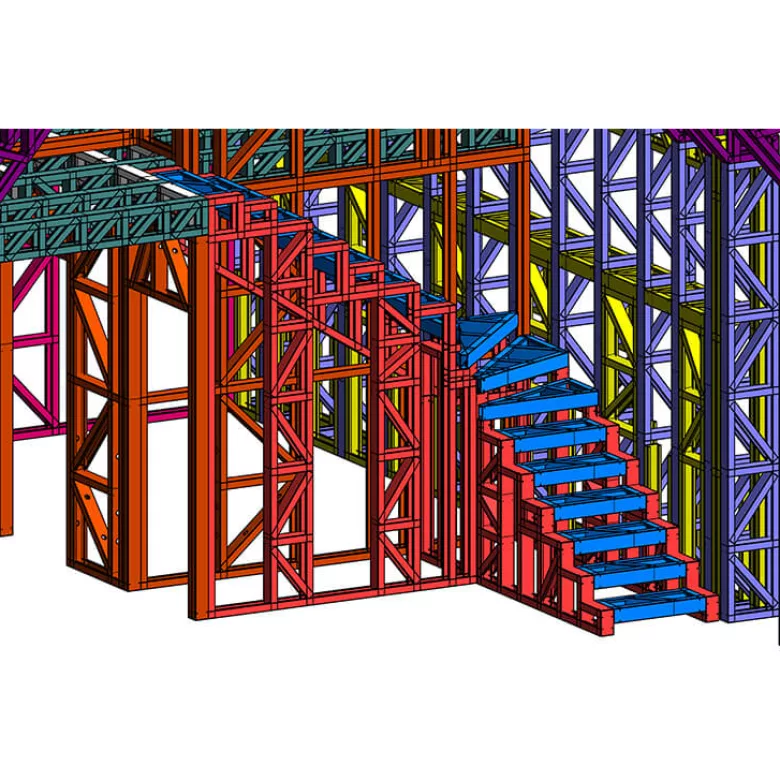
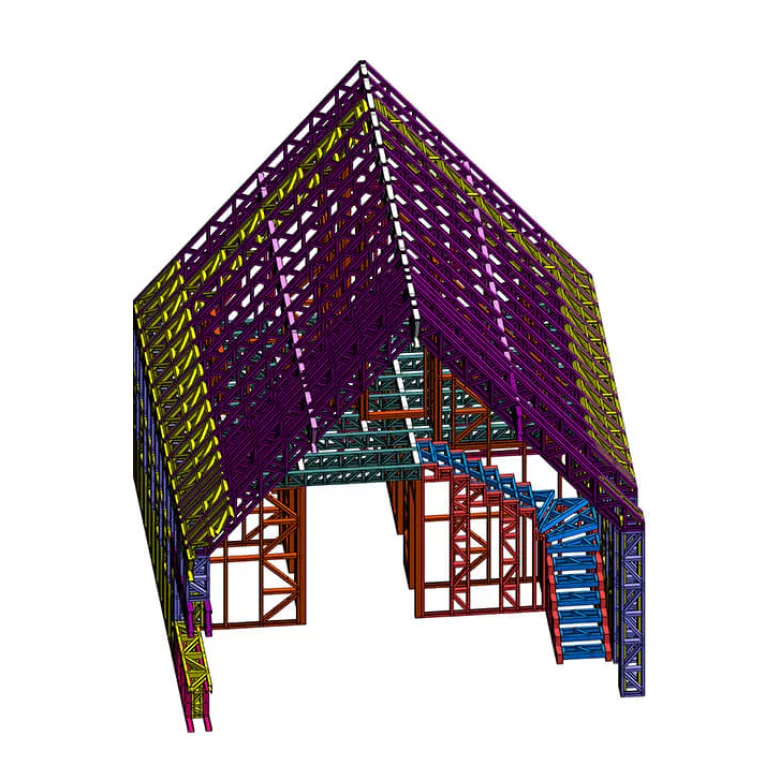
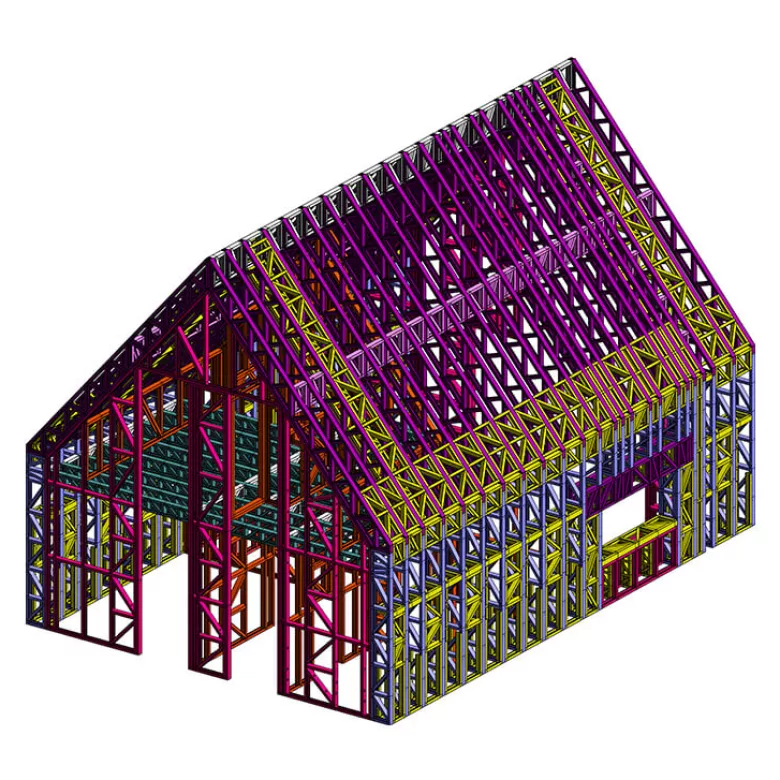
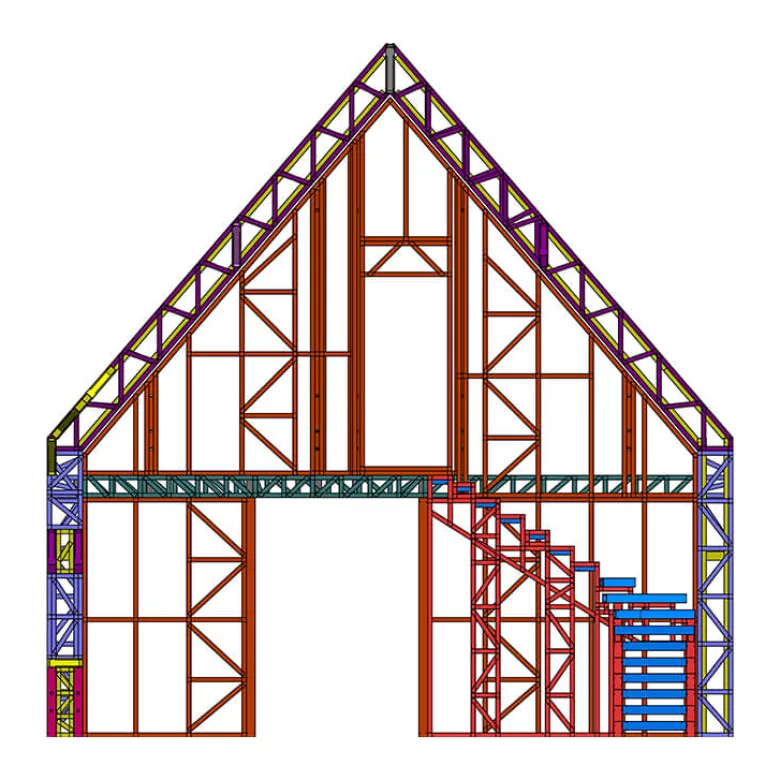
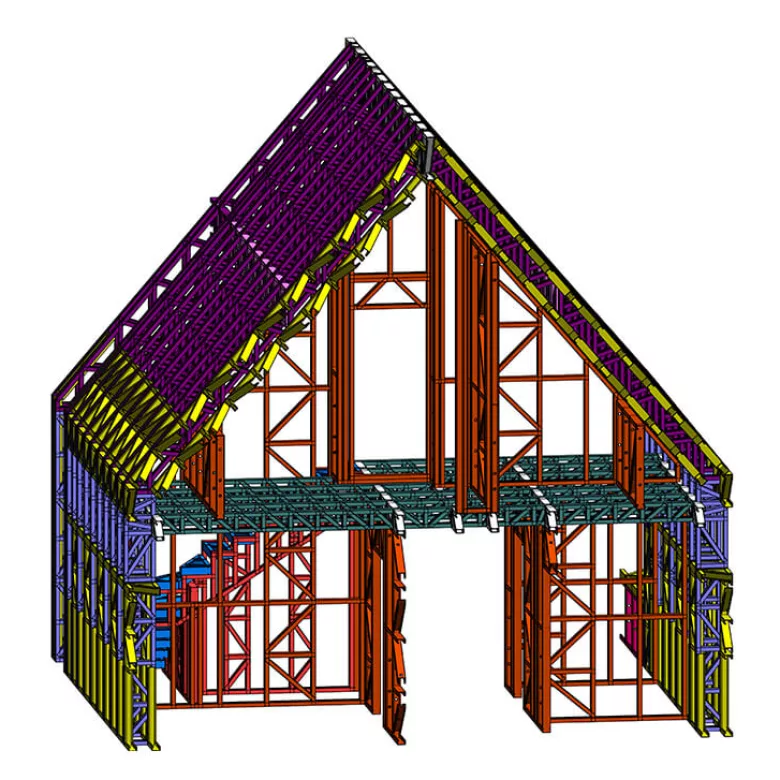
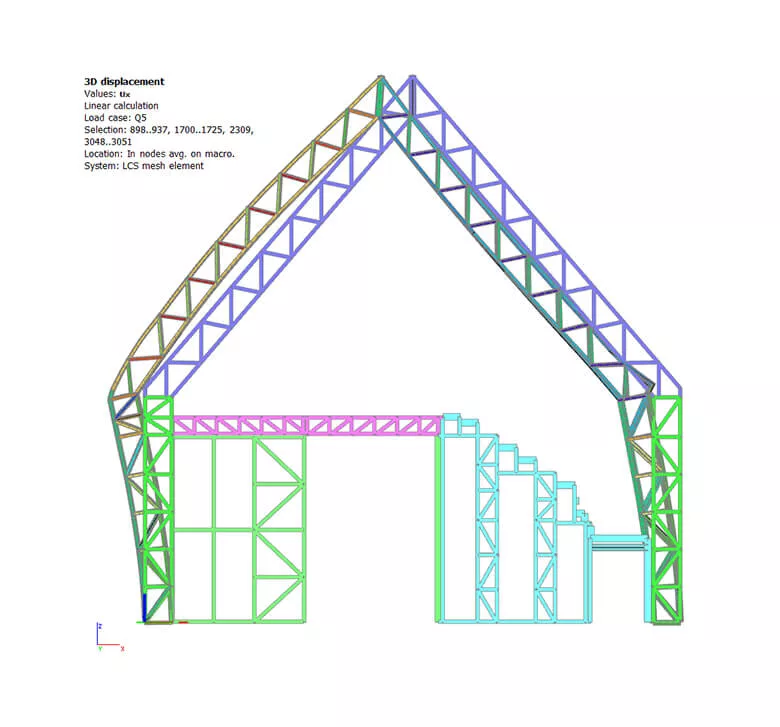
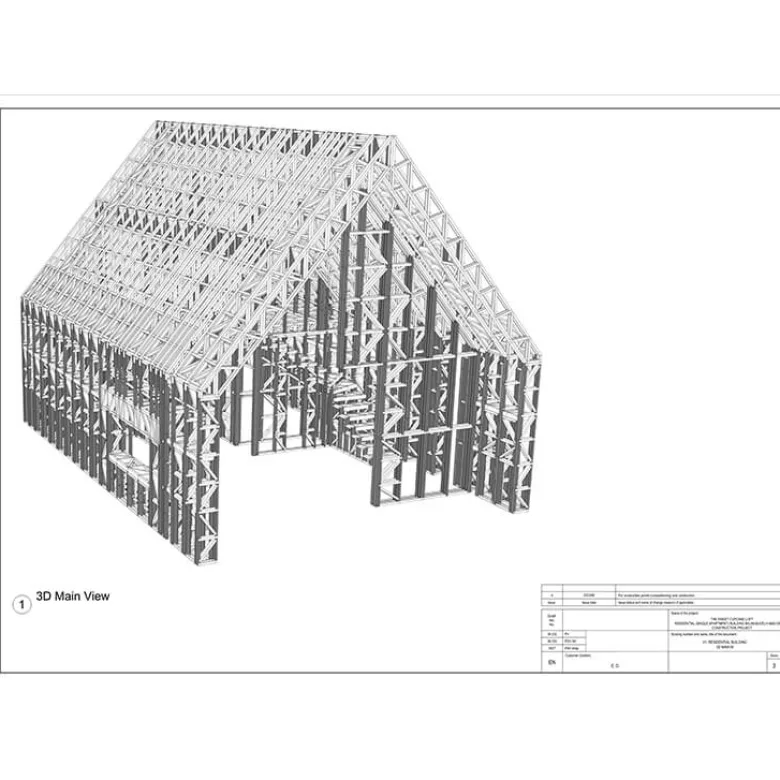
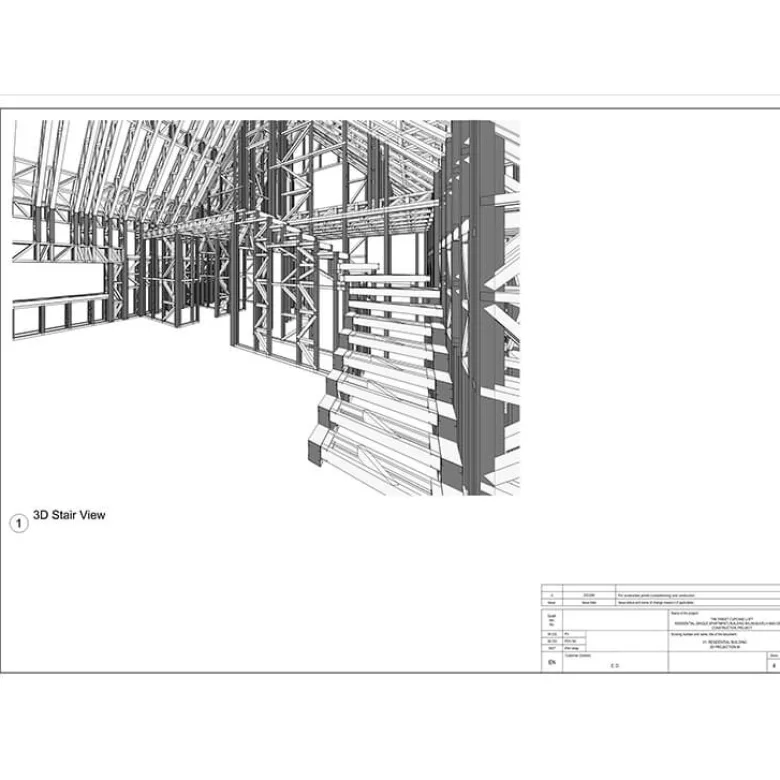
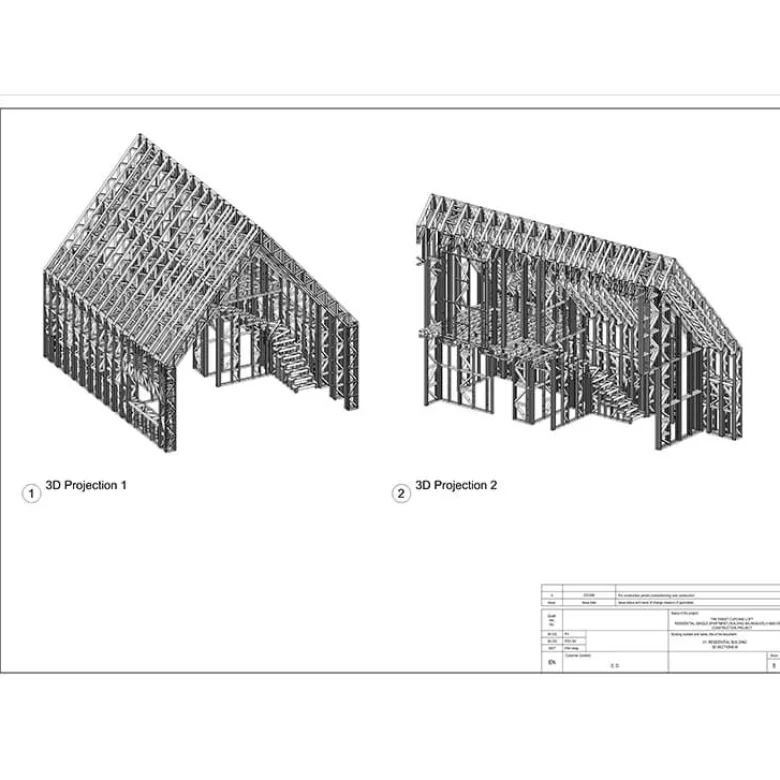
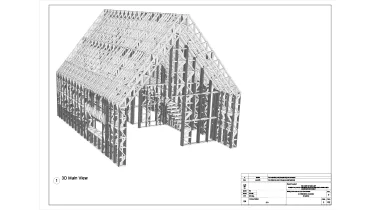
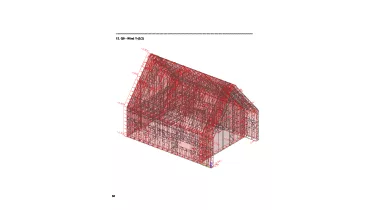
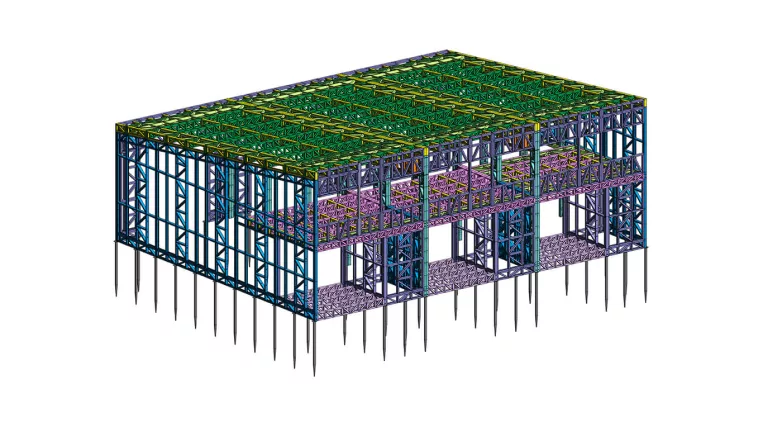
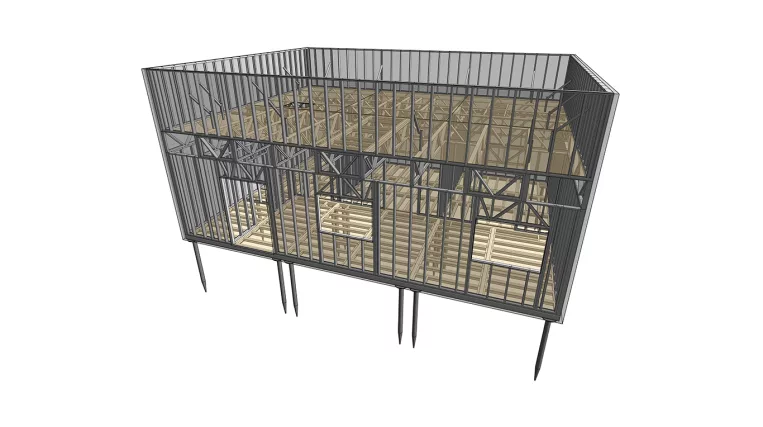
The project entailed designing a two-story residential A-Frame house, commonly known as a barn house.

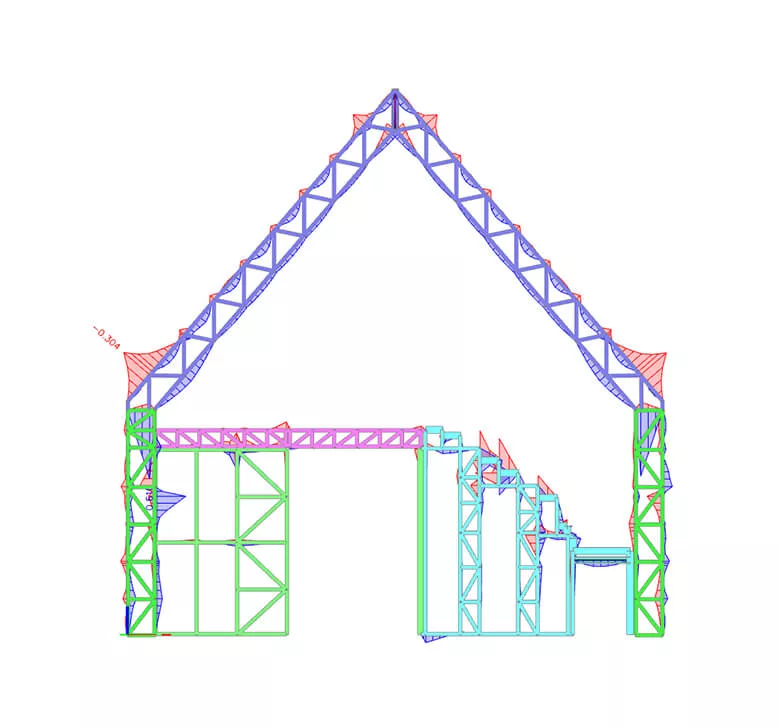
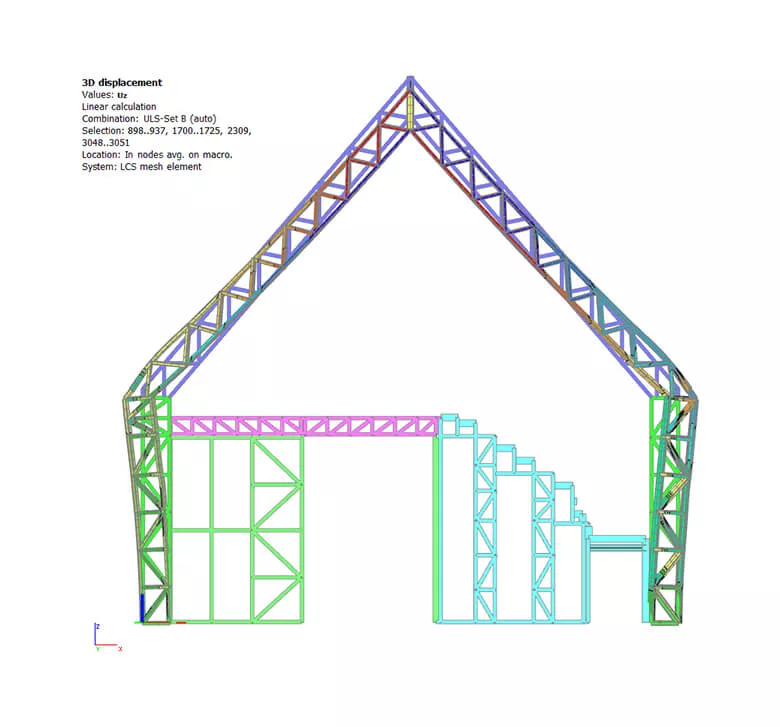
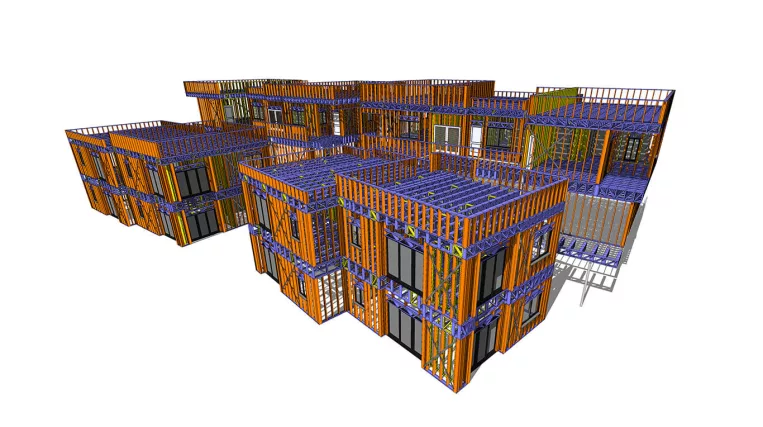
The ORIGIN team’s goal was to develop structural construction drawings and perform structural analysis of the building’s LGS framing and foundation.

Since the project builder had the Howick rollformer, CNC files for LGS panel production were also requested.

Input: Architectural drawings set.

Project deliverables:

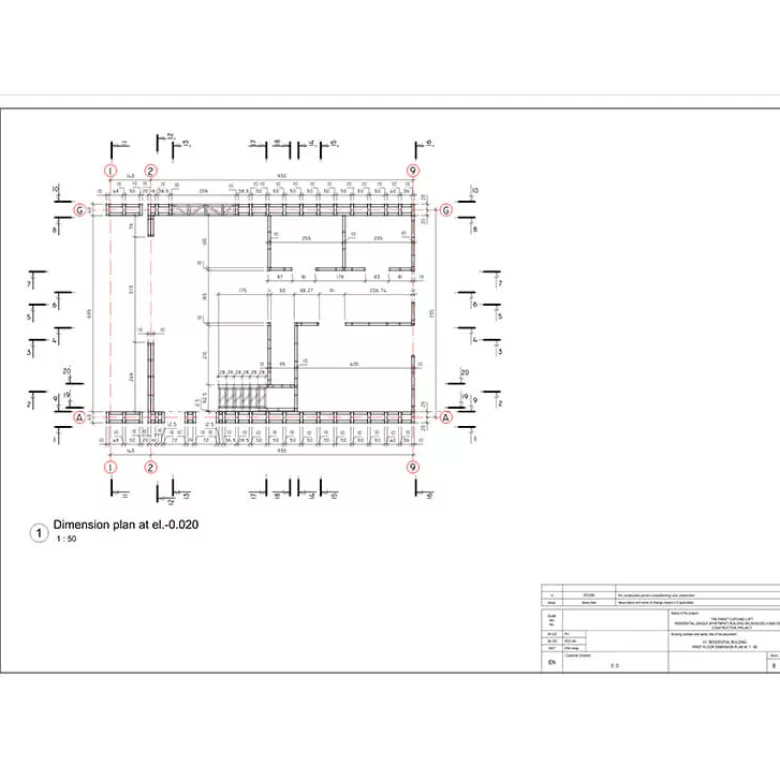
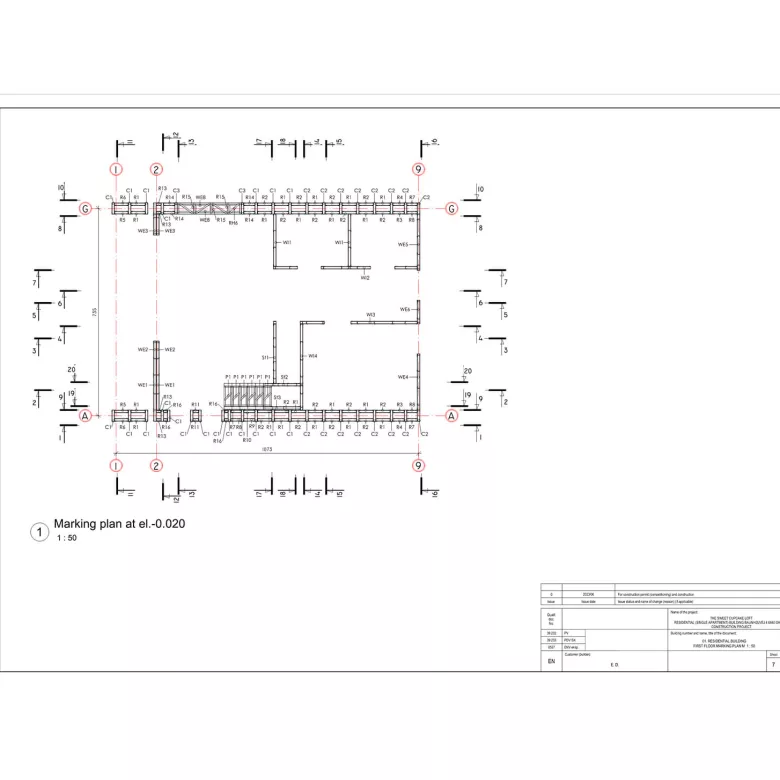
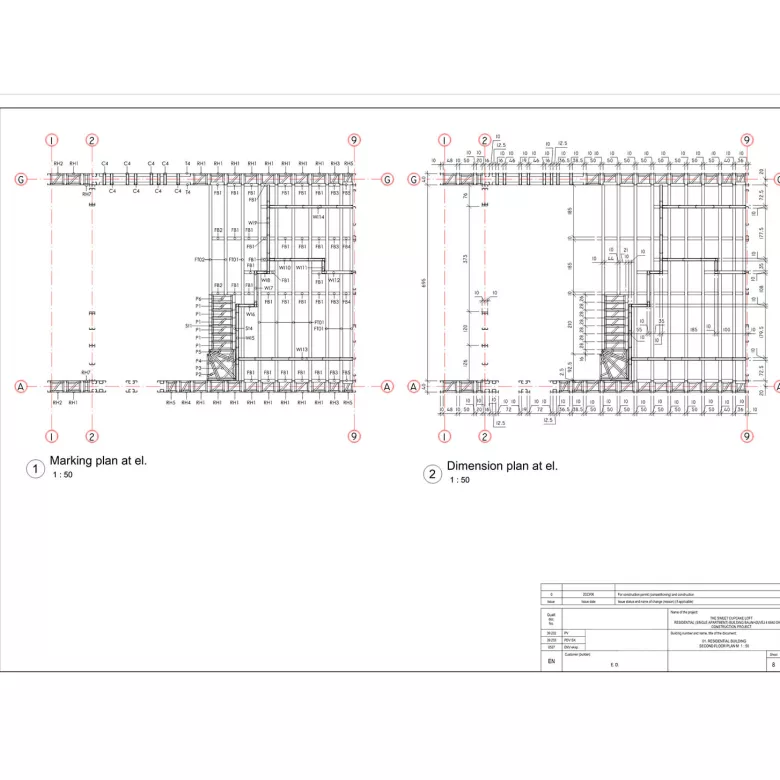
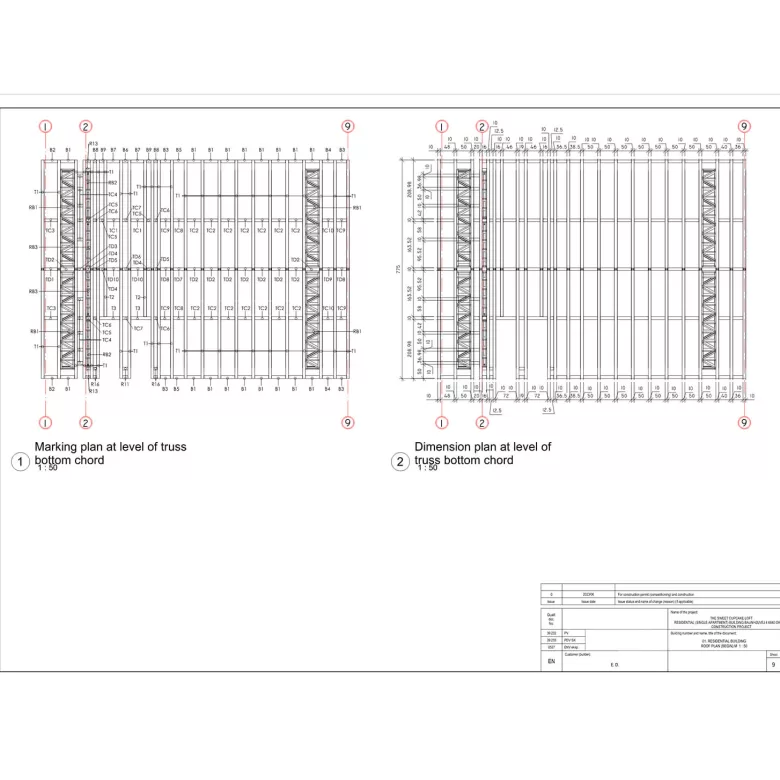
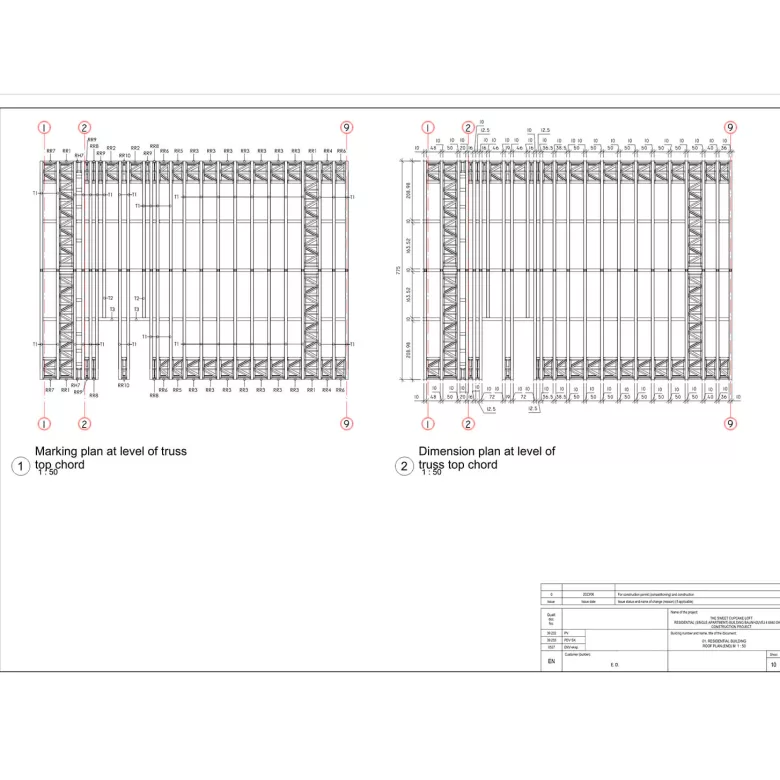
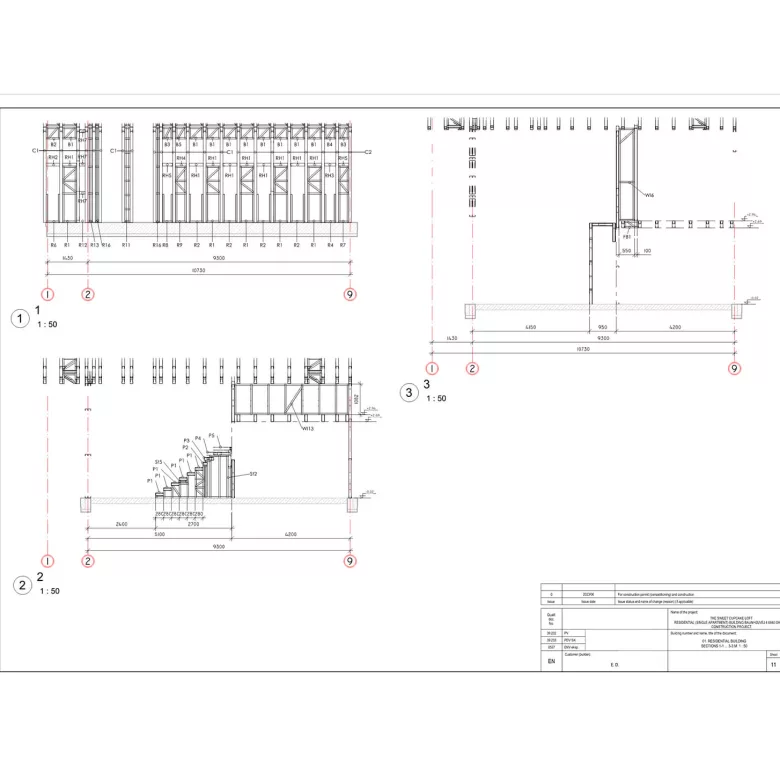
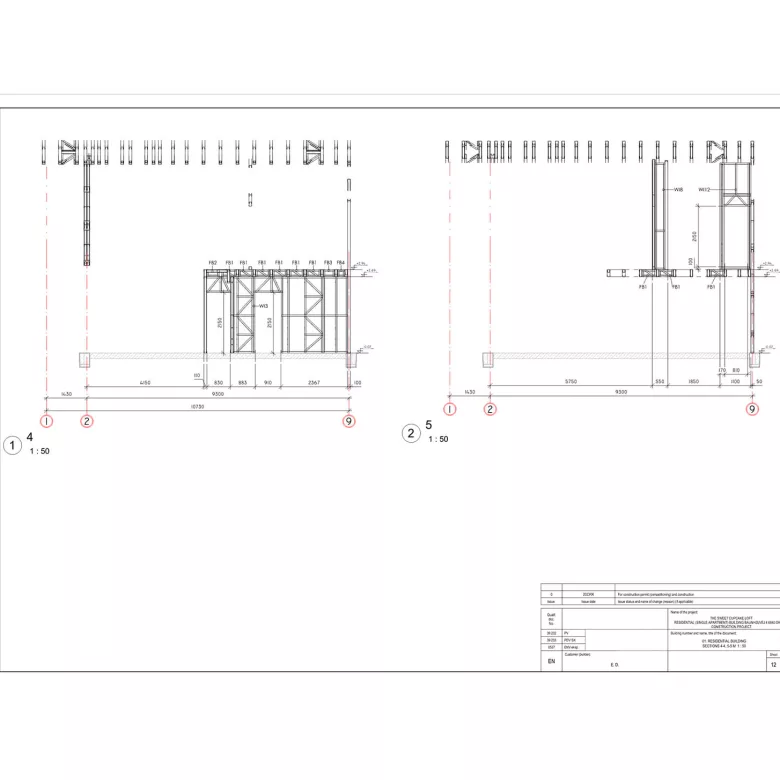
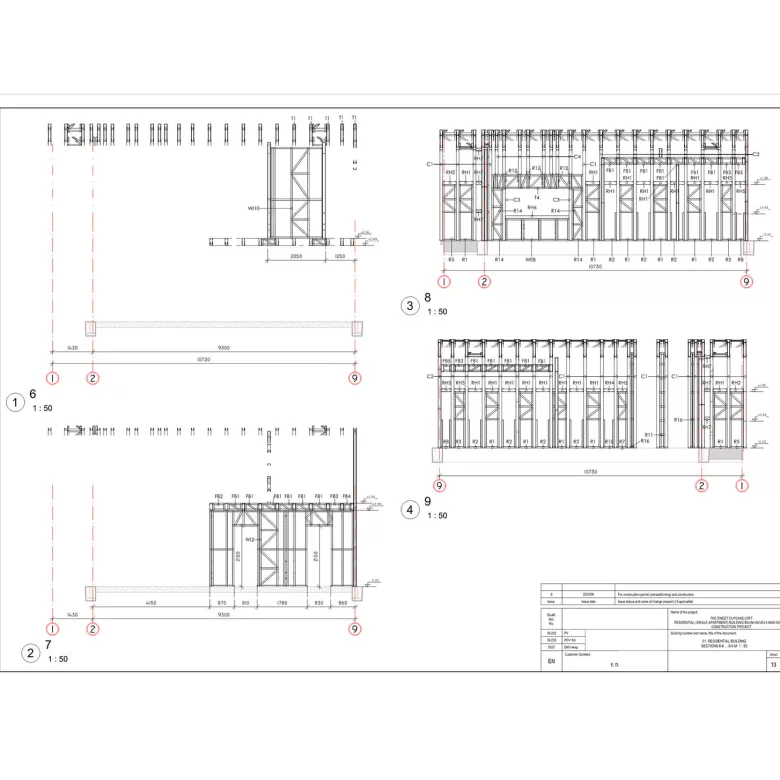
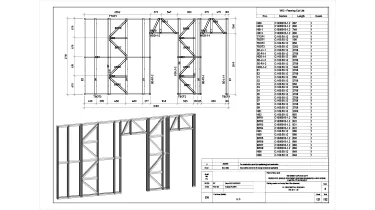
  • Structural drawings set;
  • Structural analysis report;
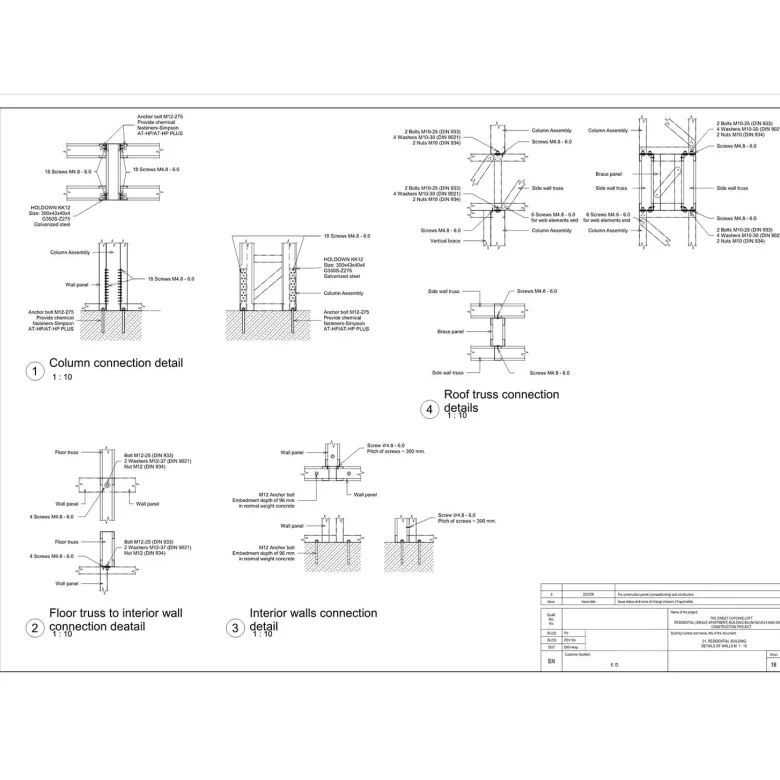
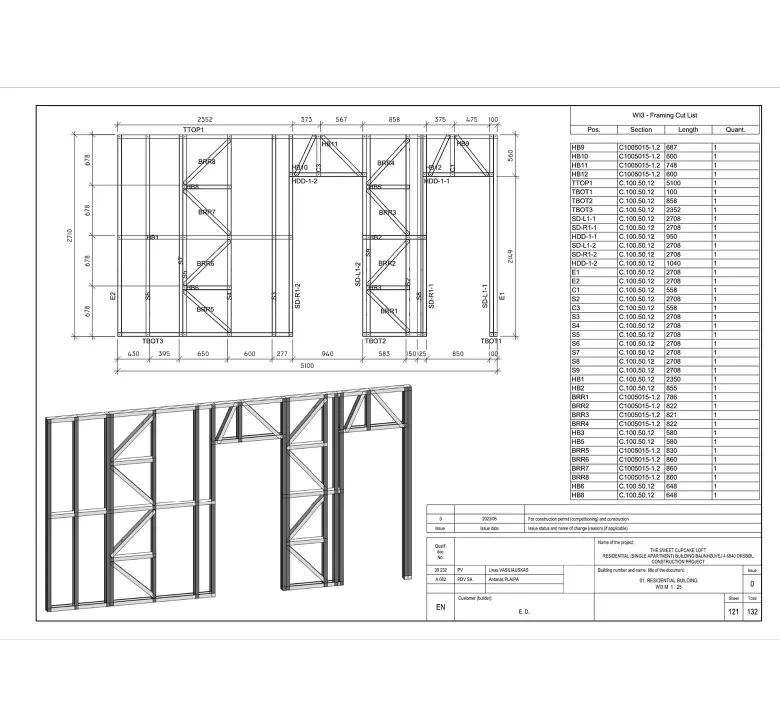
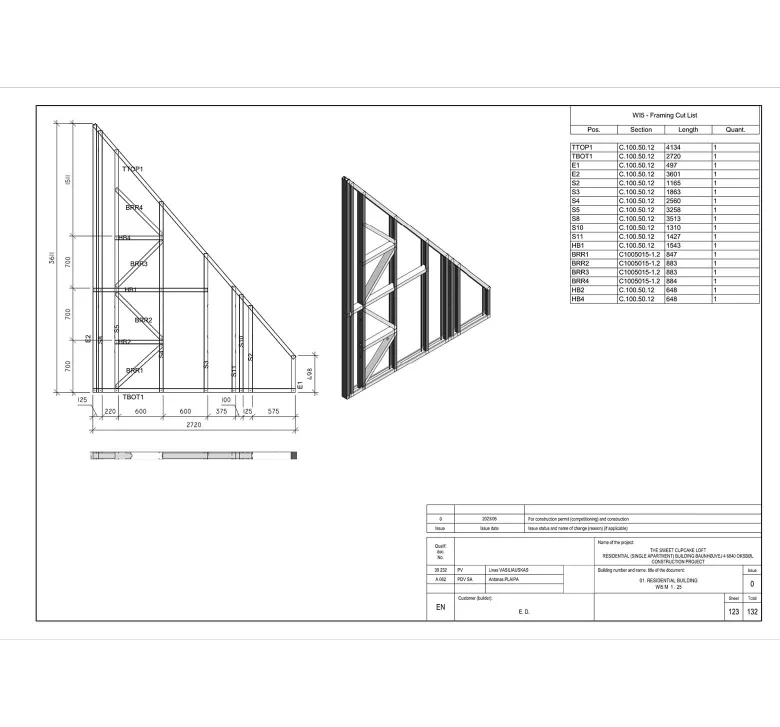
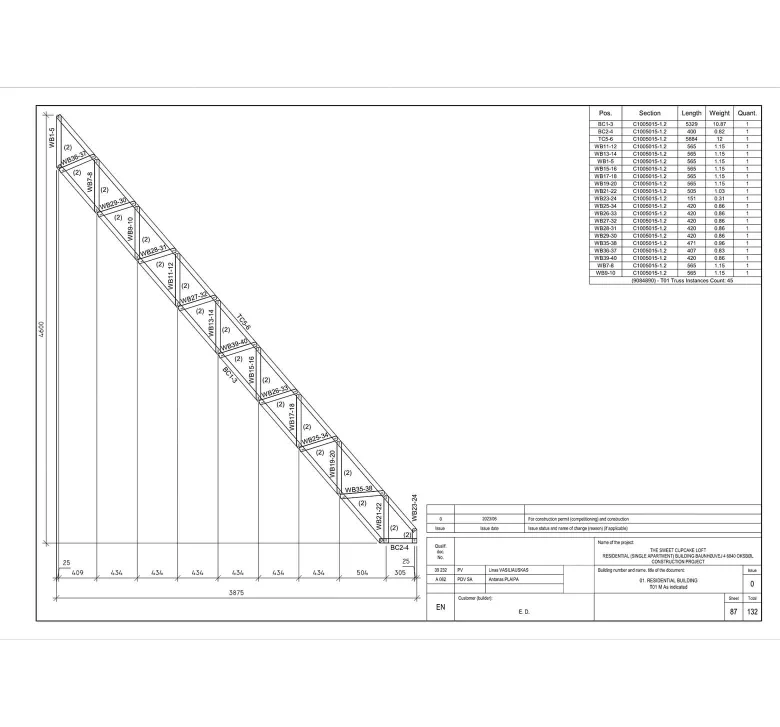
  • LGS shop drawings;
  • Howick CNC files for LGS panels production.
Services STRUCTURE
Subservices Light gauge steel design and detailing
Industry Residential
Object type Single-family home
Area 70 m² / 760 ft²
Tools used Autodesk Revit, Strucsoft MWF Advanced Metal, SCIA Engineer, Tekla Tedds
Share:
Project stages
1. Revit model creation
2. Structural modeling
3. Structural analysis
4. Structural drawings
5. LGS CNC export and shop drawings
Code/Authority List:
  • DS/EN 1991-1-1 DK NA: 2013 – Part 1-1: General actions — Densities, self-weight, imposed loads for buildings;
  • DS/EN 1991-1-3 DK NA: 2015 Version 2 – General actions — Snow loads;
  • DS/EN 1991-1-4 DK NA: 2015 General actions — Wind actions;
  • DS/EN 1993-1-3 DK NA: 2019 Part 1-3: General rules — Supplementary rules for cold-formed members and sheeting;
  • The Danish Building Regulation Standard.
1
1
1
1

Step 1 — Revit model creation

Everything started from architectural drawings.

We studied them and constructed a conceptual structural scheme. At this stage, it was crucial to confirm the structural feasibility of architectural layouts. We noted all issues and addressed them to the Architect for further adjustments.

Then, we turned the PDF architectural drawings into clean Revit models, which included foundations, floors, roofs, and walls. These models served as a host of future LGS framing.

Step 2 — Structural modeling

After completing the Revit model, we began creating the LGS framing.

For this purpose, we utilized the Strucsoft MWF Advanced Metal software, a Revit add-in equipped with various tools for automatic LGS framing creation. It helped us consider the thickness of floors, roofs, walls, and openings.

Once it was done, we proceeded with foundation modeling.

1
1
1
1
1
1
1
1
1
1
1
1
1
1

Step 3 — Structural analysis report production

Once preliminary structural modeling was completed, we started to run a structural analysis of the entire structure.

For LGS framing calculations, we utilized SciaEngineer software.

For masonry walls and foundation calculations, we used Excel and Mathcad spreadsheets.

Our calculations comply with the following codes:

  • DS/EN 1991-1-1 DK NA: 2013 — Part 1-1: General actions — Densities, self-weight, imposed loads for buildings;
  • DS/EN 1991-1-3 DK NA: 2015 Version 2 — General actions — Snow loads;
  • DS/EN 1991-1-4 DK NA: 2015 General actions — Wind actions;
  • DS/EN 1993-1-3 DK NA: 2019 Part 1-3: General rules — Supplementary rules for cold-formed members and sheeting;
  • The Danish Building Regulation Standard.

At the end of this page you will find a full structural report.

Step 4 — Drawings production

Once LGS framing was verified by calculations, we began preparing Revit views: plans, sections, elevations, and other essential details.

The structural model was already completed, so there was no need to draw anything manually.

Thanks to this, drawing production was the easiest part: we simply added dimensions, text annotations, and additional notes.

The completed plans were sent to the building department for approval.

1
1
1
1
1
1
1
1
1
1
1
1
1
1
1
1

Step 5 — LGS CNC export and shop drawings

Once plans were approved, the final step remained: the production of LGS panels.

This process consisted of two steps:

  1. First, we produced members of LGS panels by exporting CNC files from the Revit model and loading them into the FRAMECAD rollformer. After that, the machine started to run the profiles.
  2. Second, we assembled LGS panels from the members, providing shop drawings for each panel, with each member being properly labeled and dimensioned.
1
1
1
1
1
Drawings

Click on preview to view high resolution PDF drawings

Benefits
The precise alignment of LGS framing with the geometry of the building, eliminating potential installation issues on-site
The ability to utilize the BIM model of LGS framing for clash detection with other trades
Colossal manufacturing time savings thanks to the CNC export of LGS panels and utilization of CNC rollformers for LSG panel production
Tools used
1
Autodesk Revit
1
Strucsoft MWF Advanced Metal
1
SCIA Engineer
1
Tekla Tedds
view project view more view photos