Search...
Overview

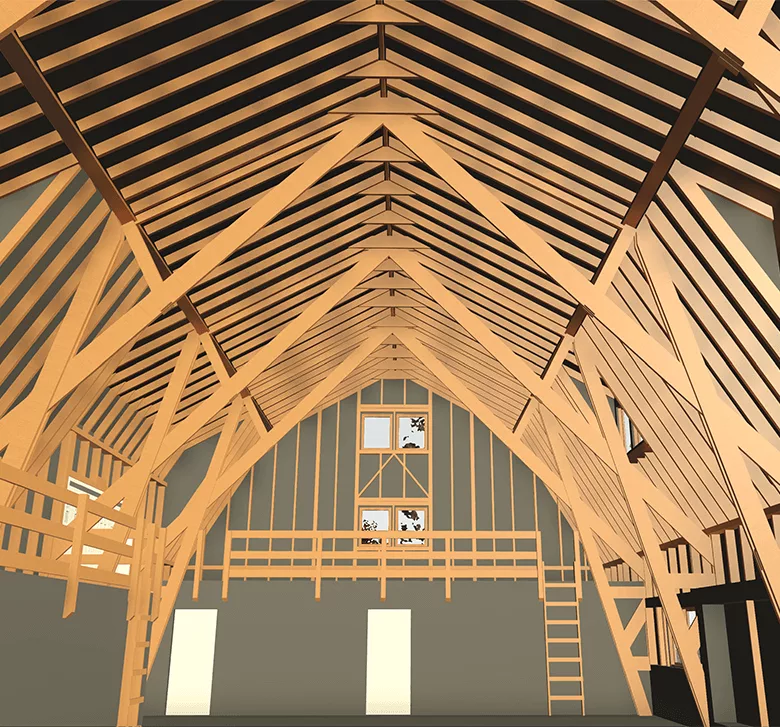
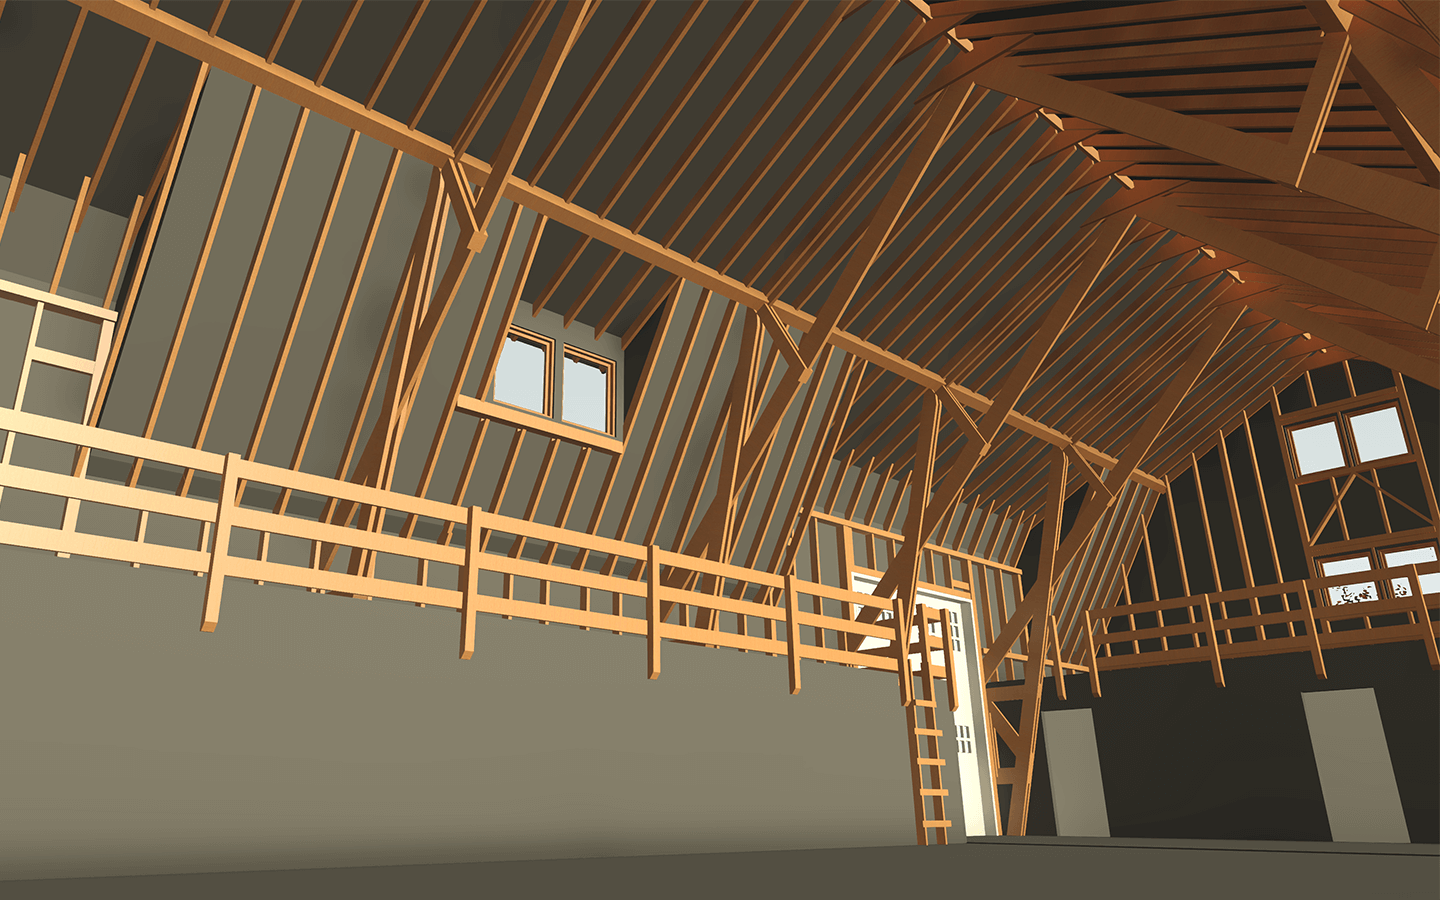
The client’s request was to show in the model all the elements of exposed wooden structures of an old barn. It was allowed to simplify and unify the elements since the building is old and the elements are exposed to the influence of natural forces like humidity, temperature fluctuations, etc.

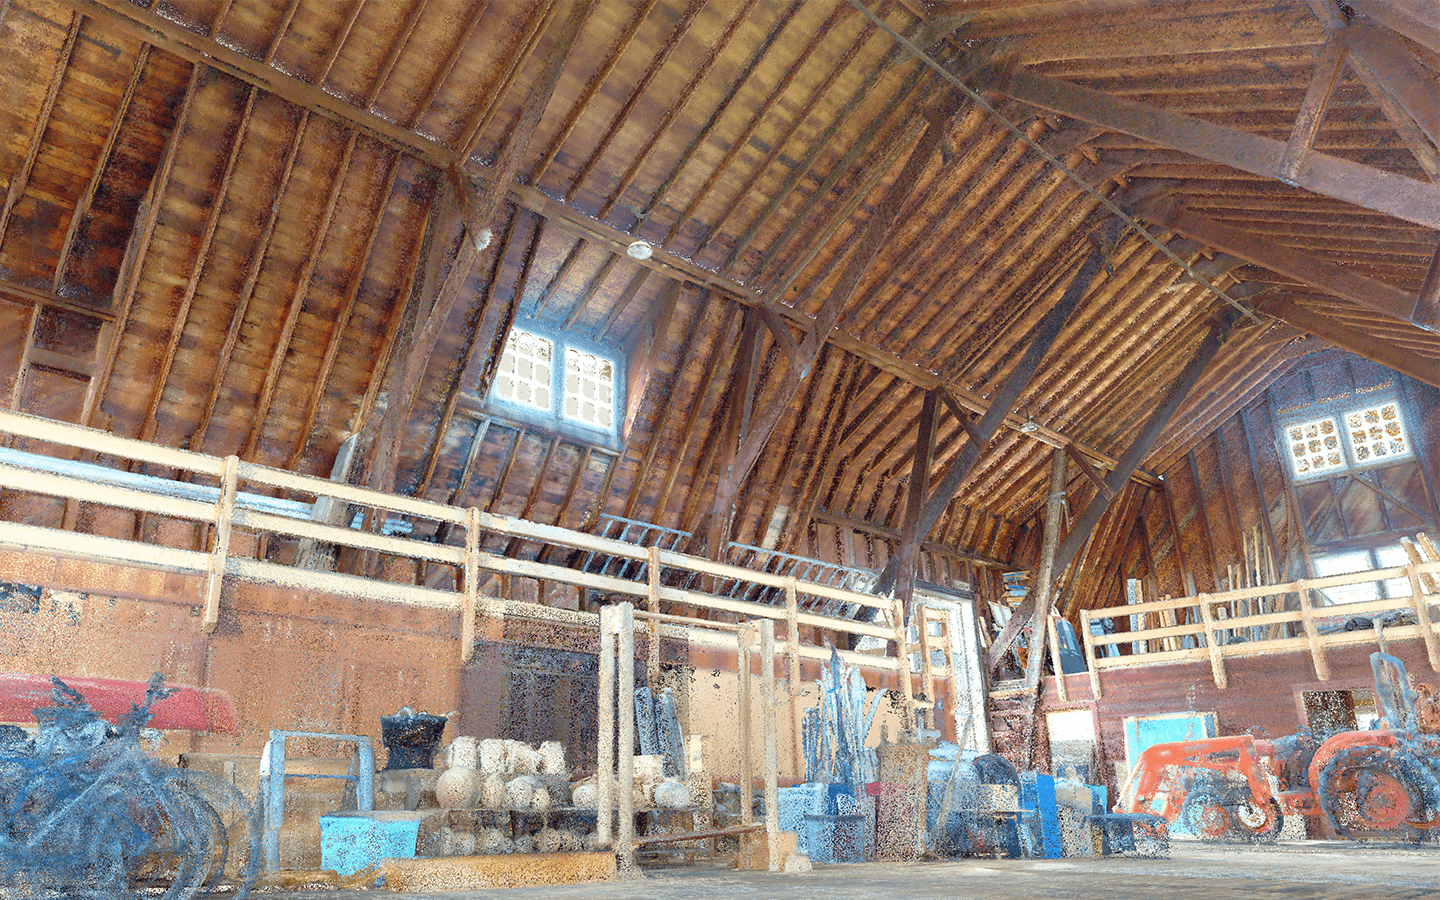
Unprotected wooden framing tends to undergo different types of deformations, and the team aimed to find a way to simplify the model in a manner that:

  • All the elements still be within the set tolerance;
  • We could save time by not repeating all the individual conditions of each wooden element.

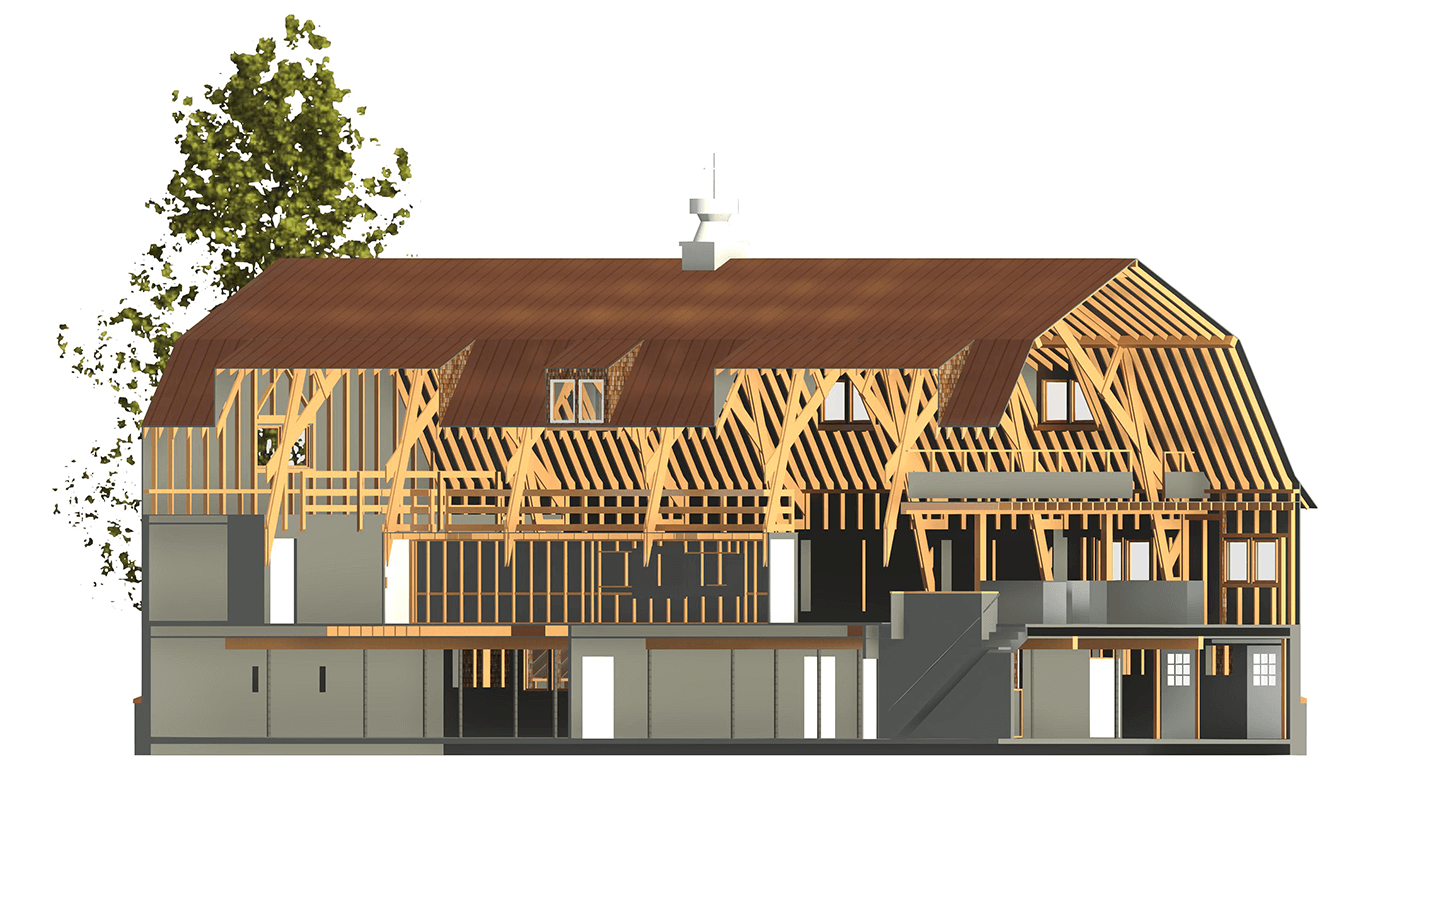
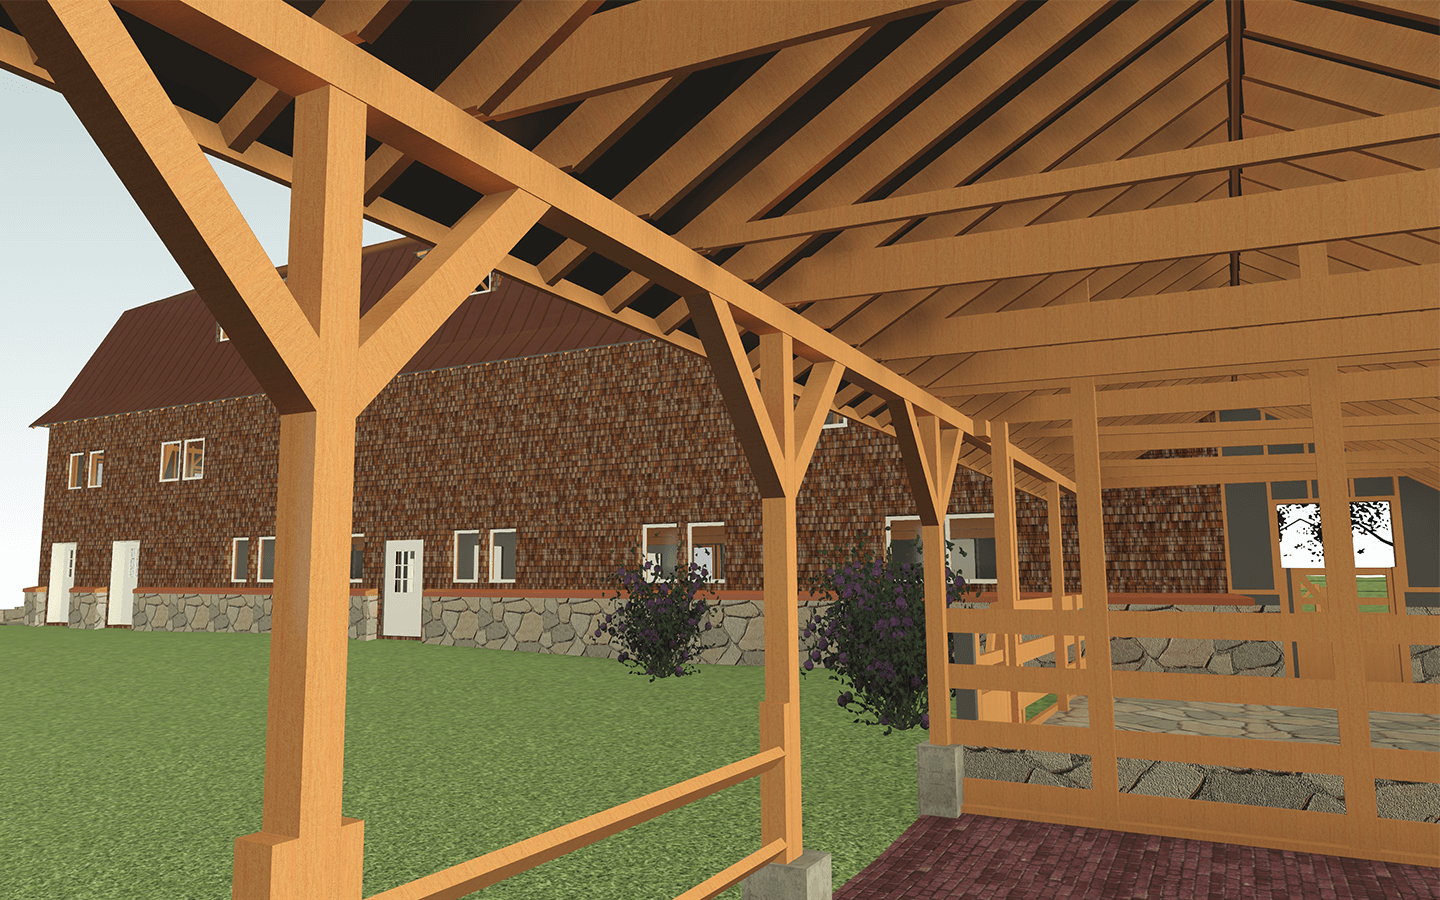
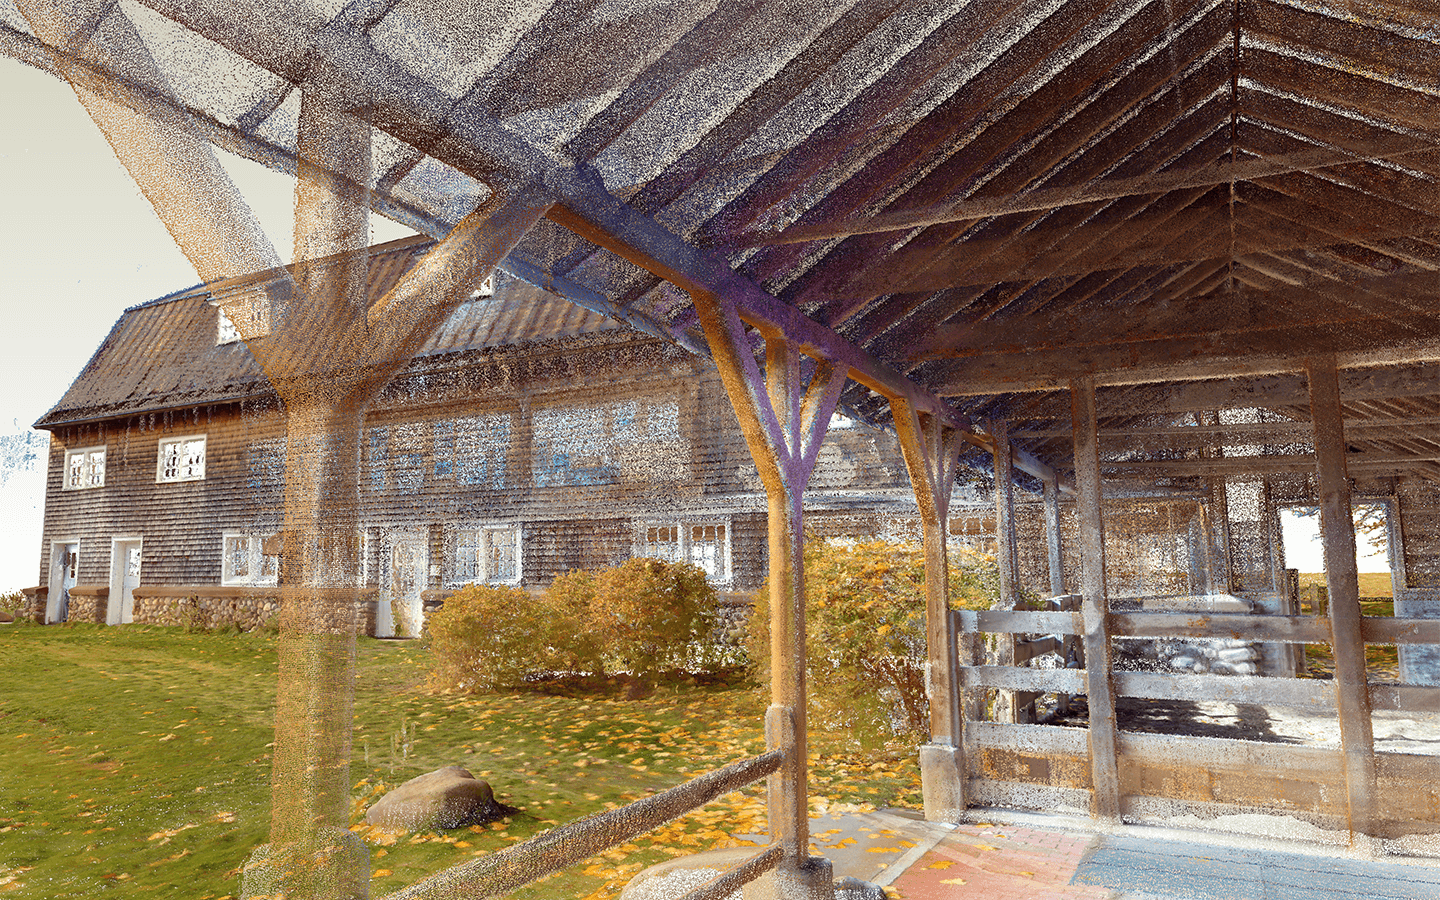
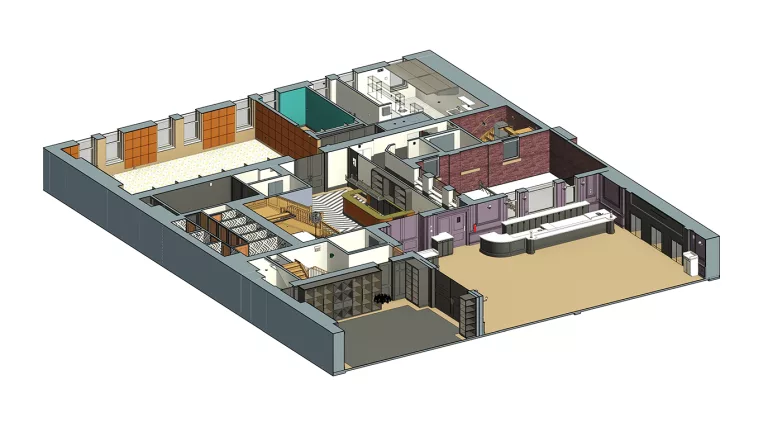
Scope of work: Modeling an old wooden barn with numerous exposed structural elements and modeling the surrounding areas of the barn.

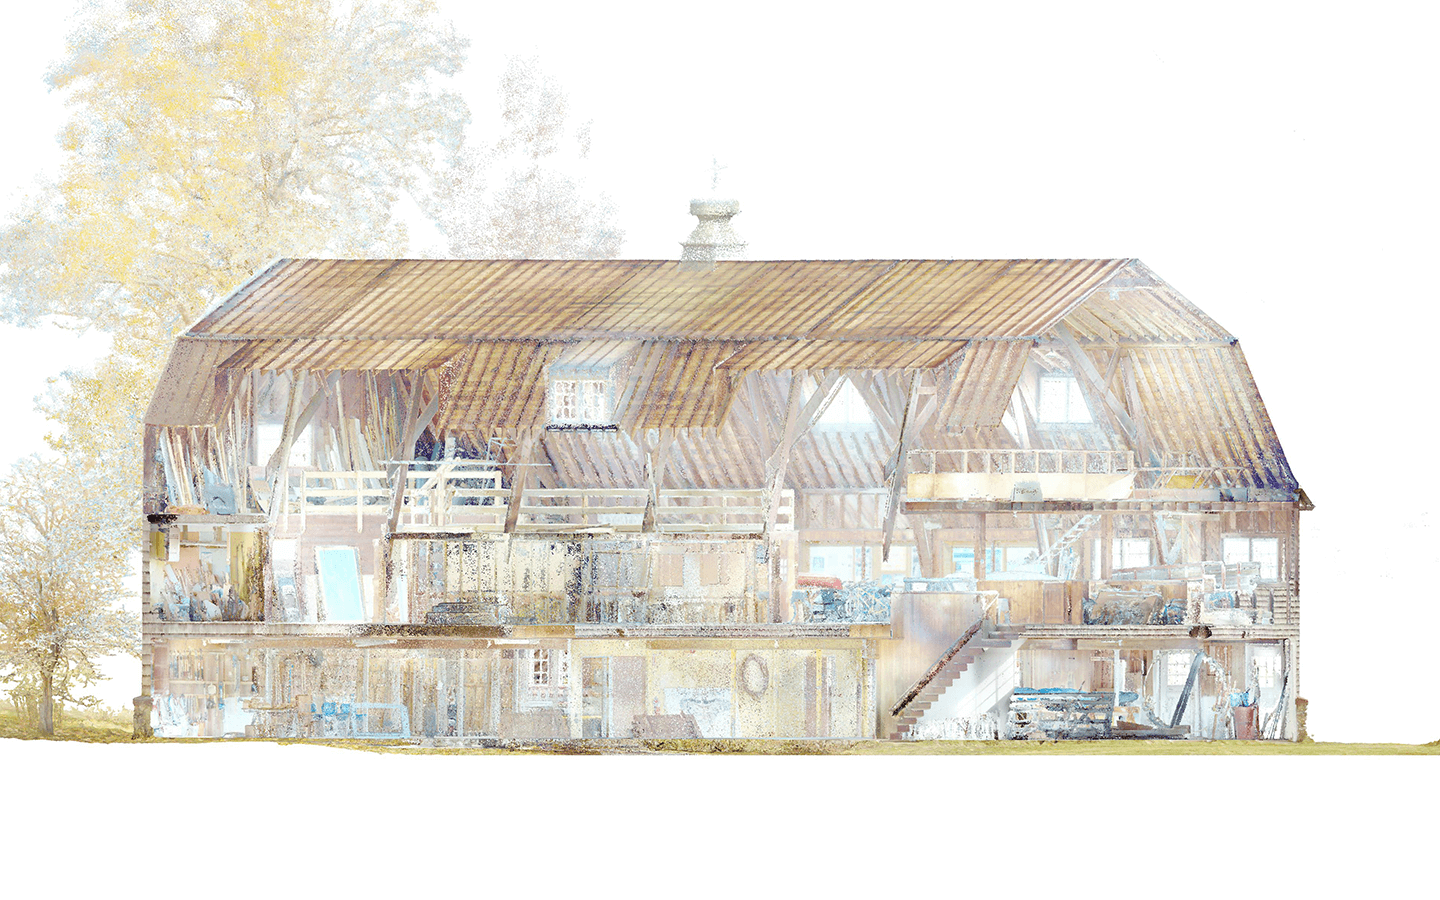
Input: Complete point cloud of the barn’s interiors and exteriors.

Output: 3D Model at LOD 300.

Services: STRUCTURE, BIM, ARCHITECTURE
Subservices: Scan to BIM
Industry: Agricultural
Object type: Farms
Area: 960 m² / 10340 ft²
Tools used: Autodesk Revit, Autodesk ReCap
Share:
Project stages
1. Receiving input
2. Analyzing the input: requesting additional information and selecting the optimal team structure
3. Creating the architectural shell of the barn and its surroundings
4. Modeling the wooden structure around the building
5. Quality control and implementation of corrections
6. Providing project support
1

Overall description

The barn includes 2 stories, which differ drastically in terms of modeling complexity, saturation with elements, etc.:

  • The 1st floor included all the wall and ceiling finishes and served most probably as offices or for some “clean” operations;
  • The 2nd floor has almost no finishes, and all the wooden structures of walls, gambrel roof with dormer windows are fully exposed.

Even though the structures seem to be repetitive, with blind copying it’s seen that the majority of beams should be adjusted to match the point cloud.

Wooden deformations such as cups, bows, crooks, and twists were ignored.

Point cloud vs Model
Quality control process

After the modeling process is finished, it’s part of the project lifespan at ORIGIN to make quality control of the models completed. Depending on the project aims, size, requested level of quality, and budget – the project team selects the optimal way of checking the quality of the models to satisfy the client’s needs and minimize the possibility of making mistakes. For this project, the combination of 2 types of quality control was used:

  • Cutting the model with sections with small view depth so we can see how precisely the model matches the point cloud in each section location. Usually, the sections are moved with a small step to cover all the defining locations with this type of quality control. The sections are run in classical X, Y, and Z directions. If some part of the building is oriented in non-classical directions, then additional sections are added to check specifically this part. These actions mostly help to define major deviations that go beyond set tolerance, and sometimes it helps to identify missing elements.
Point cloud vs Model
Quality control process
  • “Manual” comparison of the elements seen in the panoramic viewers/photos with the completed model. The building is split by areas using rooms or other defining configuration objects, and the QC goes strictly from chunk to chunk. These actions are the best way to identify skipped objects, separating them from the objects that are not needed to be modeled.

During the quality control process, all the found imperfections are documented and passed to the modeling team to implement them in the model. Once this round is completed, the QC person double-checks whether all the comments were implemented and interpreted correctly. If there is a need, a second round of implementation takes place. After these rounds, the project is reckoned as completed in terms of quality on ORIGIN’s end.

Point cloud vs Model
Benefits
Possibility of automatic calculation of wooden elements' volume
The model can be used to store information about each wooden element's condition
Possibility to automatically generate a set of the existing drawings
Tools used
1
Autodesk Revit
1
Autodesk ReCap
view project view more view photos