

With this project, ORIGIN delivered a tenant Improvement package for a dental office in California. The project covered the entire BIM-led design and documentation, from modeling existing conditions to producing a fully coordinated architectural drawing set.
Overview
| Category: | BIM, ARCHITECTURE |
| Services: | PDF/CAD-to-BIM conversion, ADA compliance check, Construction drawings |
| Industry: | Healthcare |
| Object type: | Dental clinic |
| Area: | 122 m² / 1320 ft² |
| Tools used: | Autodesk Revit |
| Share: |


Project stages
Scope of work
- Building new partition walls to reconfigure and optimize interior layouts;
- Upgrading interior finishes (paint, flooring, cabinetry, etc.);
- Installing new plumbing systems: water and waste lines, vacuum, air lines;
- Delivering new electrical systems for lighting and power distribution;
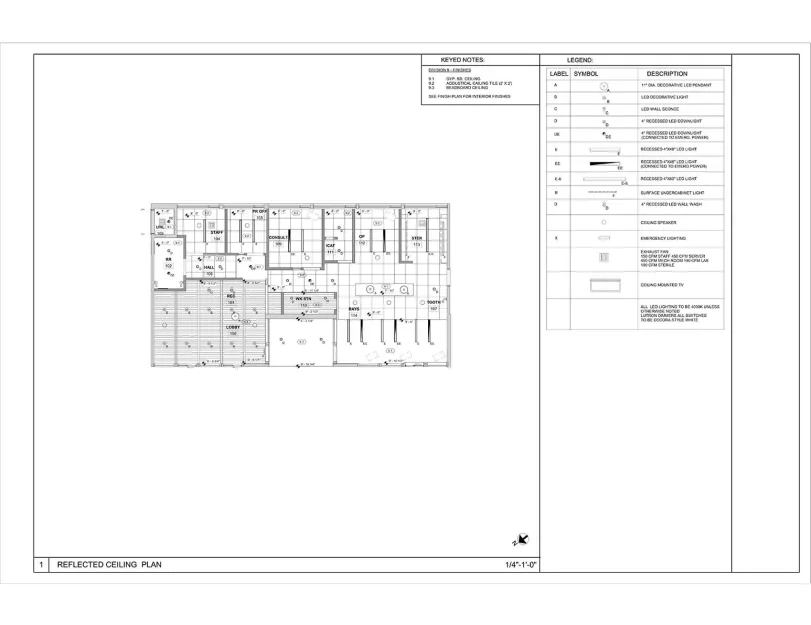
- Constructing new gypsum board assemblies and ceiling systems to complete the interior build-out.
Input:
- Point cloud file capturing existing conditions;
- Site draft based on Google Maps;
- CAD drawings.
Project deliverables:
- Coordinated Revit 3D model;
- Full architectural drawing set.

As-built conditions model review
At the initial stage, we received a point cloud of the existing building. Using this dataset, we reconstructed a 3D Revit model that accurately reflected the current architectural conditions of the facility. The point cloud allowed us to capture all dimensions and spatial details with a high level of accuracy.
In addition, a site plan was drafted using Google Maps as a reference. This ensured clear location context and proper project orientation.
Point cloud vs model


CAD-to-BIM model generation
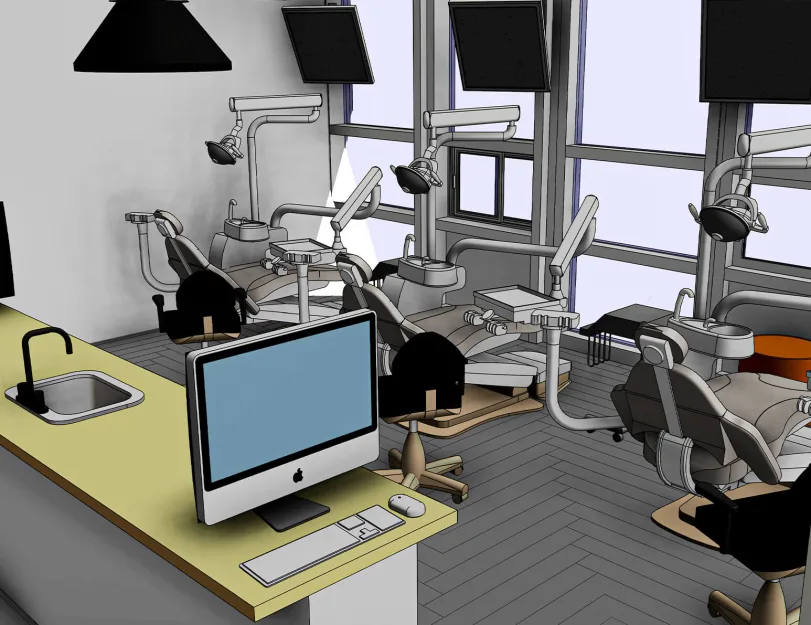
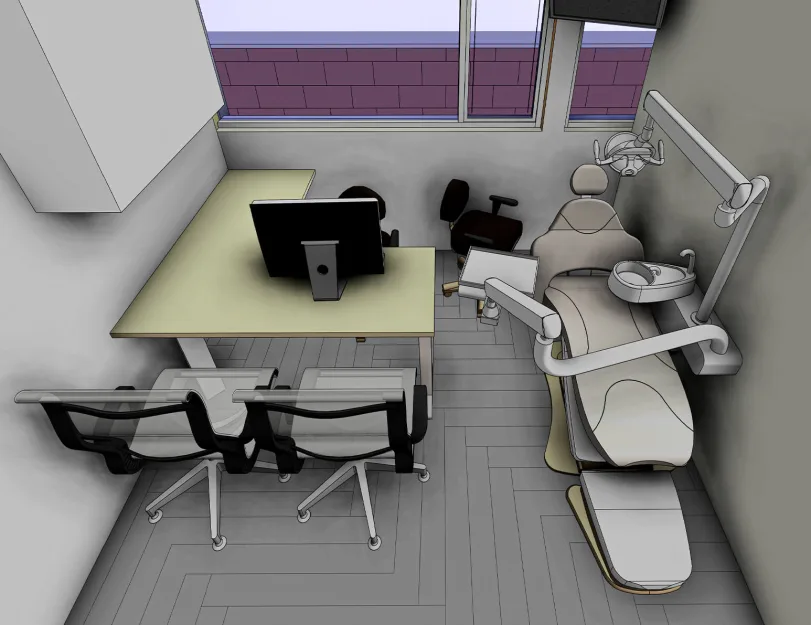
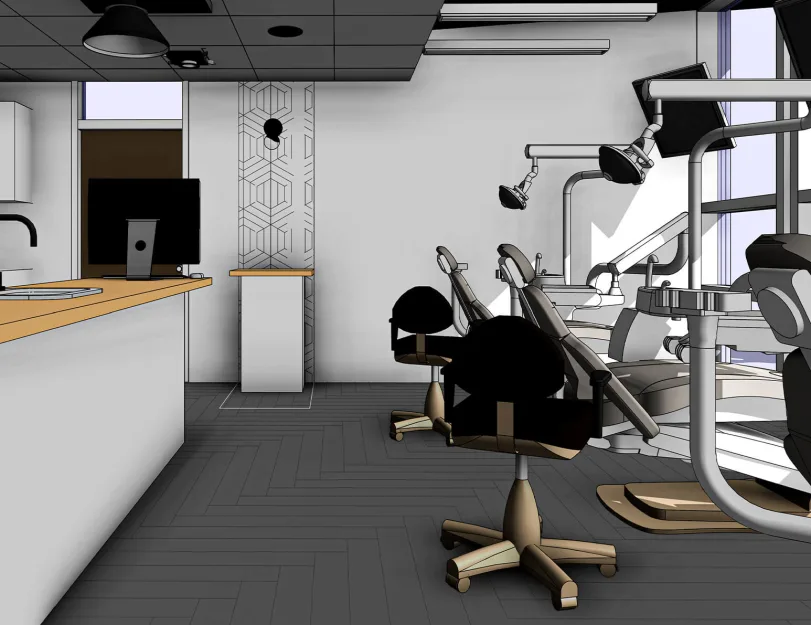
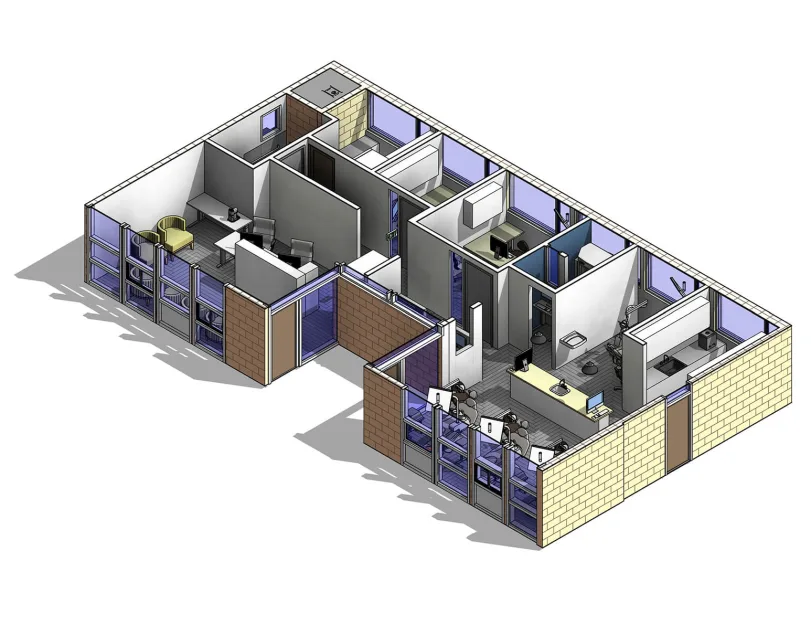
Moving to the next step, the ORIGIN team developed a BIM model. Since the CAD files included layouts with proposed modifications, these changes were integrated into the BIM model using Revit phasing. We began by modeling existing conditions and then added new construction elements.
This approach allowed us to clearly represent the “before” and “after” layouts. As a result, all design changes were easy to track, and potential coordination issues were reduced early in the process.
Perspective views

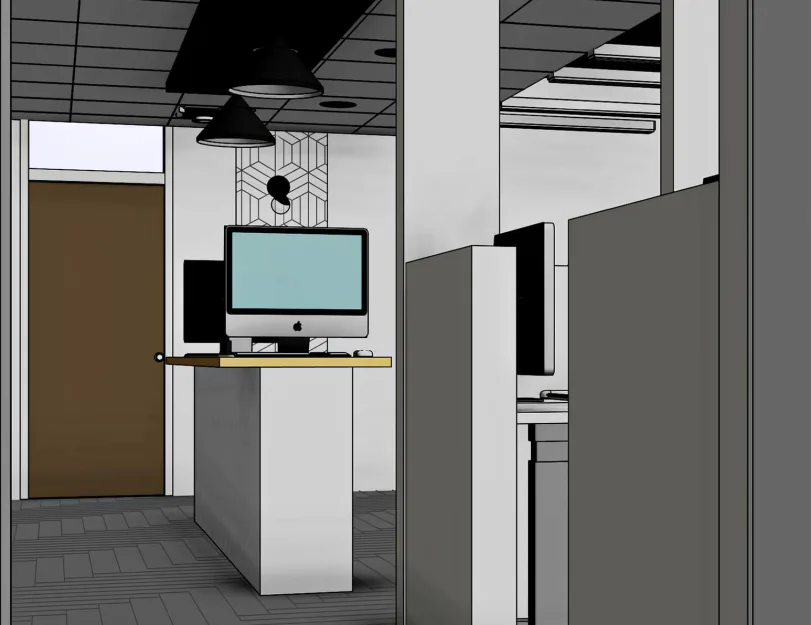
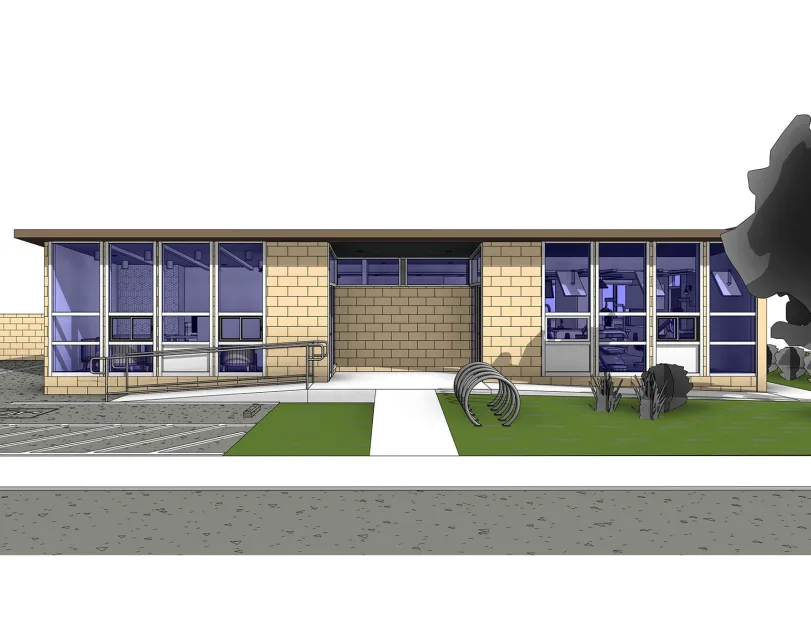
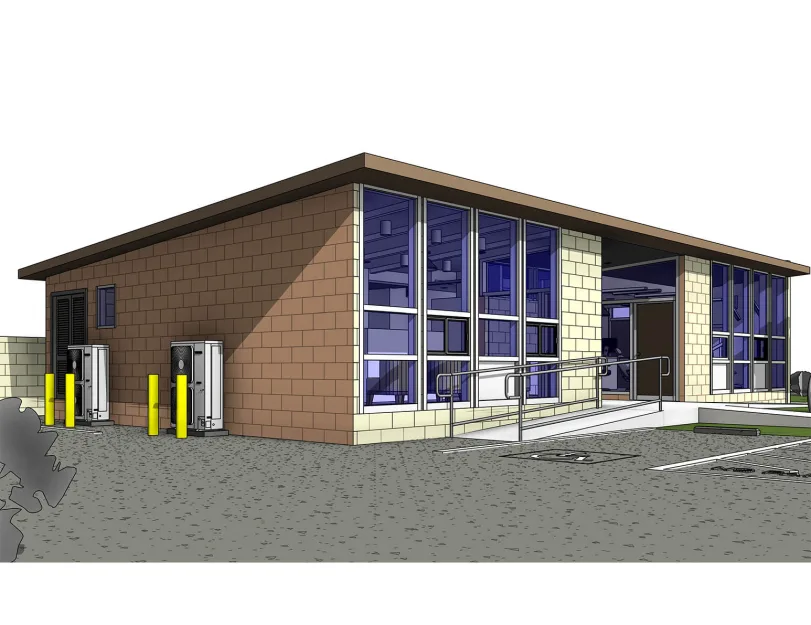
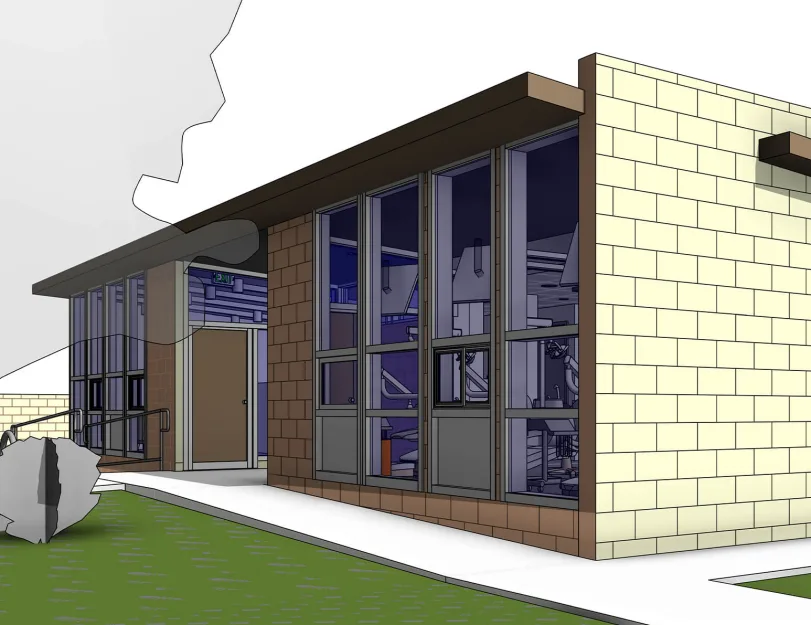
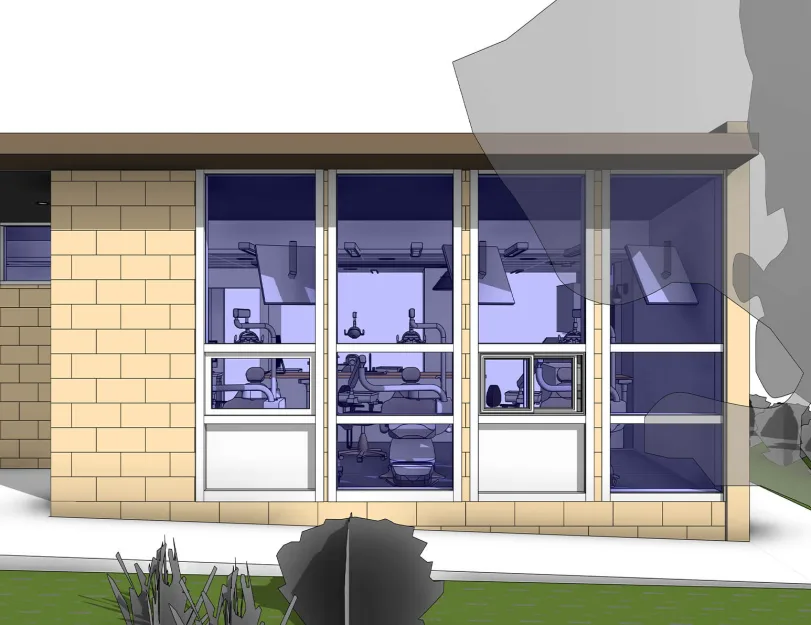
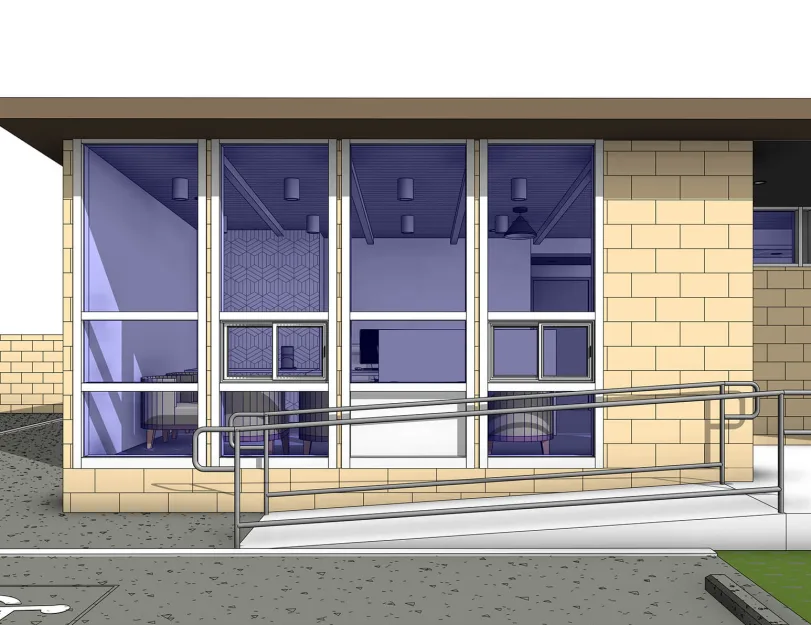
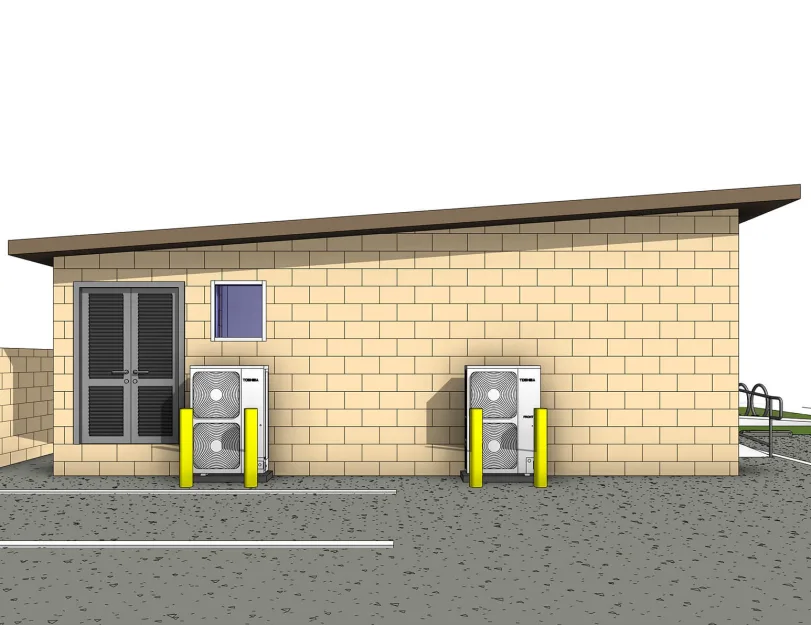
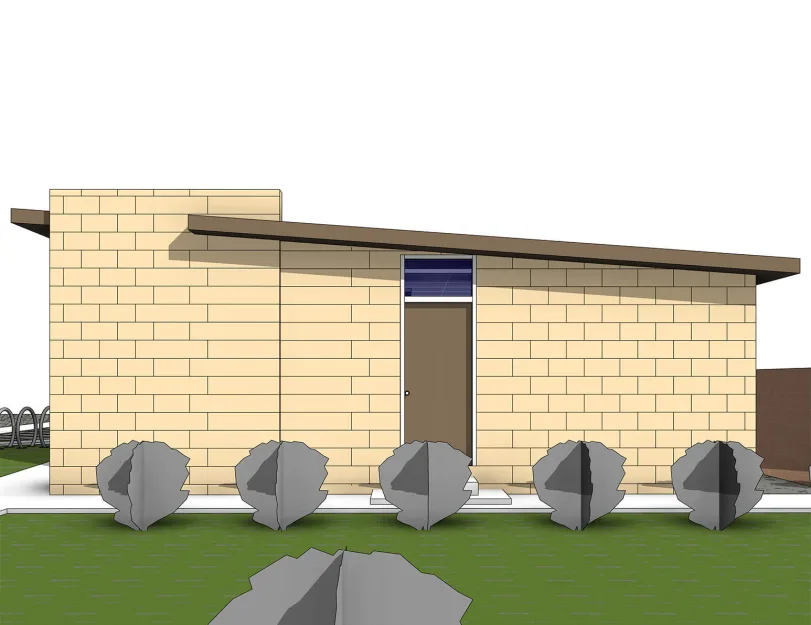
CAD vs model


Surface hatch pattern development
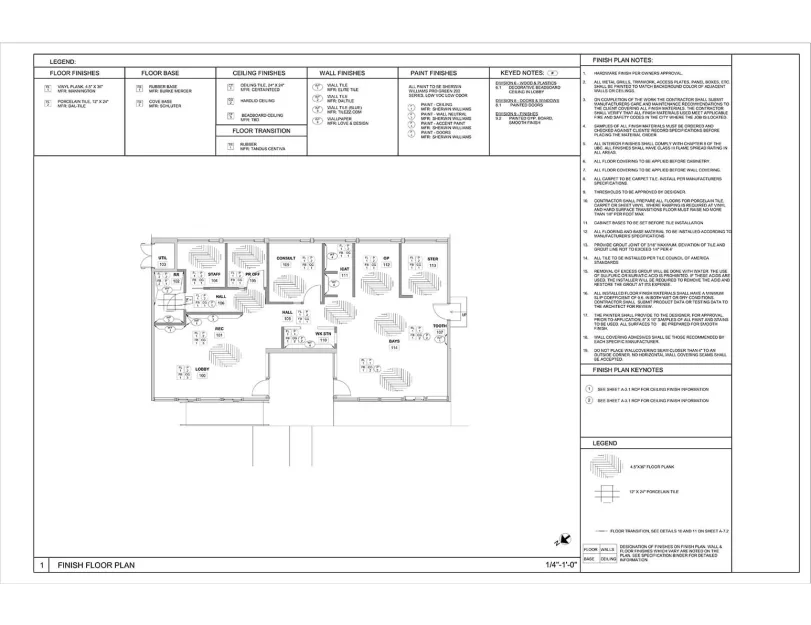
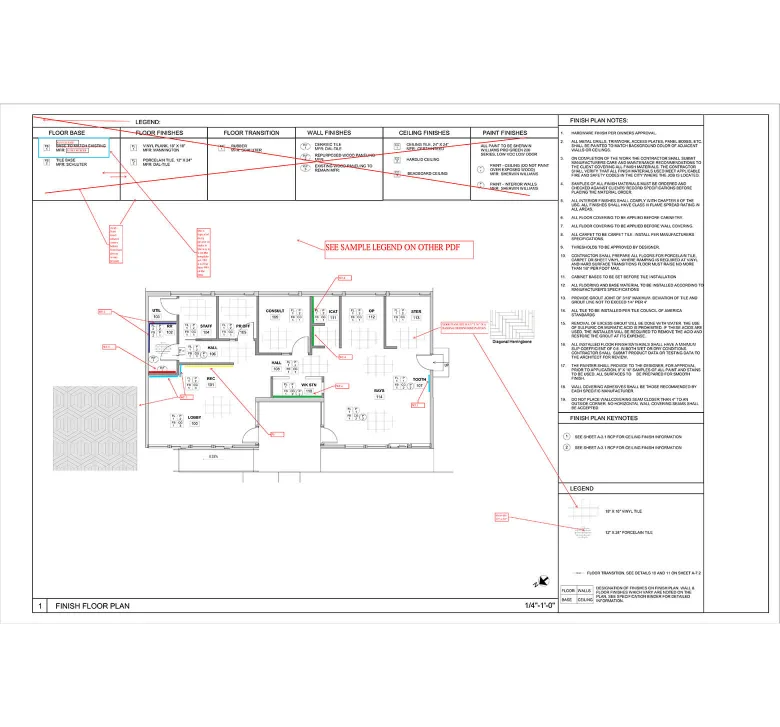
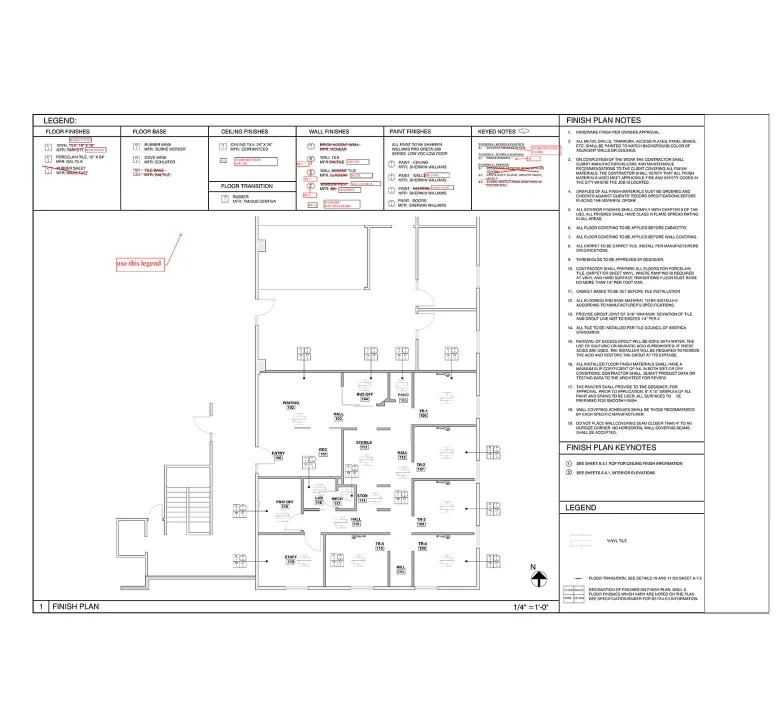
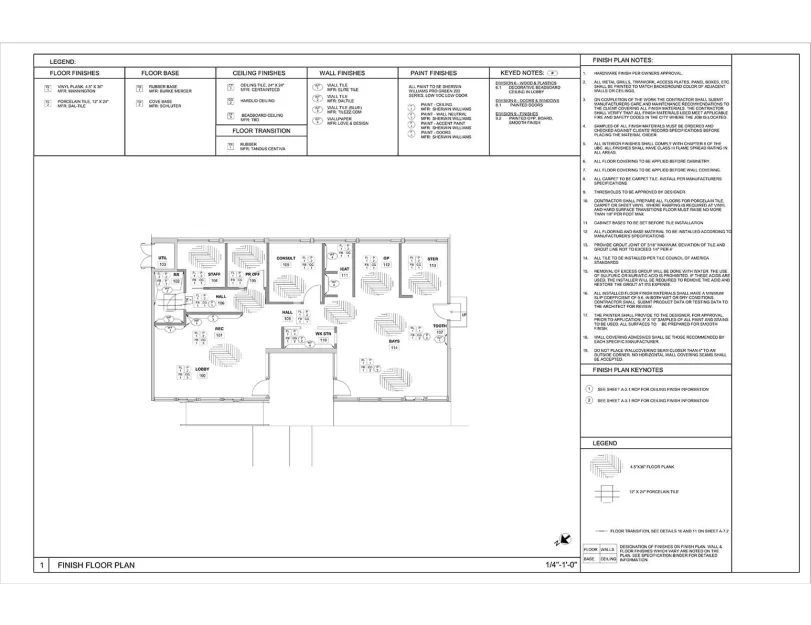
As the next step, we created specific surface hatch patterns using a Revit plugin based on the finishes schedule provided by the client. This ensured that all designated materials and finishes were accurately represented in the drawings.


Architectural drawing set generation
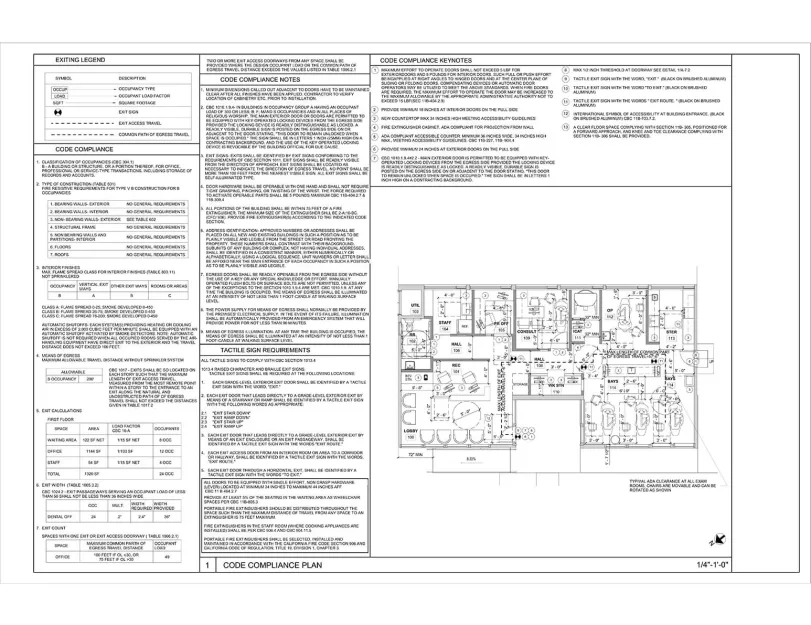
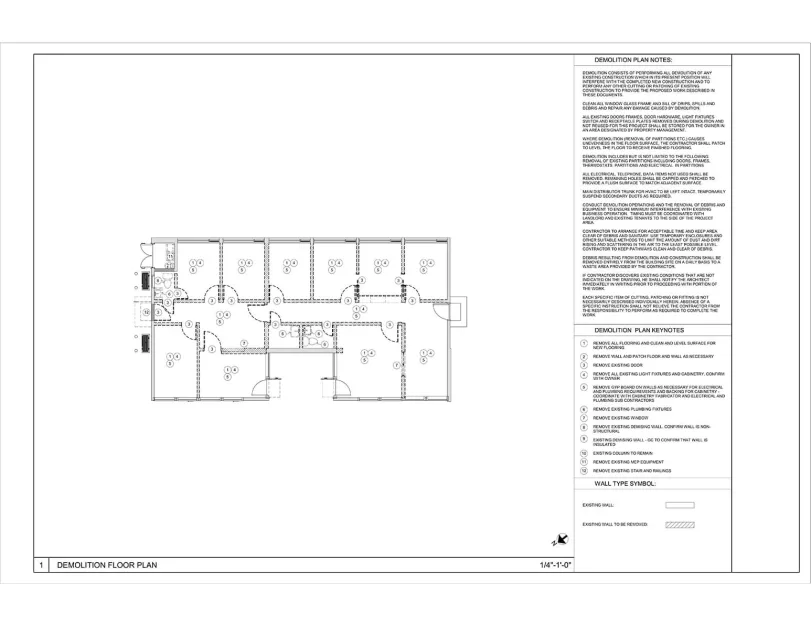
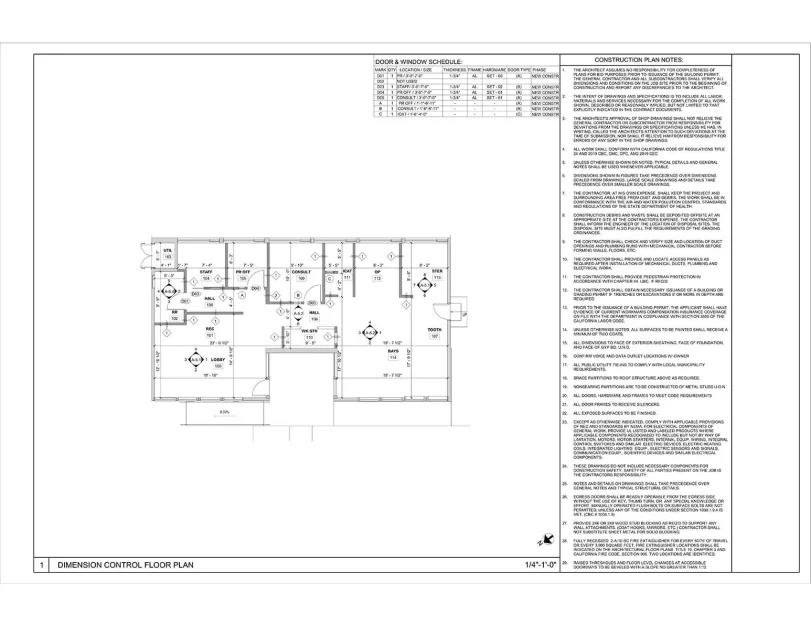
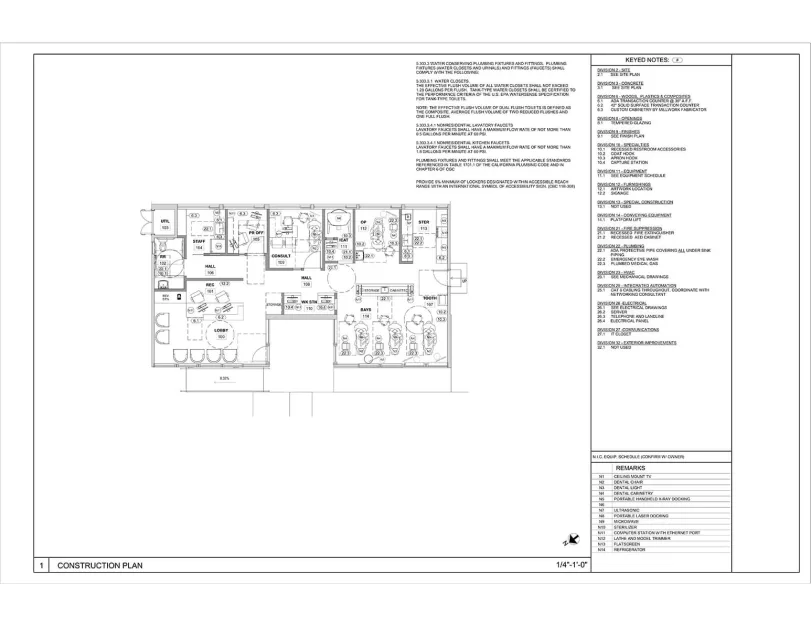
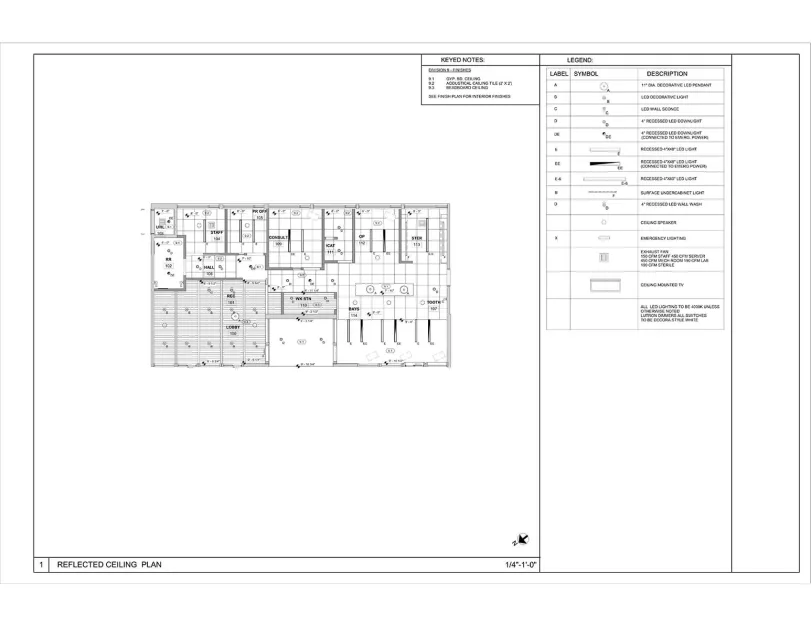
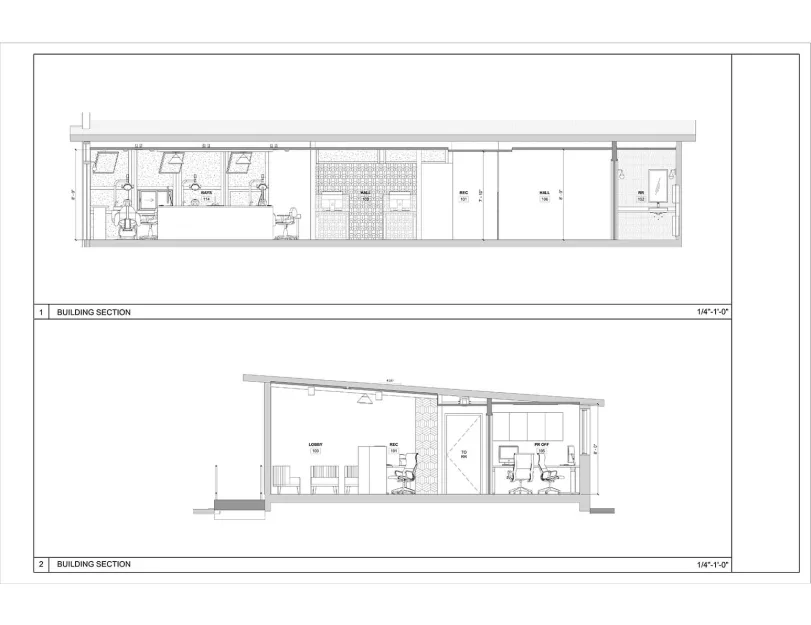
Starting from a single CAD file, ORIGIN experts developed a complete BIM model using our standardized and customized Revit template.
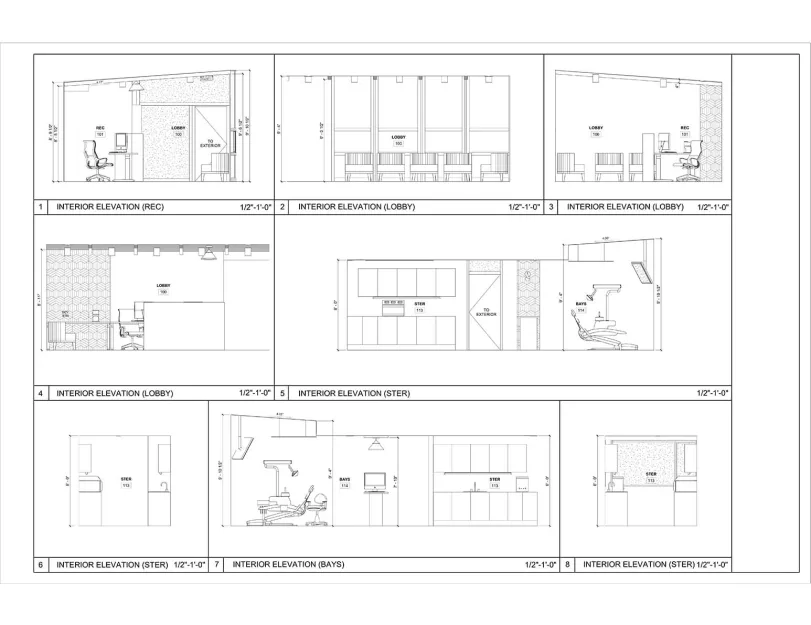
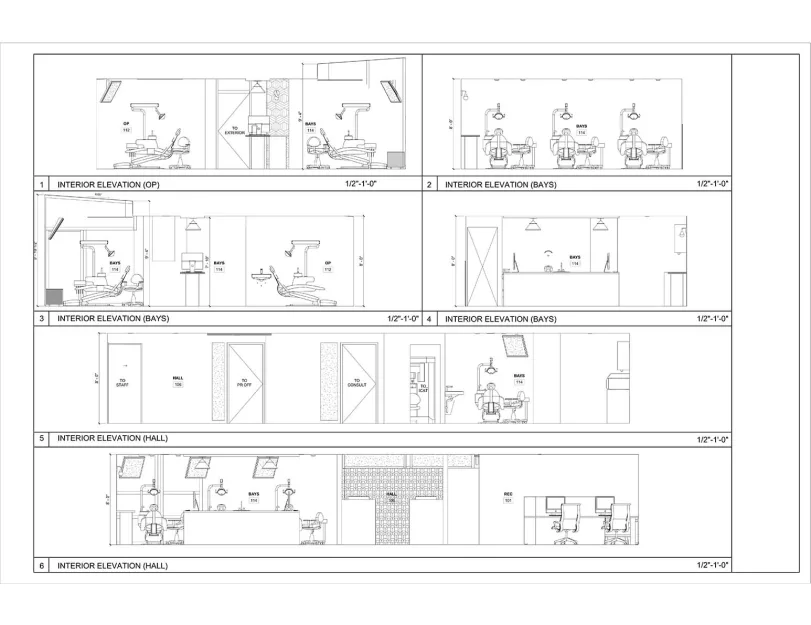
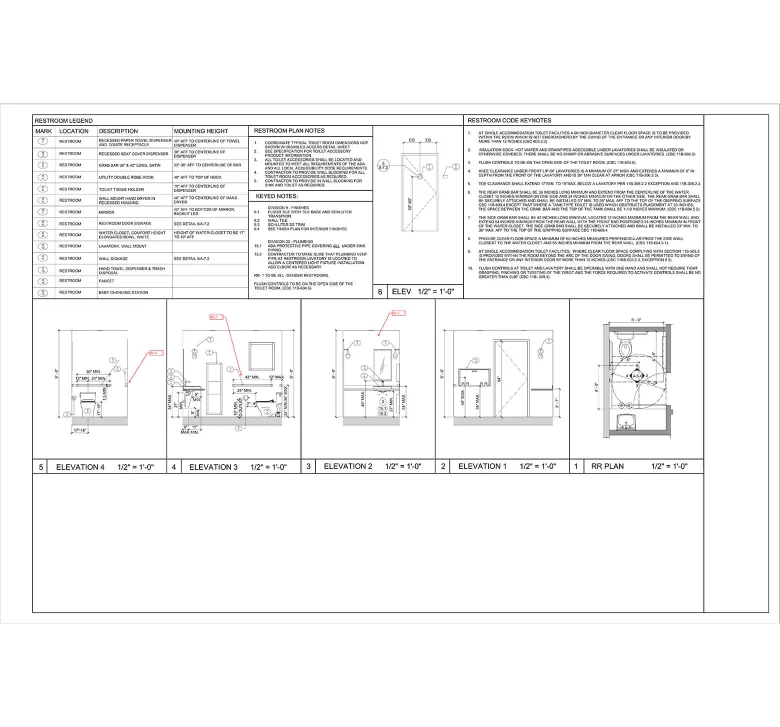
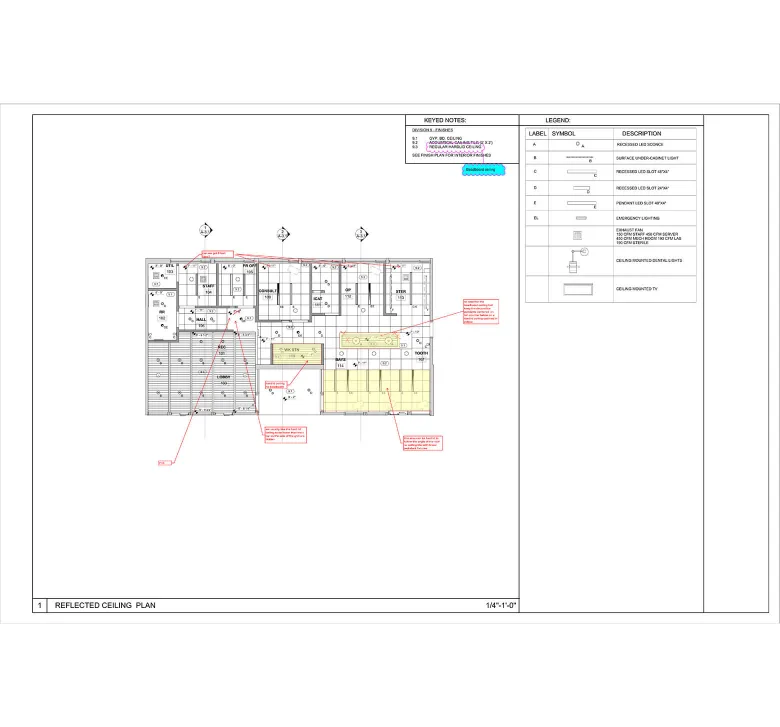
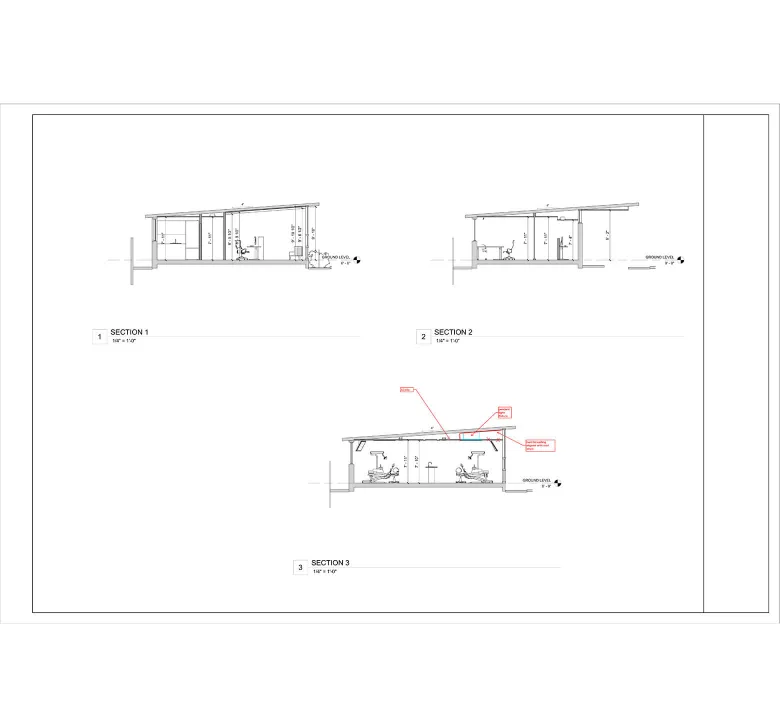
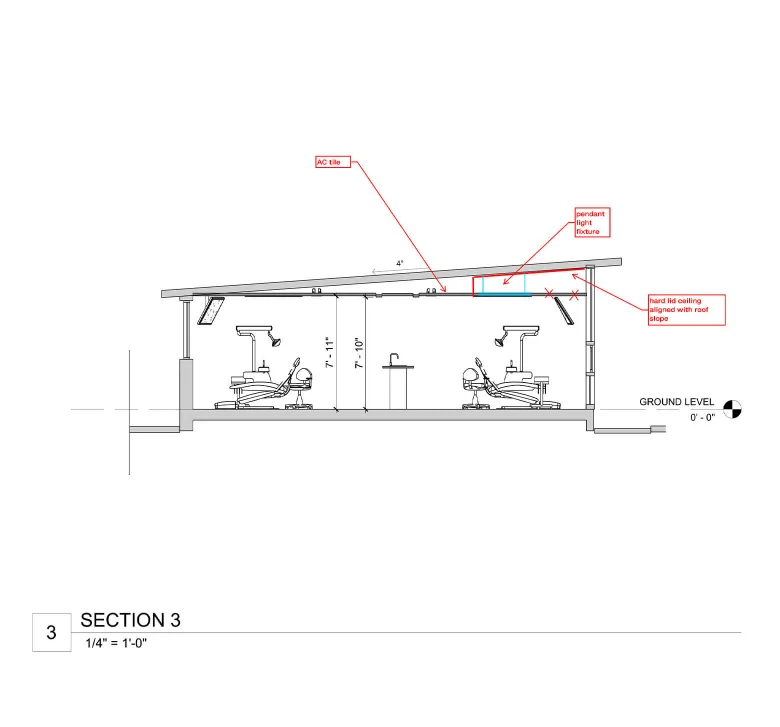
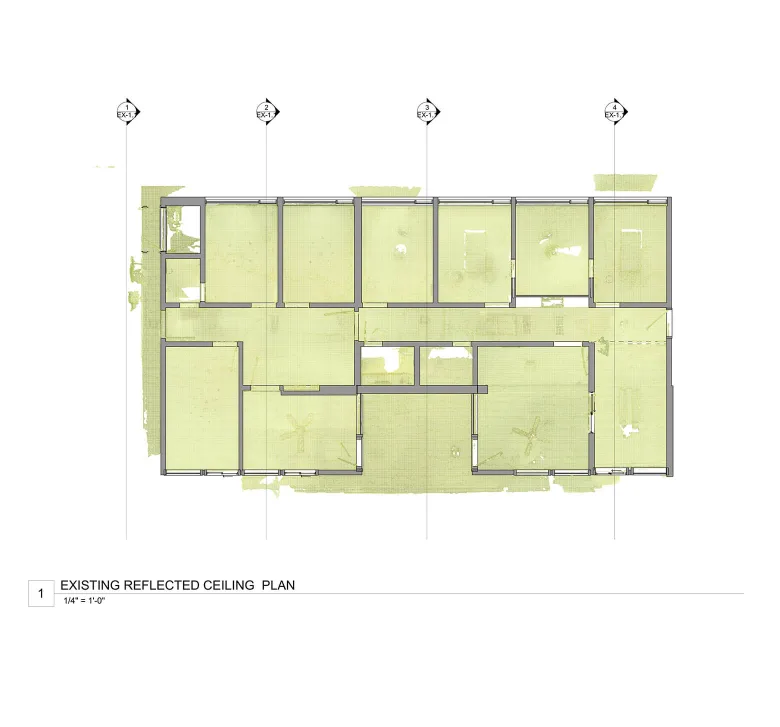
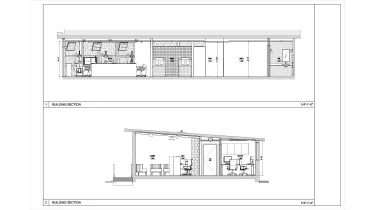
Then, we efficiently generated a full architectural drawing set directly from the model, which significantly sped up the process. Plans, sections, elevations, and other essential details were completed using this approach.
Architectural set

RFI management and coordination
During the design and documentation process, we identified and clarified coordination issues: ceiling heights, window alignments, finishes, and fixture placements.
All items were logged as RFIs and resolved through marked-up drawings, ensuring clarity and consistency.
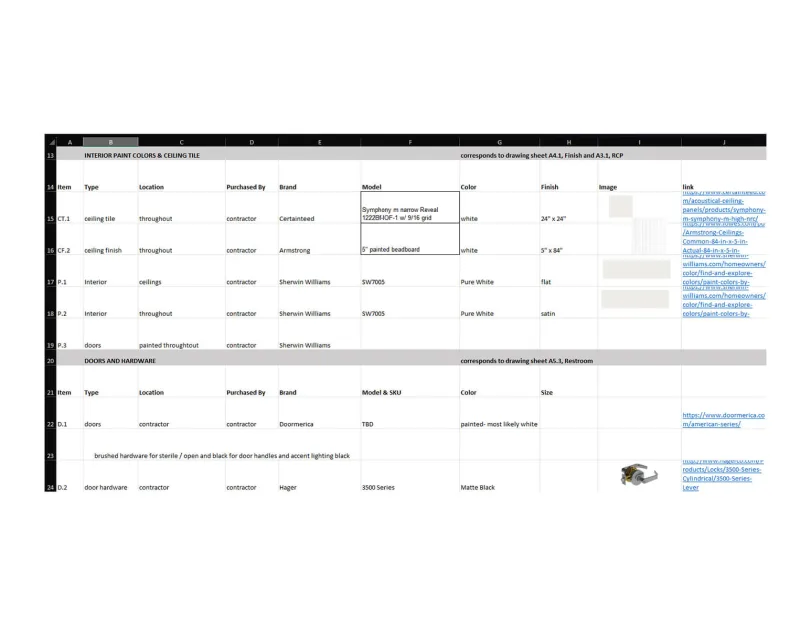
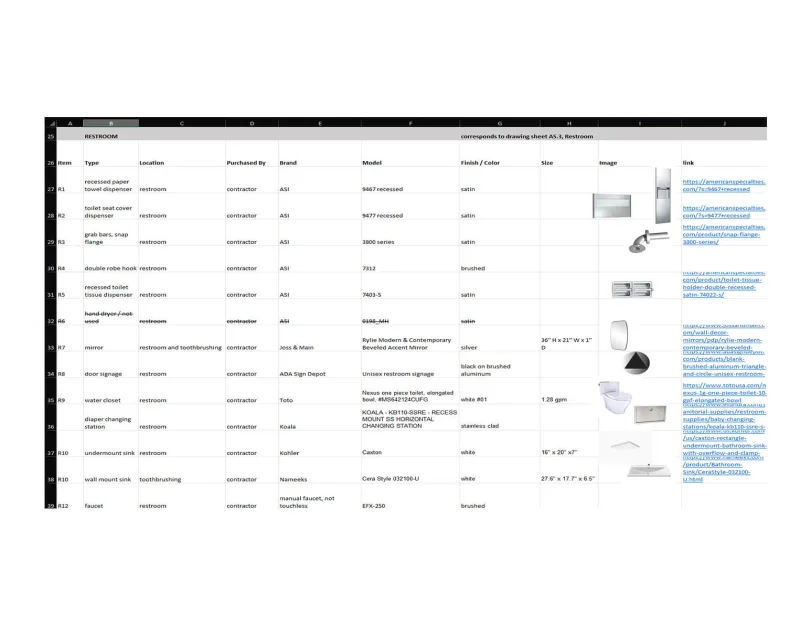
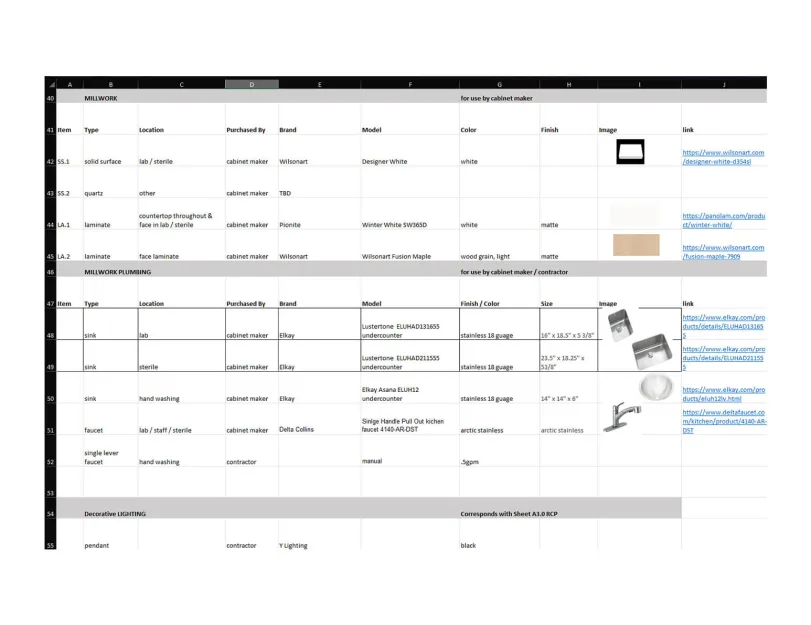
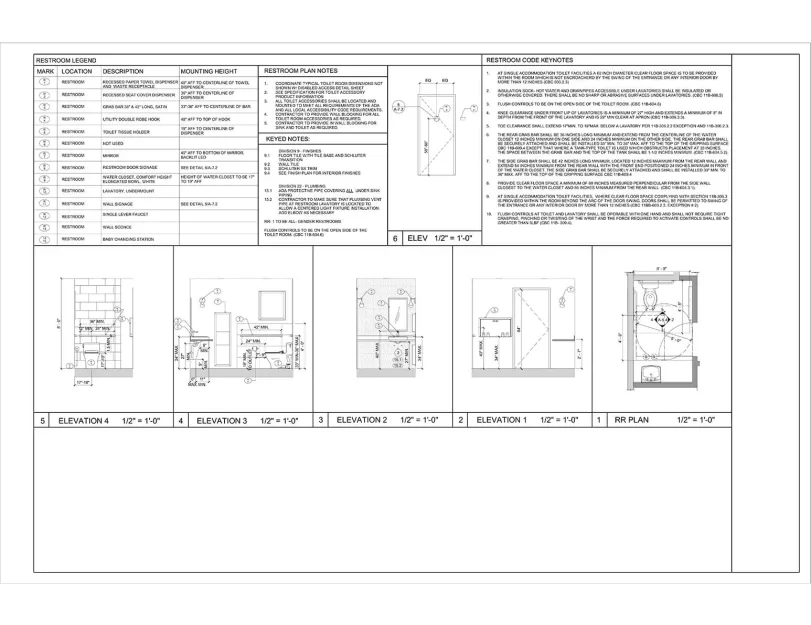
Interior finishes and plumbing elements
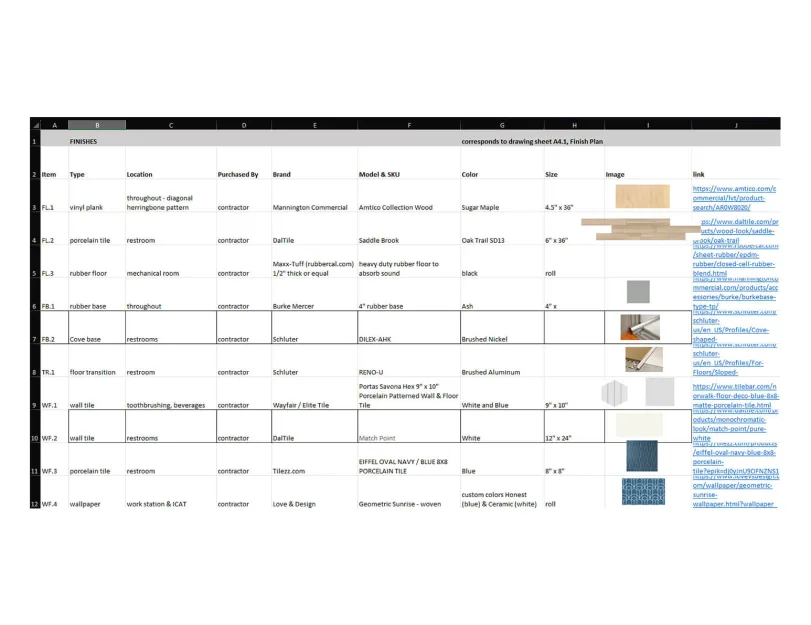
At this stage, client-provided Excel schedules containing information on finishes and plumbing fixtures were imported into the Revit model.
Our experts translated the raw tables into interactive schedules within the architectural Revit set, directly linked to the BIM model. This way, the client and project team could now clearly track how initial data is translated into coordinated BIM documentation. In addition, the model is automatically updated whenever changes are applied.
Interior finish drawings

Drawings
Click on preview to view high-resolution PDF drawings
Benefits
Tools used

Autodesk Revit
Similar projects